How To Chain Stitch Yarn On A Sweater
This post contains affiliate links. If you make a purchase through one of my links, I may earn a small commission at no extra cost to you. As an Amazon Associate I earn from qualifying purchases.
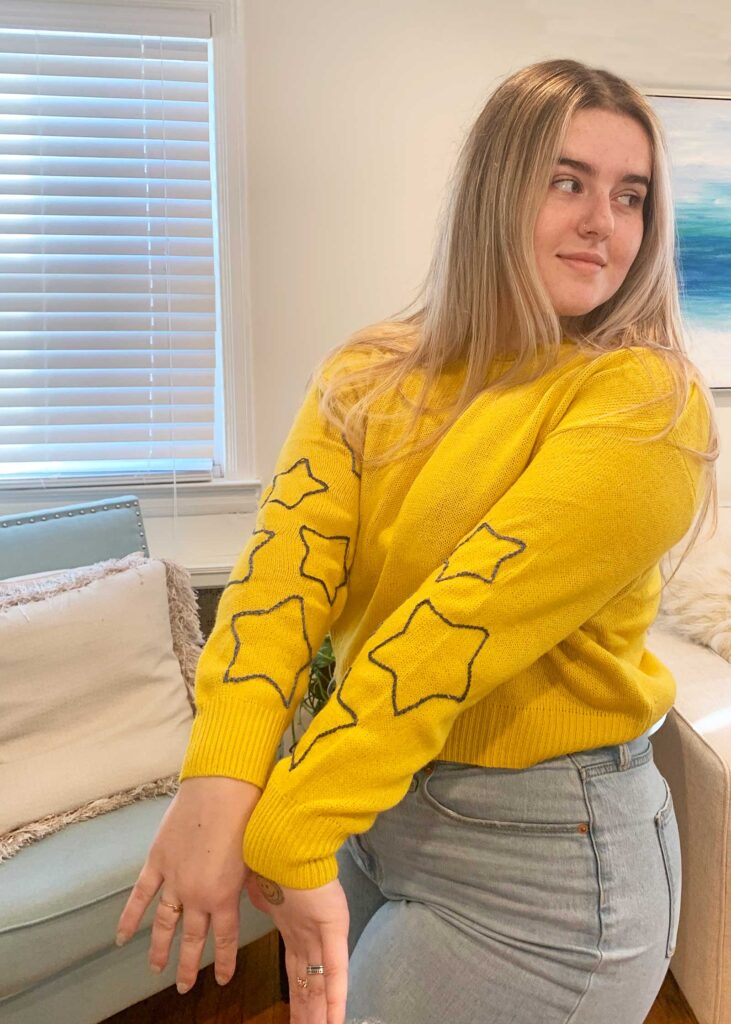
The winter months are here! As the holiday season comes to a close, the cold weather has set in and we cozy up with lots of sweaters and layers. In this post I take a basic sweater and show how to chain stitch yarn on a sweater. This design will be applied right onto the sleeves for a unique piece for the upcoming winter months.
Plain sweaters are the best for this project
After the holidays there are great sales as retailers are trying to clear out their inventory for spring. However at this time of year I find less inspirational items for sale. So this is a perfect time to snag these sweaters and deep discounts to use for your DIY chain stitch yarn on a sweater project. After I purchased mine at H&M and envisioned how I would design the sleeves with an embroidered chain stitch design to offset the solid color. This plain basic sweater will now become a fashion piece.
Or… You can go shopping in your own closet and find a sweater that needs a refresh by adding a fun embroidered stitched detail. We all have one of those hidden in the back of our closet that could use a little help! This method can make an old sweater, new again.
Color scheme and design
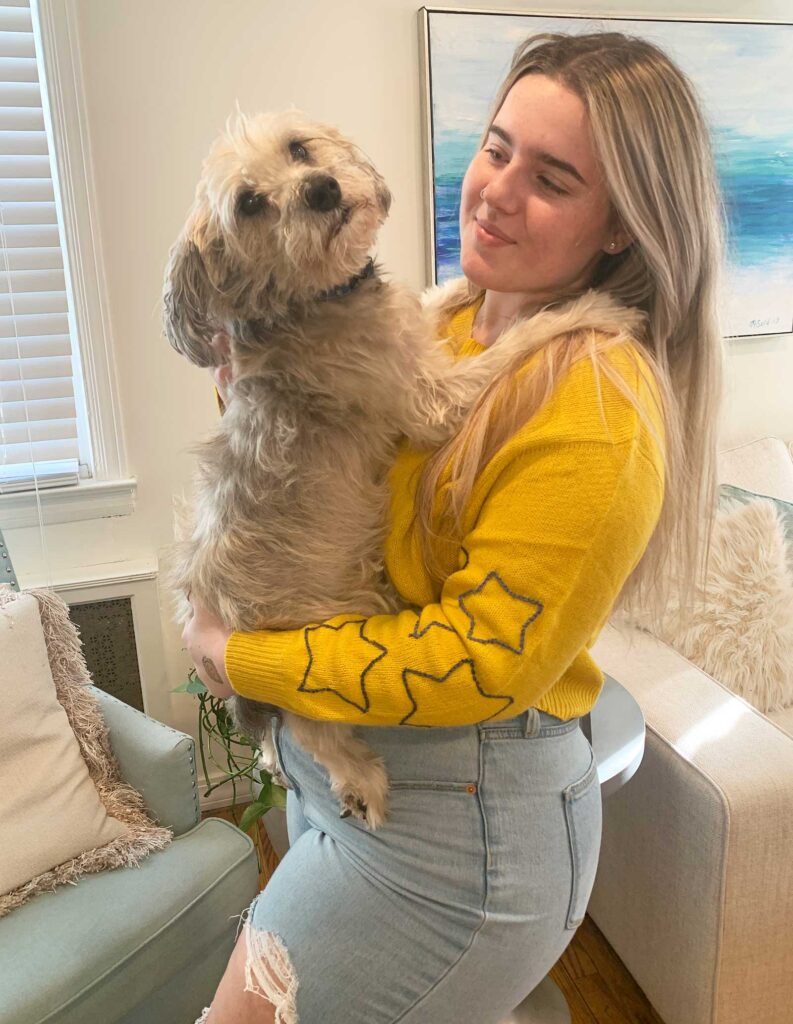
My sweater I chose was plain yellow. Before I begin an project I decide on my color scheme. For this project I found the idea of using a blue embroidery thread a perfect color combo. Yellow and blue make for a pretty combination that always works well. So now with my color combo set I went forth figuring out what my embroidered design will be on my sleeves.
Where I find my inspiration
As a designer I find my inspiration in many places, (you can read about my background here). Online, walking on the street, looking at an ordinary object and envisioning the beauty that is waiting to be found. This is why I love what I do. I am inspired by many things around me that trigger a flood of creative thoughts. This leads me to many of my projects. For most of my inspiration I do research on Pinterest. This is a great resource when looking for ideas without having to leave your house!
Final design choice
After researching many ideas I decided on my design. One stand out image that I came across was the star motif. Part of this was finding this cool sweater by Zadig and Voltaire for $498. which is by the way unavailable. I love this brand but find them to be very pricey. So this was my final design decision to use a star motif that would be my design element done in a chain stitch. Stars have been a big trend this past year, and I thought how perfect to add onto this post! Check out this post HERE where I added embroidered details to children’s apparel.
The star Motif is a positive symbol. For as long as we have been gazing up into the night skies we have been using the stars for navigation, whether that is directional or spiritually, they have been a reminder that there is something bigger than us. Stars are not merely shining bright lights marking our path through life but also a measurement in which we gauge our own unique brilliance.
How I measure my DIY projects
I always measure my DIY projects by the reaction from my 18 year old daughter, Emma. Some don’t even make it to a post, depending on her reaction. When I did this, the magic moment was when she said “Mom I would wear this sweater.” Then I know its post worthy!
Free Star Template below
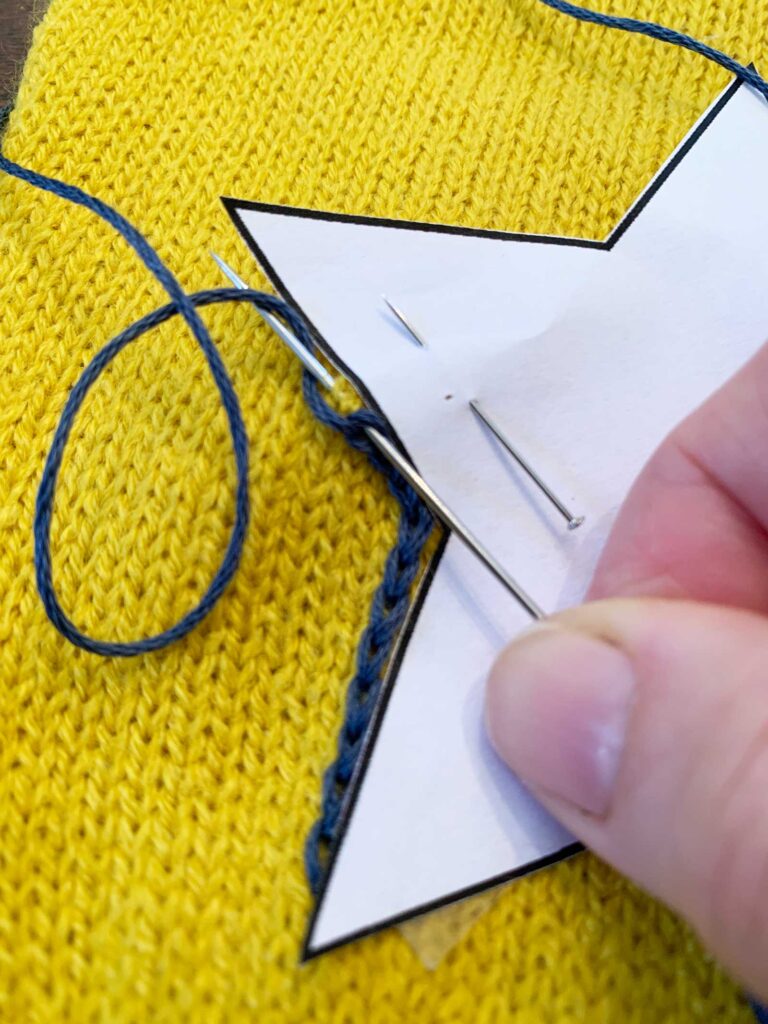
Easy Chain stitch
My chain stitch yarn on a sweater is an easy stitch that anyone can master. I use this basic stitch on many of my projects. It gives your embroidered line a little structure and dimension.
- Thread your embroidery needle with chosen embroidery thread (floss)
- Do not double it, keep single thread
- Mark your design, or line that you will follow
- Start first stitch from underneath and pull thread through
- Then from where your have pulled the thread through, take your needle and go back through and come back up about a stitch away
- before pulling the needle all the way through, wrap the thread behind the needle and then finish pulling needle through.
- You have created your first chain! repeat the process along your designated shape.
- See below my video for a visual- I always learn better by seeing!
for my Adult medium size sweater I measured the sleeves, and made a pattern on my computer, then placed stars and positioned them in how I wanted them. Therefore I attached below the jpg you can download and use if you need stars for your sweater!
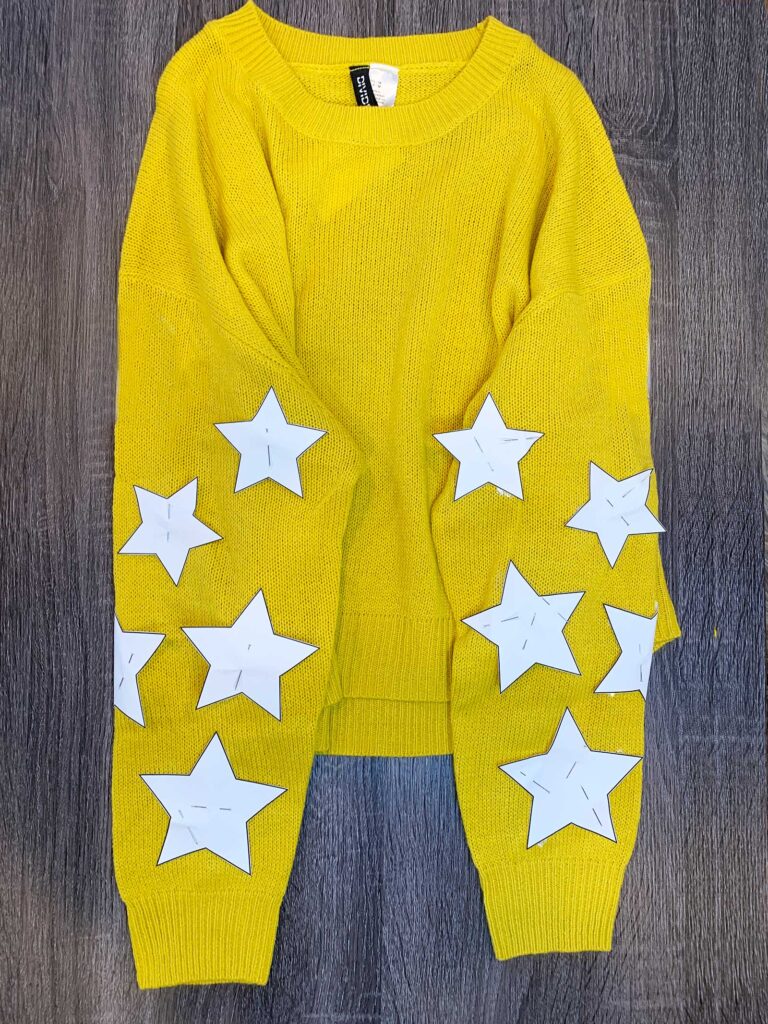

Steps to prepare for your embroidered sleeves
- Print & cut out the stars
- Position on sleeve and pin and double stick tape securely down
- Choose your embroidery floss colors
- put small piece of cardboard or paper in sleeve to ensure you don’t embroider through to the other side of the sleeve
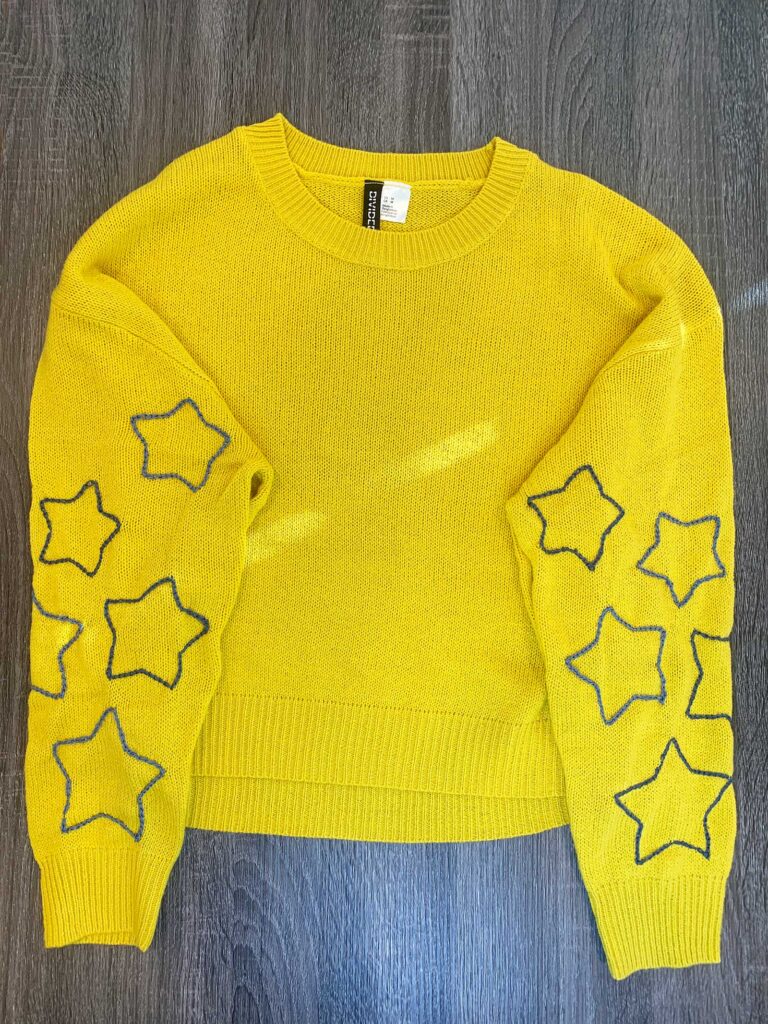
- start chain stitching around cut star templates
- Secure all embroidered floss string underneath with small knots
- Remove all paper templates when complete
CARING FOR YOUR SWEATER
My sweater that I used to chain stitch embroidery on the sleeves is acrylic. The embroidery thread is 100% cotton. Because both of these are of different fiber content we have to be aware of shrinkage differential. (A term used in my industry) I would recommend that you check the fiber content of your sweater versus the embroidery thread content. If the thread shrinks at a higher percentage then the sweater,because its cotton you will end up with puckered stars and this isn’t a very good look. When I am ready to wash my sweater, I will wash in cold water and lay flat to dry to avoid this.
For the non DIY people!
I always like to add versions of my projects that you can just buy. I know not everyone has the time or the desire to sit and chain stitch stars to a sweater. So I compiled a selection of sweaters with stars. This also confirms how the star motif is trending at the moment as well. Happy shopping!
I am always so grateful to my amazingly beautiful Emma. She is always so ready to be my model. I also have to give a shout out to our dog Bolt, because he is always a constant companion and a great prop to have!