How to Turn Wood Dowel Rods into a Show-Stopping Mirror Frame!
Wood Dowel Rods
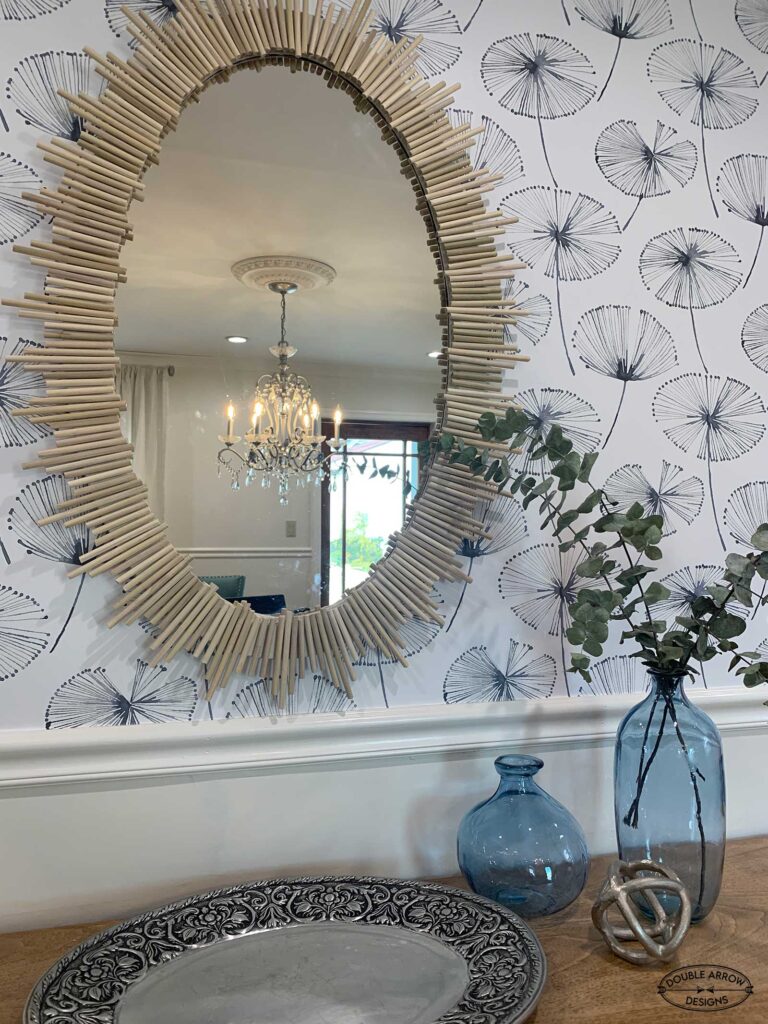
Looking to elevate a plain mirror without spending a fortune? With a few wood dowel rods, a little creativity, and some basic tools, you can create a custom mirror frame that adds instant charm to any space. This DIY is budget-friendly, beginner-approved, and oh-so-stylish. Whether you’re going for a modern, boho, or minimalist vibe, this wood dowel rod frame can be customized to match your aesthetic.
This post contains affiliate links. If you make a purchase through one of my links, I may earn a small commission at no extra cost to you. As an Amazon Associate I earn from qualifying purchases.
Supplies for a wood dowel Mirror frame
- A clean cloth
- Plain mirror (any size)
- Wood dowel rods (size depends on desired look – ¼” to ½” diameter work well)
- Miter box or small hand saw (or garden shears for thinner rods)
- Wood glue or glue gun
- Sandpaper (medium to fine grit)
- A measuring tape or ruler
- Clamps (optional but helpful)
- Stain or paint (optional for a custom finish)
- Painter’s tape or masking tape
Mirror used for this project
I started with an old oval mirror that had seen better days—it was a curbside find that was on its way to the trash. But with a little vision, it had great potential. After assessing the mirror’s shape and condition, I decided to give it a fresh, modern update using wood dowel rods for a custom frame. Here’s what I used to transform this worn-out piece into a stylish statement mirror. You can also purchase an inexpensive mirror or use an existing one in your home that needs an update.
Supplies used on this project
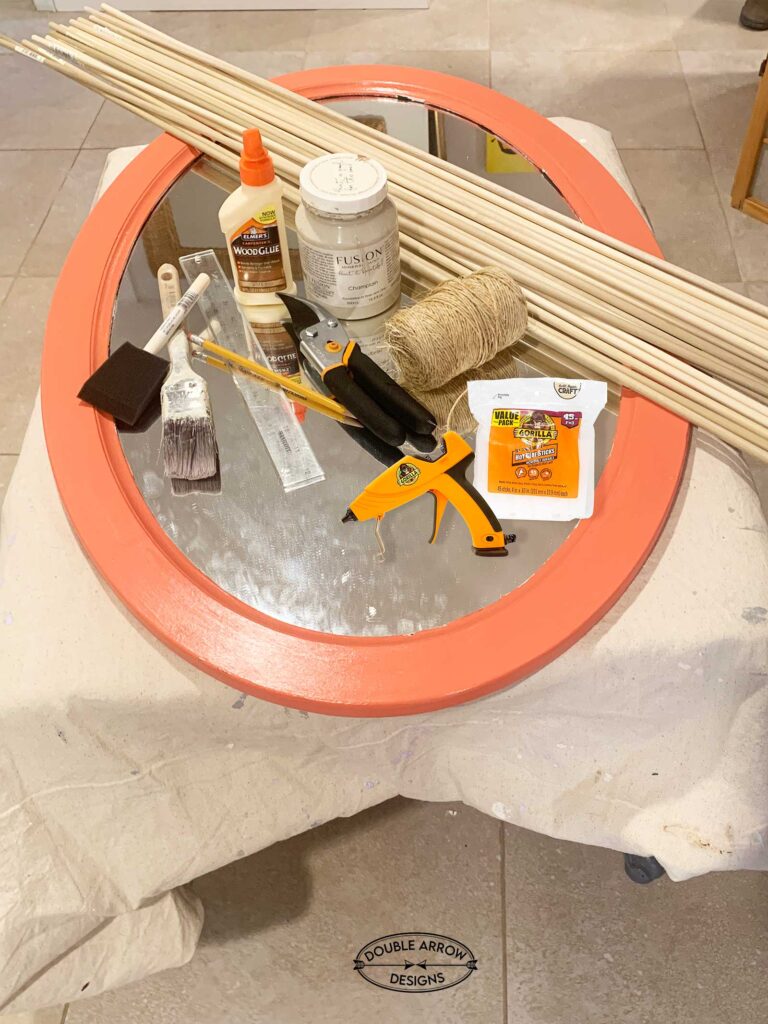
Below are all the supplies we used to repurpose this old framed mirror. Super easy to transform any mirror and make this wood dowel mirror frame!
- Fusion Mineral Paint-I- I used the color Champlain so that the neutral color would work well with the natural wood dowels
- Wood dowels– I used 4″ 5/16″. Just depends on your mirror frame and the length you want.
- Pruning shears– a quick and easy way to cut these dowels with
- Sanding block– to smooth out the rough ends of cut dowels
- Ruler– to measure the placement for the dowels before gluing
- Pencil– easy to erase if you need to recalculate
- Glue Gun & glue sticks– Best solution for adhering dowels to on frame
- Mirror hanging wire– An Easy kit to apply to the mirror. Hang the hook on the wall and you are all set!
No products found.
No products found.
No products found.
No products found.
No products found.
No products found.
Painting the mirror frame
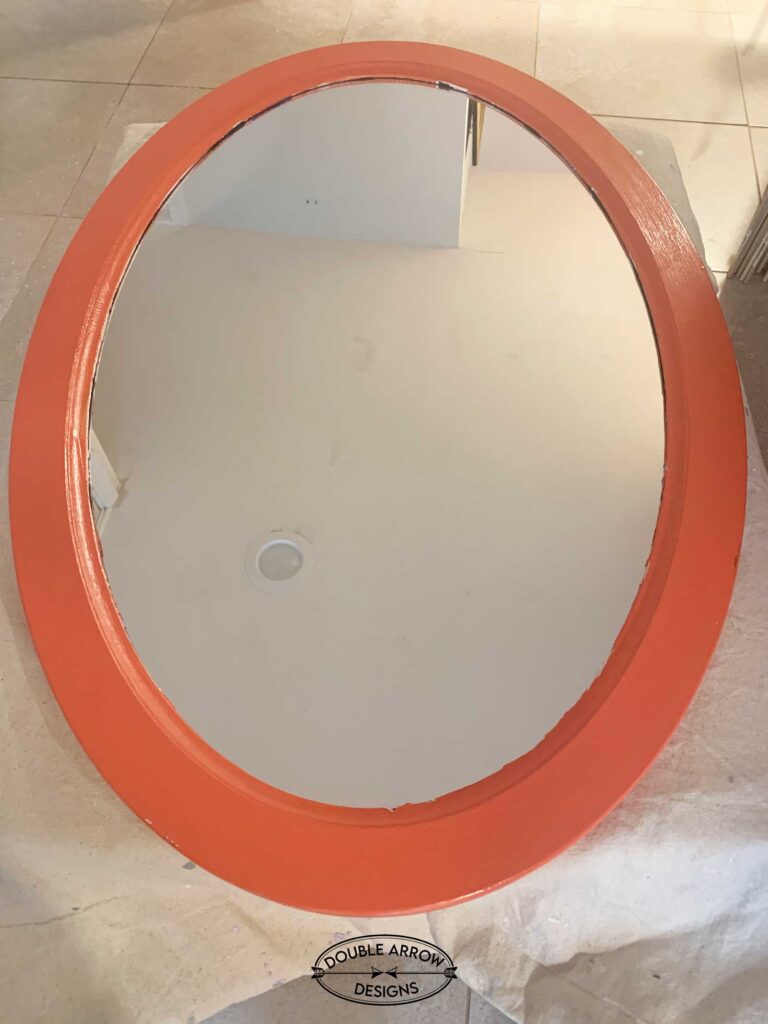
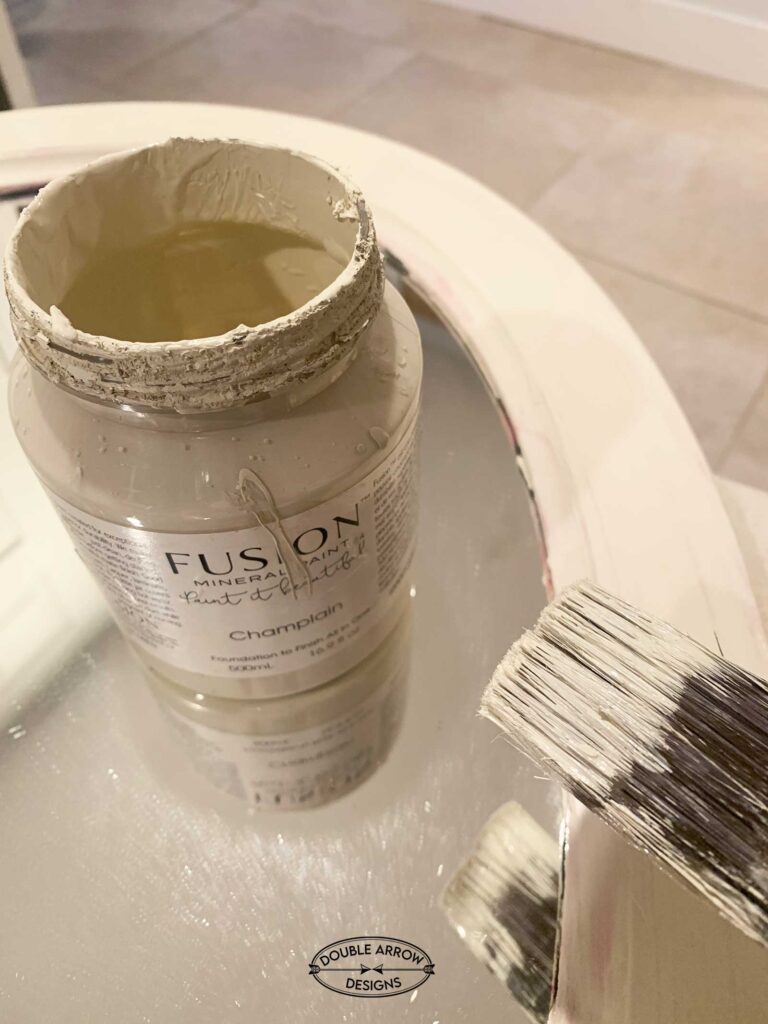
This old mirror originally had a dark-stained wood frame, which had later been painted a bold orange. To create a smooth, clean base for the wood dowel design, we first painted over the orange with a neutral cream color. We used Fusion Mineral Paint, which provides excellent coverage and a durable finish, perfect for creating a subtle backdrop that lets the wood dowels stand out beautifully.
Design for a wood dowel mirror frame
Before starting the project, we browsed design inspiration on Google and Pinterest. Most of the wood dowel mirror frames featured a starburst-style layout. We decided to create a similar look, but kept the design more compact to fit the specific wall space where the mirror would be hung.
Cutting the wood Dowels
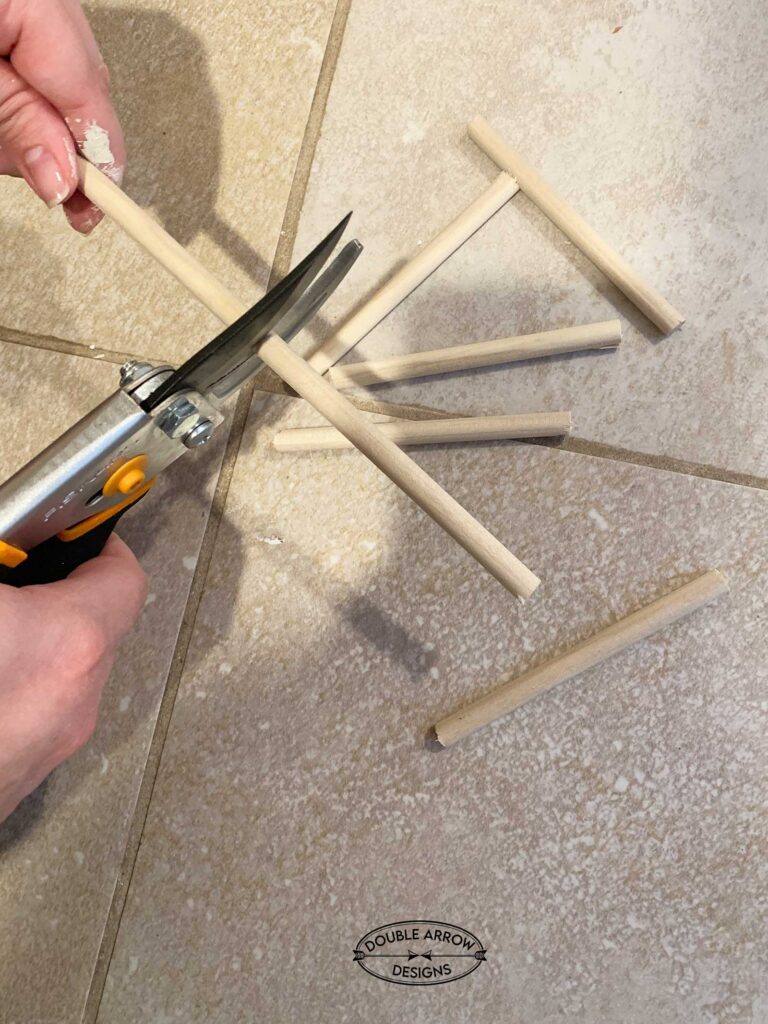
We bought 48″ long, 5/16″ diameter dowels. In order to cut them, we measured the sizes we wanted. Then, using Pruning scissors, we cut each dowel to the sizes we needed. We went with three sizes: 3″, 4″, and 5″. Once we were done with cutting them, we used a sanding block to smooth out the cut ends.
Laying out our design
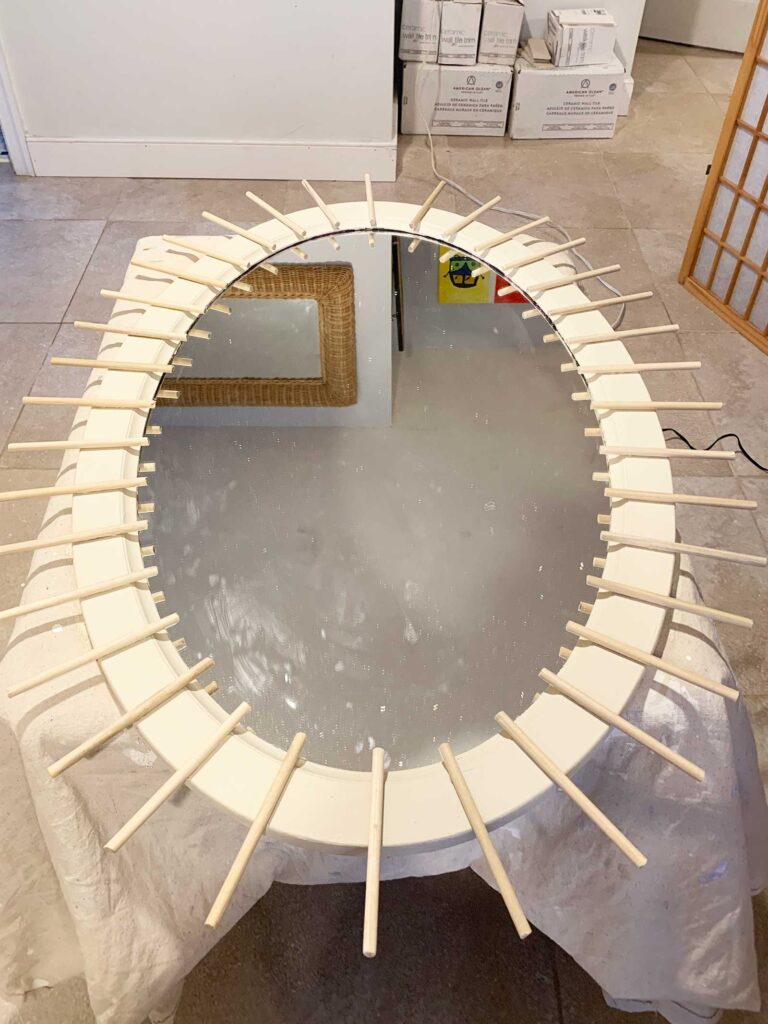
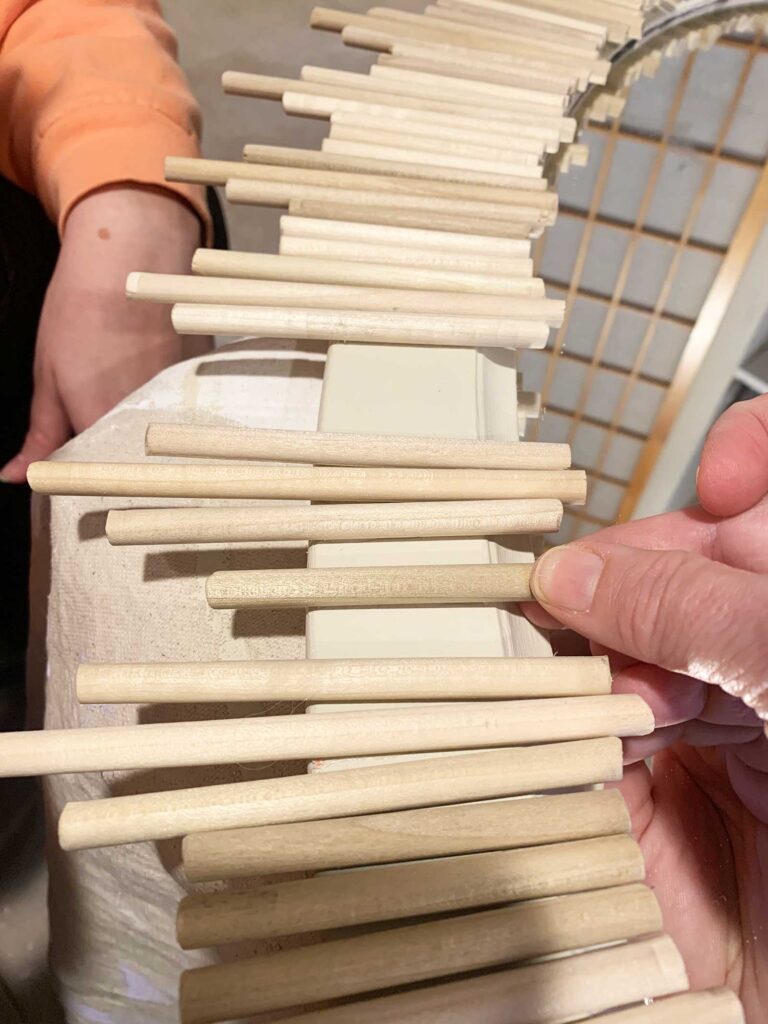
We decided that the 5″ long wood dowels would be the longest length. So we placed one at the top, bottom, and sides. Then we used an additional 8, 5″ dowels to fill in all four sides. We then placed a 4″ dowel on either side of the 5″ dowel. Finally fill in the space with 3, 3″ dowels in between the 4″ ones. Lay the dowels around the mirror to ensure everything lines up. This is your chance to adjust spacing, alignment, or style before permanently attaching.
From Trash to Trendy: DIY Wood Dowel Mirror Makeover!
Watch this quick video to see the glow-up—it’s easier than you think! Get inspired to try your own wood dowel mirror makeover!
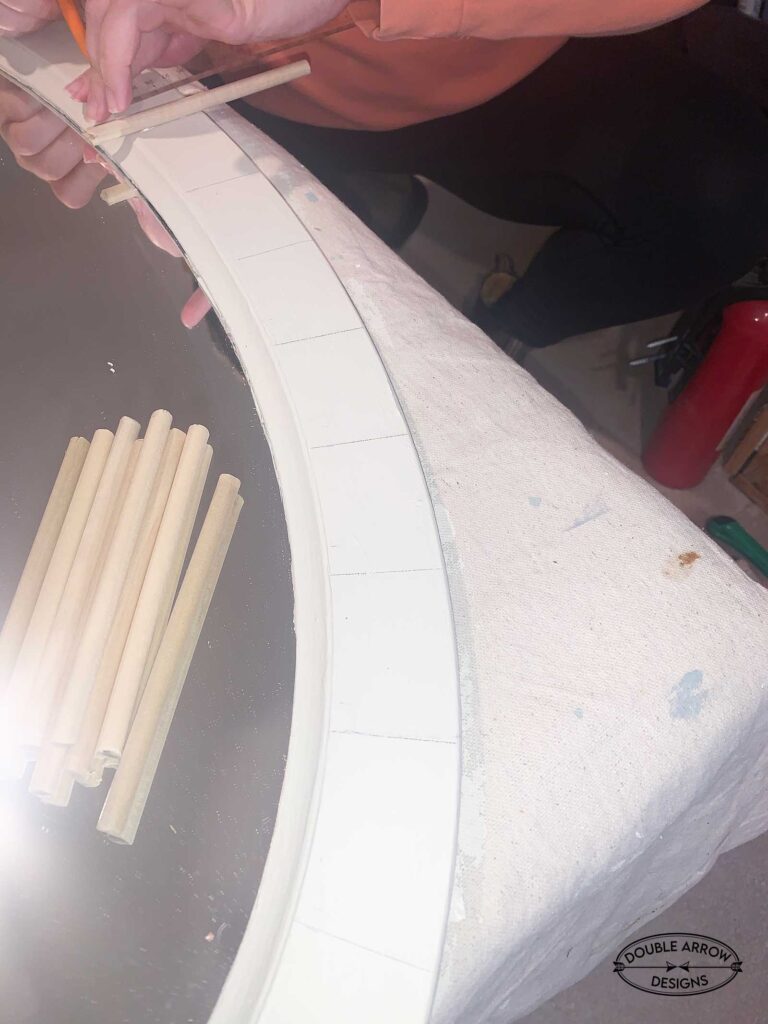
Adhering dowels to the mirror frame
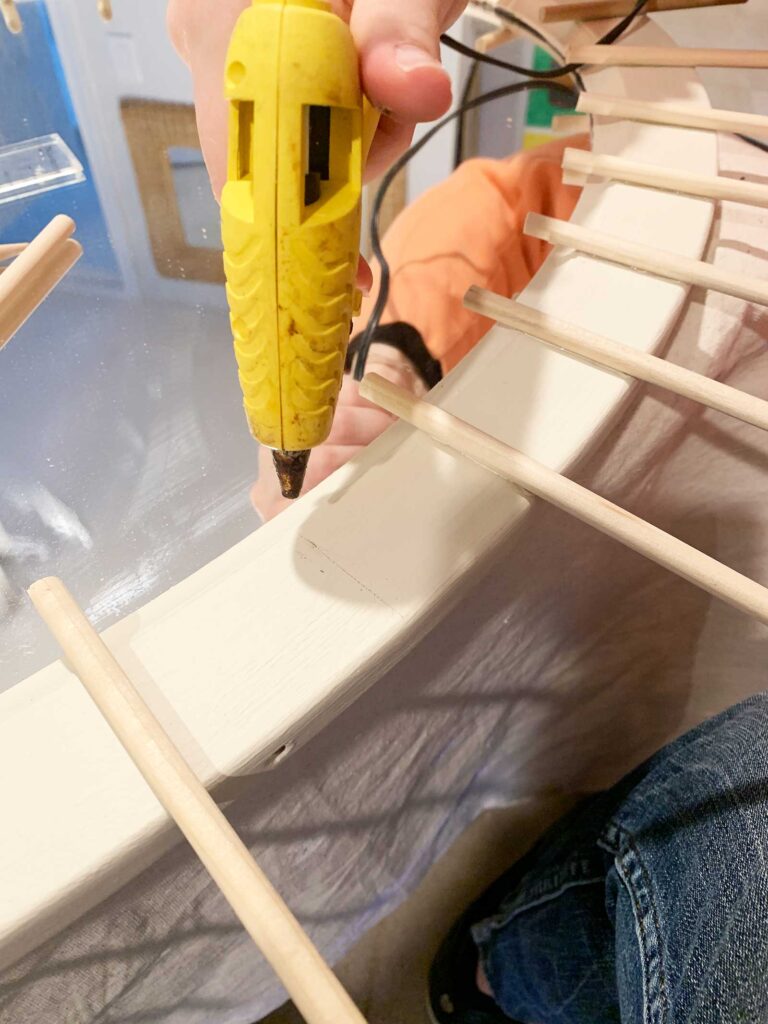
Once all the dowels were laid out in the desired pattern, we carefully removed them and used a ruler and pencil to draw a straight guideline where the 5″ dowels would be attached. This ensured precise placement and a symmetrical finish. Working in small sections, we applied a line of hot glue directly along the pencil mark using a glue gun, then immediately pressed each dowel into place. The hot glue bonds quickly—within seconds—so it’s important to work steadily and accurately.
Tip: If a dowel shifts slightly or isn’t perfectly aligned, you have a few seconds to reposition it before the glue fully sets. For best results, press the dowel down firmly and hold it in place for 5–10 seconds to ensure a strong bond. Wipe away any excess glue with a craft stick or toothpick before it hardens to keep your finish clean.
Troubleshooting Tips for a Flawless Finish
Even simple projects can come with a few hiccups—here’s how to tackle the most common issues when working with hot glue and wood dowels:
1. Uneven Dowels
Issue: Some dowels stick out or don’t align with the rest.
Fix: Gently pry the dowel up while the glue is still warm using a craft knife or flat tool. Reapply hot glue and reposition it quickly. For stubborn dowels, use a hairdryer to soften the glue slightly before adjusting.
2. Visible Glue Squeeze-Out
Issue: Excess glue oozes out from under the dowels.
Fix: While the glue is still soft, use a toothpick, craft stick, or cotton swab to carefully remove it. If it’s already hardened, you can gently scrape it away or use a small dab of paint or stain to camouflage the spot.
3. Glue Cools Too Fast
Issue: The glue sets before you can place the dowel.
Fix: Only work in small sections—apply glue for one or two dowels at a time. You can also use a high-temp glue gun, which gives you a few extra seconds of working time.
4. Dowel Ends Fraying or Splintering
Issue: The cut ends of the dowels look rough or chipped.
Fix: Sand the ends with fine-grit sandpaper before gluing for a smooth, professional finish. You can also roll the dowel slightly on sandpaper for a beveled edge if desired.
Adding a Wire to hang the wood dowel mirror frame
The back of this mirror was missing a wire to hang, so we added one. These come in easy kits. Decide on placement, and screw in the hardware. Then use the wire and wrap it around each screw and pinch with a pair of pliers on each side. Be sure to give the wire a little slack.
We used plain wood dowel rods for our mirror frame, but you can customize yours with wood stain for a darker look or paint for a pop of color. The stain linked below is water-based, low-odor, and safe for indoor use—plus, it comes in a variety of shades.
No products found.
Wood dowel mirrors for the non-DIY’ers
I always like to include a section in my DIY projects featuring similar items you can buy. Not everyone has the time, energy, or desire to take on a DIY—but still loves the finished look! So, scroll down to shop some fun and stylish wood dowel mirror options.

Related posts
Check out some of the posts below for additional DIY projects!
- 9 Peel And Stick Wallpaper Ideas
- Home Decor Stencils- That will make any home beautiful!
- How To Paint A Metallic Dresser
Thanks for stopping by!

This post is all about Wood Dowel Rods to make a framed mirror
Last update on 2026-07-16 / Affiliate links / Images from Amazon Product Advertising API