My blog periodically contains affiliate links meaning that if you make a purchase, I might make a small commission at no extra charge to you. Purchases made through them are greatly appreciated.
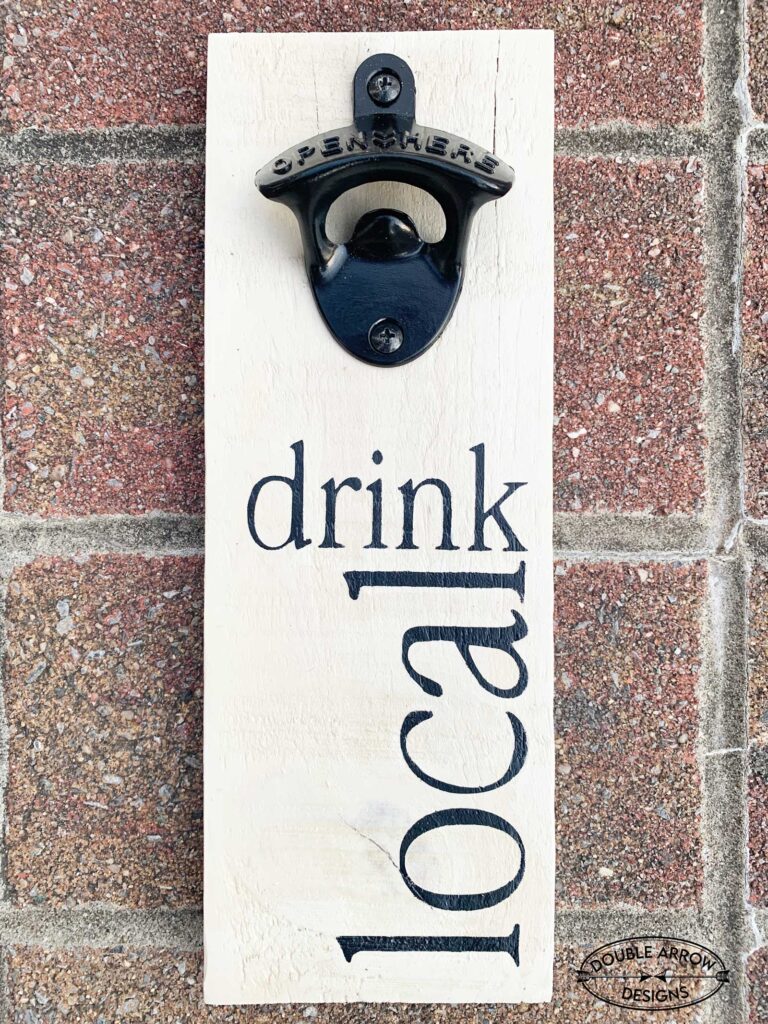
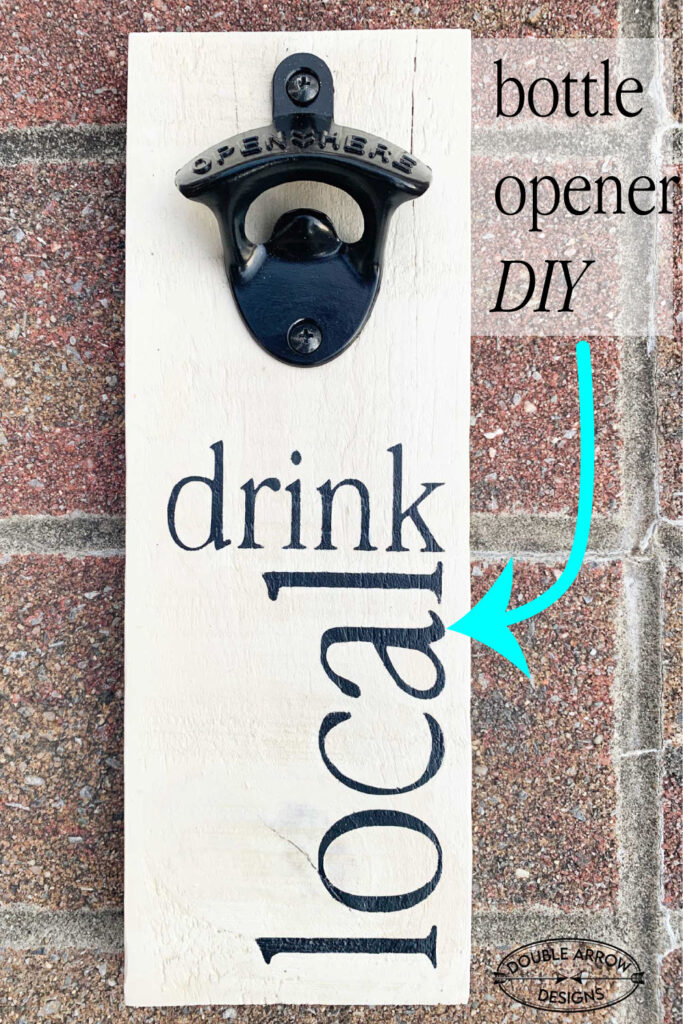
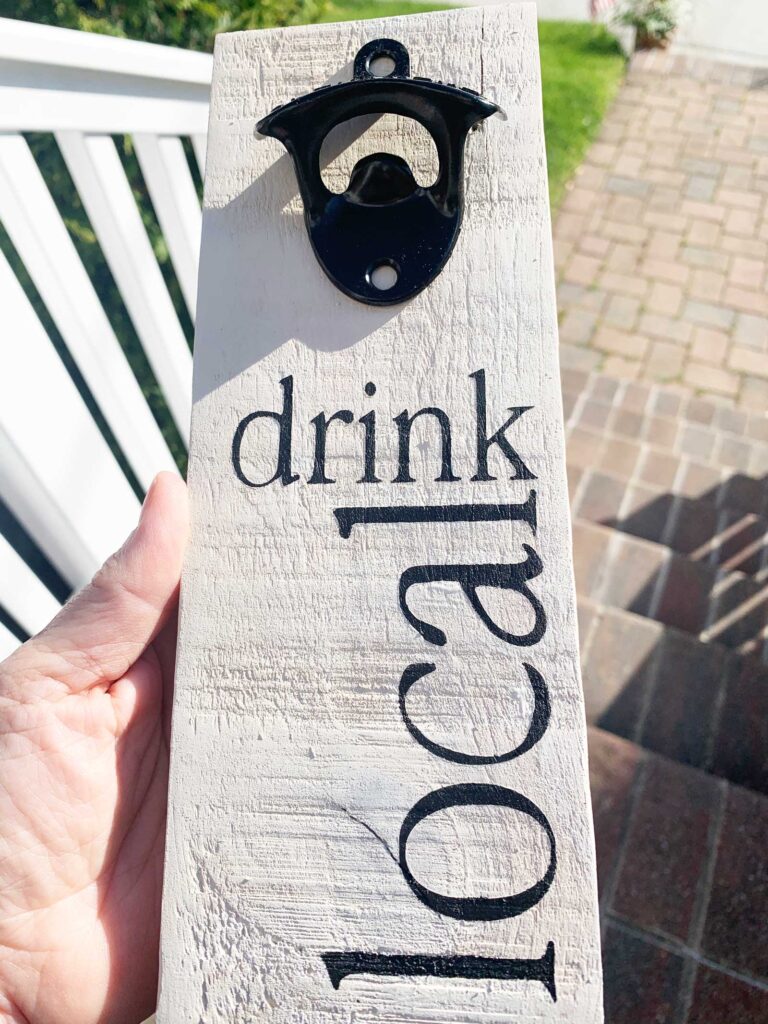
These fun and easy bottle opener DIY made from pallet wood, is a perfect Father’s Day gift! This pallet bottle opener is easy to make and will be crowd pleaser. I am even including the stencil I used on this pallet wood bottle opener DIY. Check for it below!
Table of Contents
Supplies needed for your Bottle Opener
- pallet wood, or piece of scrap wood
- Handsander
- Sandpaper pads 60/120 grit
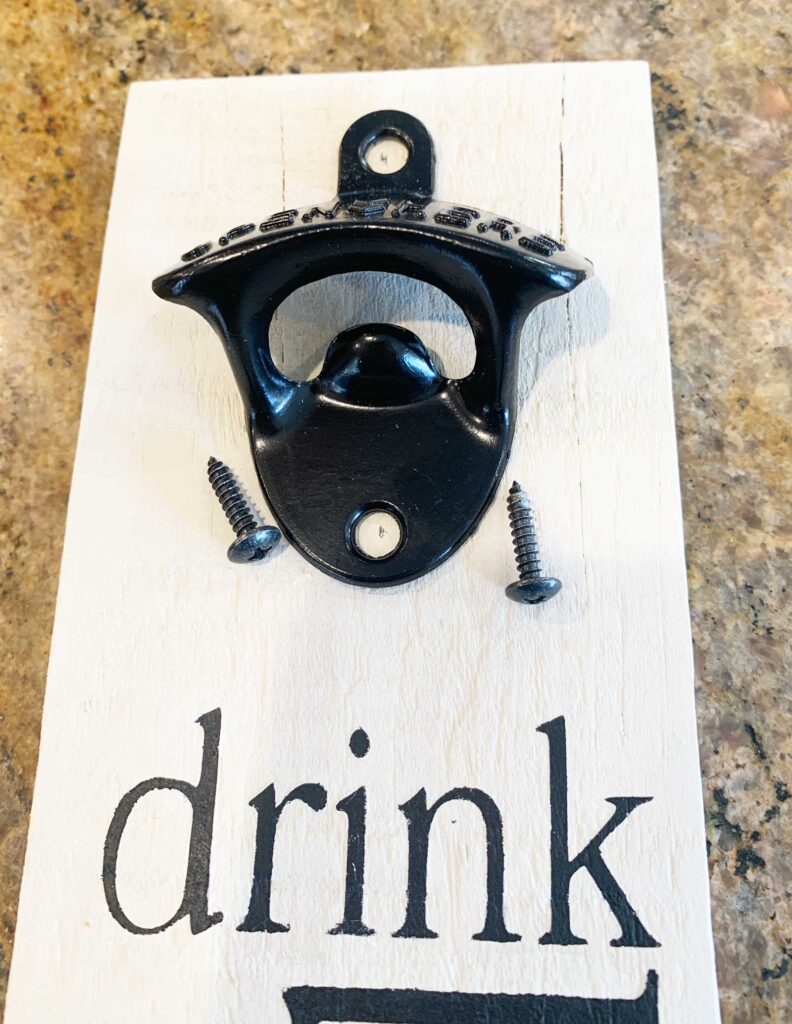
- Metal bottle opener
- paint- acrylic or interior paint
- paint brush
- stencil- see below!
- Contact paper
- or 12×12 mylar sheets with spray adhesive
- Polycrylic matte clear coat
- Sponge brush
- Screws and anchors- Size will be determined by thickness and surface you are attaching your bottle opener to.
- Screwgun
How to make your diy bottle opener
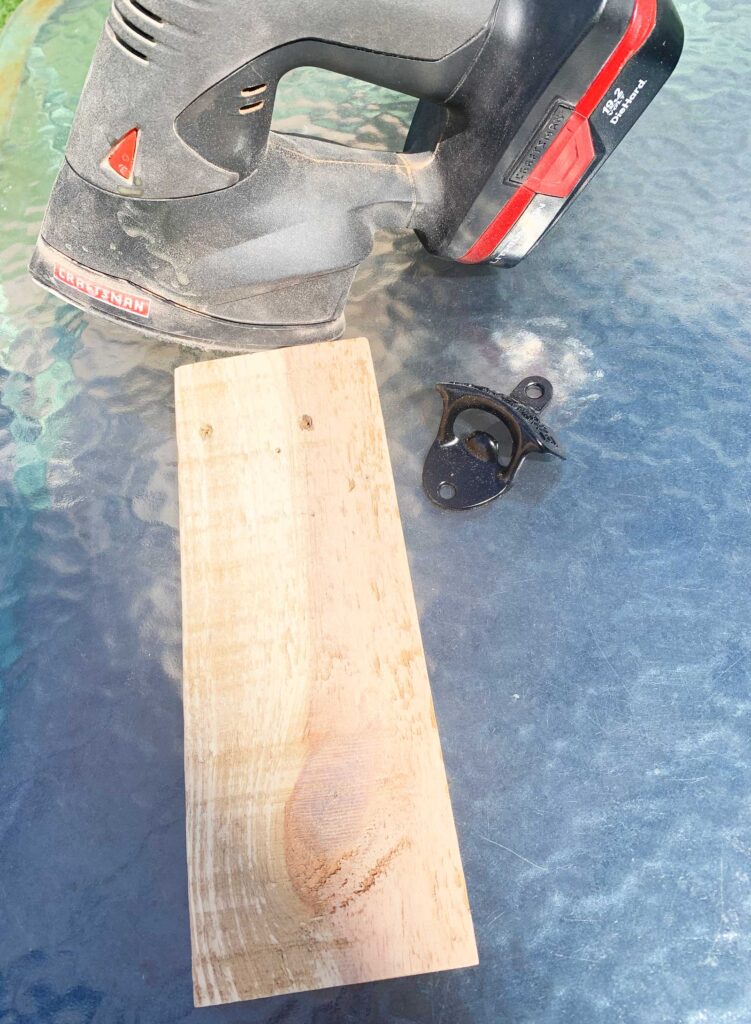
I always prefer pallet wood, it’s easy to come by and easy to cut. I am fortunate enough to have my neighbor who uses a lot of pallet wood so he had these pre cut pieces of 3 1/2″x 10″ perfect for my bottle opener DIY!You can check out these 3 custom painted pallet signs I made using pallet wood.
First step was to use my Craftsman hand sander. First using a rough sand paper grit of 60 then the final sanding using a finer grit of 120.
Paint or Stain your wood
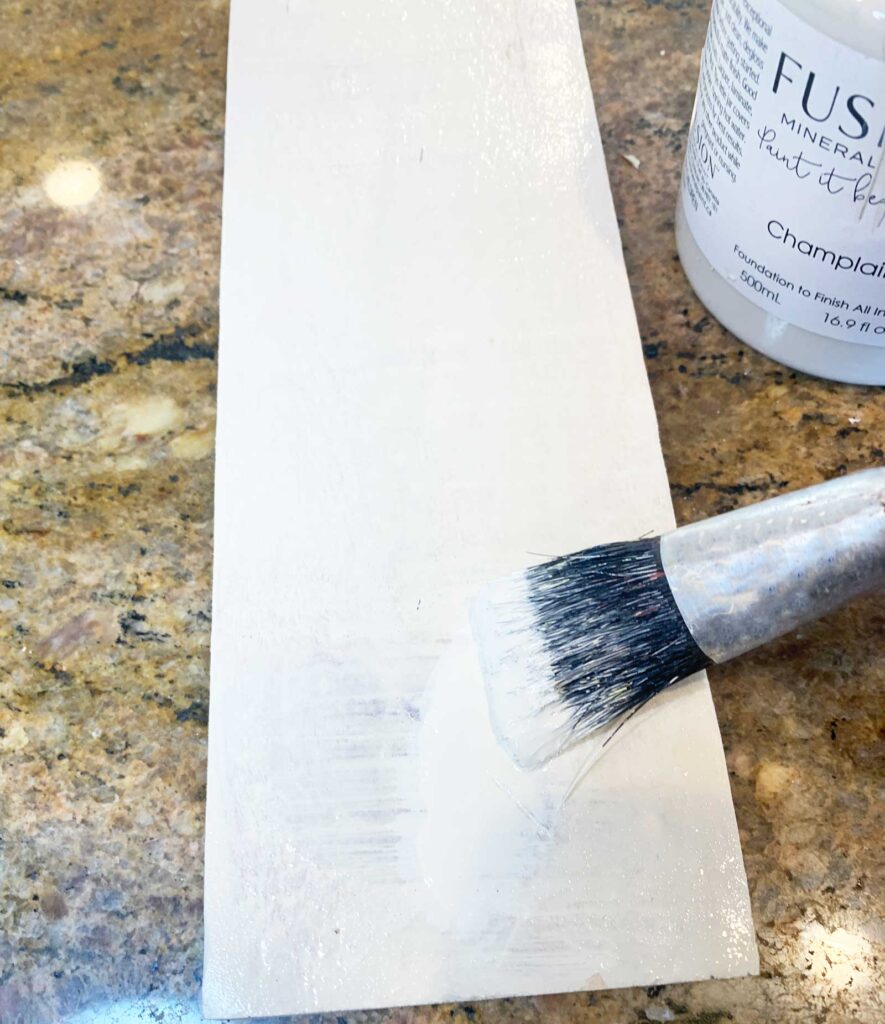
For this pallet wood bottle opener I loved the idea of the black metal bottle opener against a cream ground and black stenciled letters to give it a very crisp contrast look. You can use any water based interior paint, like acrylic paint or an interior house paint tester. What I love about this is you can pick any color you want then get a tester for less than $10 at your local hardware store, you seriously only need a fraction of that for your pallet wood. The left over can be used on another project! In this case I had Fusion Mineral paint in Champlain. I had this from a painted telephone chair redo I had just completed so decided to use this for my pallet wood.
Another option is to use stain on your pallet or scrap wood with a wood stain, it all depends on the look you are going for. Wood stains come in multiple color options. Varathane is a trusted brand for staining wood, and comes in many stain colors.
Stencil for bottle opener
I loved the idea of adding a graphic to any of my painted projects. You can check out my painted furniture projects where I design and add an art element to most of my pieces. The idea of adding a simple “Drink Local” really made sense, because this will be given to my husband to attach outside near the bbq. This is the epitome of drinking local! Below you can download drink local as a png file for use with any Silhouette or cricut machine. If you don’t have a stencil machine you can cut this out and mod podge it to the board! The download is the actual size I used on my bottle opener DIY project.
You can also check out my Double Arrow Etsy store for additional stencils that I have created. All of my stenciled are created and cut using a Cameo Silhouette machine.
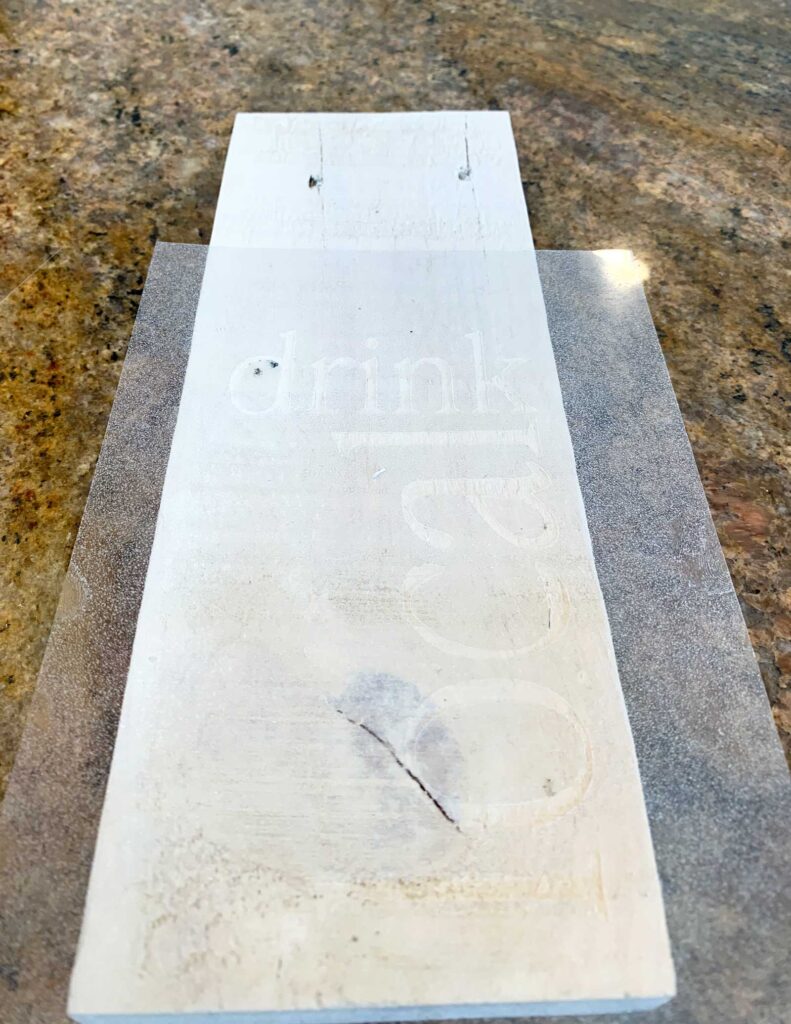
To make a stencil you can use contact paper that can be easily cut, the backing removed and placing sticky side down. I have been using a heavier plastic, then using a spray adhesive to lay my stencils on my projects. I find that the heavier plastic sheets have a little more substance and I can then reuse these stencils over and over.
How to prevent stencil bleeding
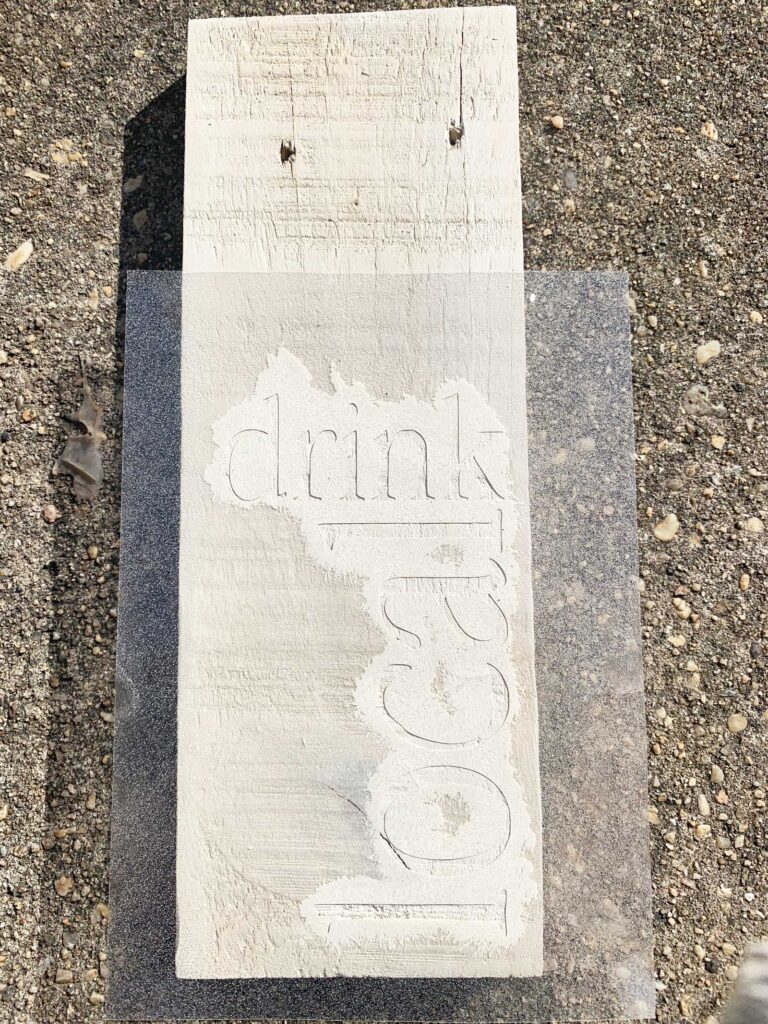
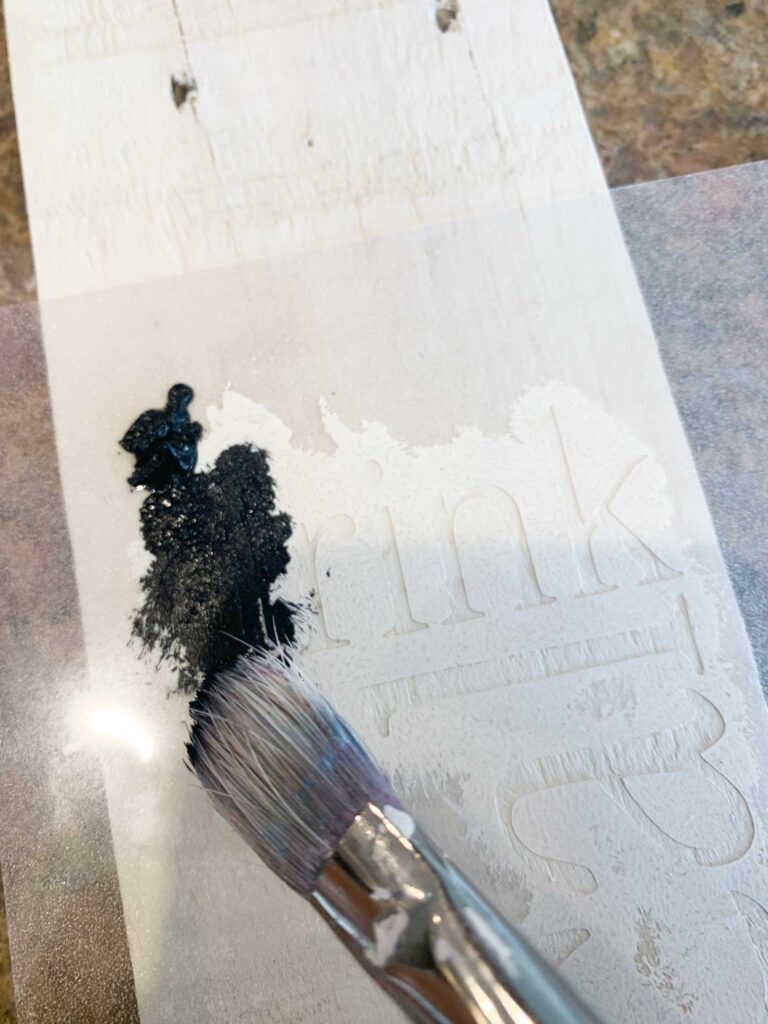
This can really ruin a project! I have a few pointers below to prevent this. The step I used below is once the stencil is in place, use the same color paint as the background,let dry then use the desired paint for the stencil. Because this is pallet wood, there will be an uneven surface and some bleed through occurred, I then used a fine brush and hand painted some edges to clean it up.
Another hack I have not tried yet, but will on my next project, is to use Mod Podge in either a sponge brush or on your finger and coat a light layer around the edges of the stencil to seal it, let dry then paint your stencil.
For my black stenciled letters I used a black acrylic paint. You can easily purchase a Benjamin Moore tester in a black color for these letters as well.
How to seal your pallet wood bottle opener
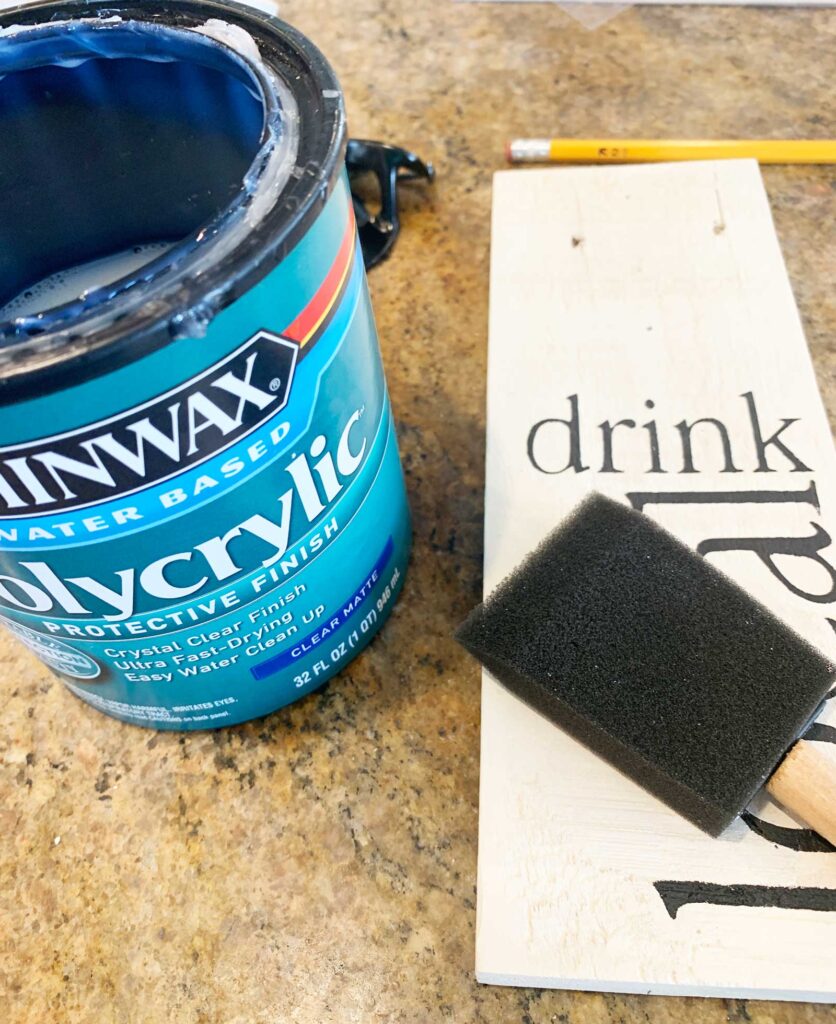
Since this bottle opener is going to be used outside its important to seal the wood. I sealed it with Minwax Polycrylic clear matte. Use a sponge brush and apply it in the same direction of the grain. Let dry and add a second coat to make sure that you have sealed all the surfaces of the wood on front, back and sides. Now all you need to do is hang your bottle opener.
Hardware for Bottle opener DIY
I purchased these black metal bottle openers from Amazon, You can purchase other metal finishes, just depends on the look you are going for! These metal bottle openers came with screws and wall anchors which I didn’t use. I used shorter black screws that worked with the width of my board to screw in my metal bottle opener. Then I will use additional anchors and longer screws to attach to the brick on the outside of the house,
Loved how this quick easy bottle opener diy using pallet wood came out! The cream and black color scheme gives it a timeless look and will be a great addition next to my husbands outside BBQ. This whole project took around two hours to do, so simple and easy!
Share with me your bottle opener DIY projects below! Hope that the stencil came in handy.
Related posts using pallet wood
Check out the below posts on some cool additional projects that I worked on, using pallet wood.
My blog periodically contains affiliate links meaning that if you make a purchase, I might make a small commission at no extra charge to you. Purchases made through them are greatly appreciated.



Leave a Reply