DIY Home Decor Stencils for Furniture, Pillows, and Fabric
Originally published on [August 13, 2021]. Updated on [March 8, 2026].
If you love creative DIY projects as much as I do, you know that sometimes the smallest design detail can completely transform a space. One of my favorite ways to add personality to a project is with DIY home decor stencils.
Stenciling is one of those timeless decorating techniques that continues to evolve with modern tools like Cricut and Silhouette cutting machines, making it easier than ever to create professional-looking designs at home.
In this post, I am sharing three free printable stencil designs that I created and used in my own home decor projects. These designs can be used on pillows, upholstery, fabric projects, and even furniture to instantly add pattern, character, and a custom designer look.
If you love DIY home decor, stencil crafts, or Cricut stencil projects, you can download these designs and start creating today.
Note: My blog periodically contains affiliate links, meaning that if you make a purchase, I might make a small commission at no extra charge to you. Purchases made through them are greatly appreciated.
Home Decor Stencils- that will make any home beautiful! In this post, you will find stencils that I designed for home decor DIY projects that I used around my house. I made original designs, then I applied these to textiles for upholstery and pillow projects.
DIY Home Decor Stencil on Etsy
Below you will find three original stencil designs that I created for DIY home decor projects. You can download my peace sign stencil for free!
These stencil patterns are designed to work perfectly with:
• Cricut machines
• Silhouette Cameo machines
• Contact paper stencil material
• Reusable stencil sheets
You can download one or all three and use them in your own projects.
The three stencil designs included are:
• French-inspired bee stencil
• Medallion stencil pattern
• Peace stencil design
Please note that all designs on my site are for personal use only, and may not be sold, altered, redistributed or claimed as your own. A lot of hard work has gone into making these. Thank you for respecting my terms!
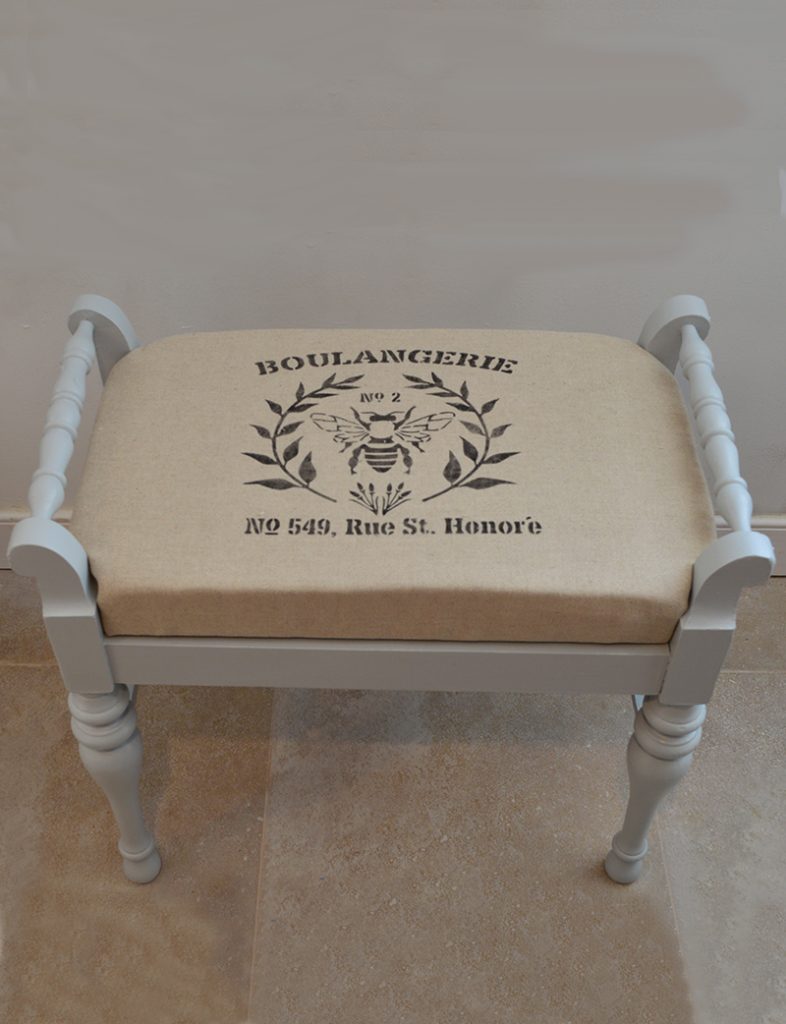
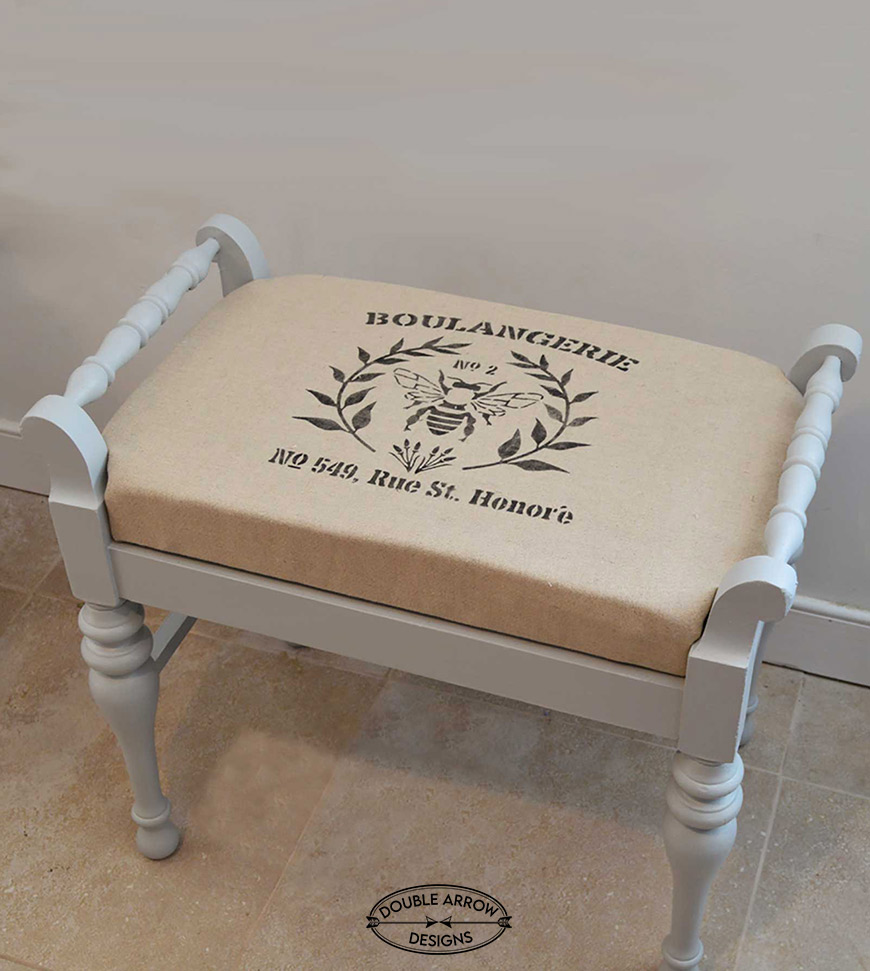
French-Inspired Bee Home Decor Stencil
I created this home decor stencil in order to stencil canvas to upholster this bench that my sister and I had found a few years ago. This was one of our projects we sold under our Double Arrow Designs business a few years ago. The transformation was unbelievable, and it was bought by a woman in Brooklyn for her apartment.
Pro Tip: Once you have stenciled your design, use a hot iron to set the paint into the fabric.
French-inspired bee home decor stencil

French Inspired Bee Stencil DIY Project
The French bee stencil was originally designed for a furniture project my sister and I worked on together. We found a vintage bench and wanted to give it a unique, custom upholstery look.
Instead of purchasing expensive printed fabric, I created a stencil design and stenciled the pattern directly onto canvas fabric.
The transformation was incredible. What started as a simple bench became a custom designer style piece that was eventually purchased for an apartment in Brooklyn.
I also used only the bee for a stenil on this cute little side table that I purchased at good will then recycled and sold and made a profit.
Pro Tip
After stenciling fabric, lightly heat set the paint with an iron. This helps lock the paint into the fibers and keeps your design looking crisp.
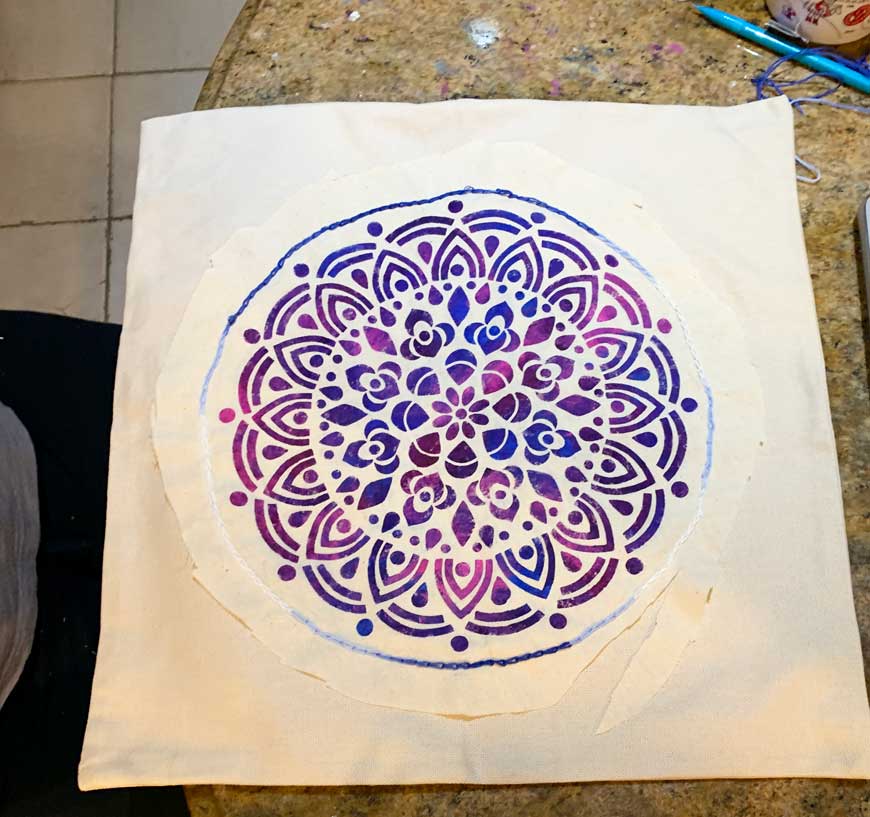
Medallion Stencil for DIY Pillow Decor
This medallion stencil design ended up becoming one of my favorite stencil projects.
Originally I planned to stencil the design directly onto a pillow cover. Unfortunately, I made a mistake during the process, which happens to all of us in DIY projects.
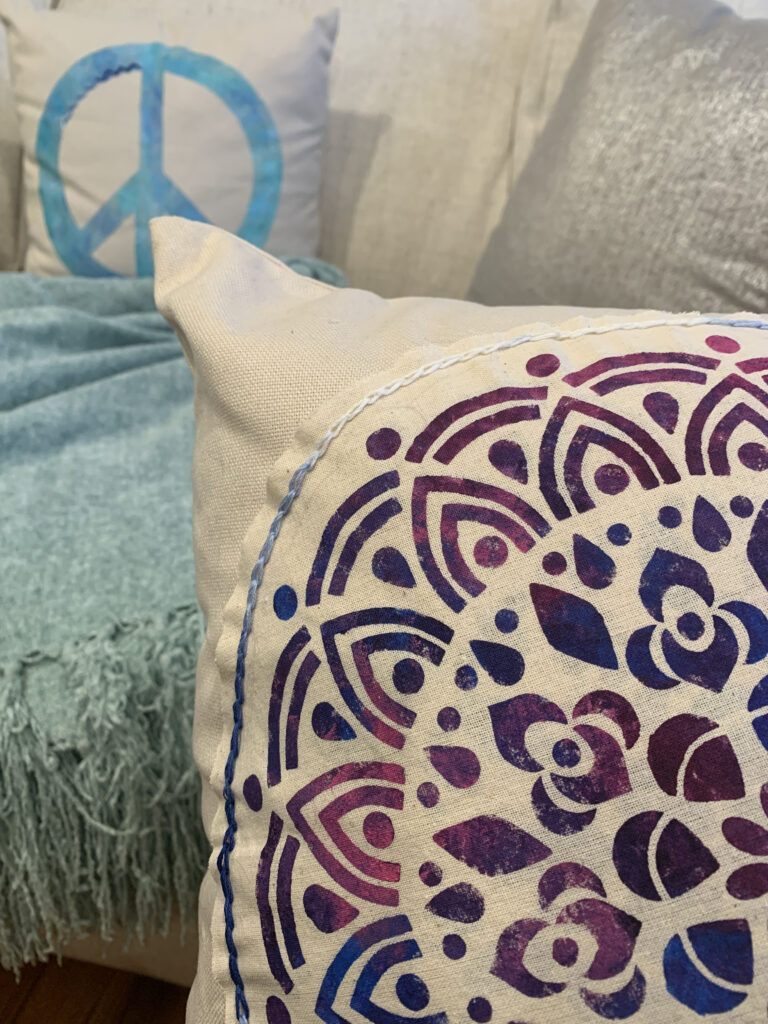
Instead of tossing the pillow cover, I stenciled the design onto a separate piece of fabric and appliquéd the medallion onto the pillow using embroidery stitching.
Sometimes mistakes actually create a better design opportunity, and that is exactly what happened here. The embroidered detail added dimension and made the pillow feel even more custom.
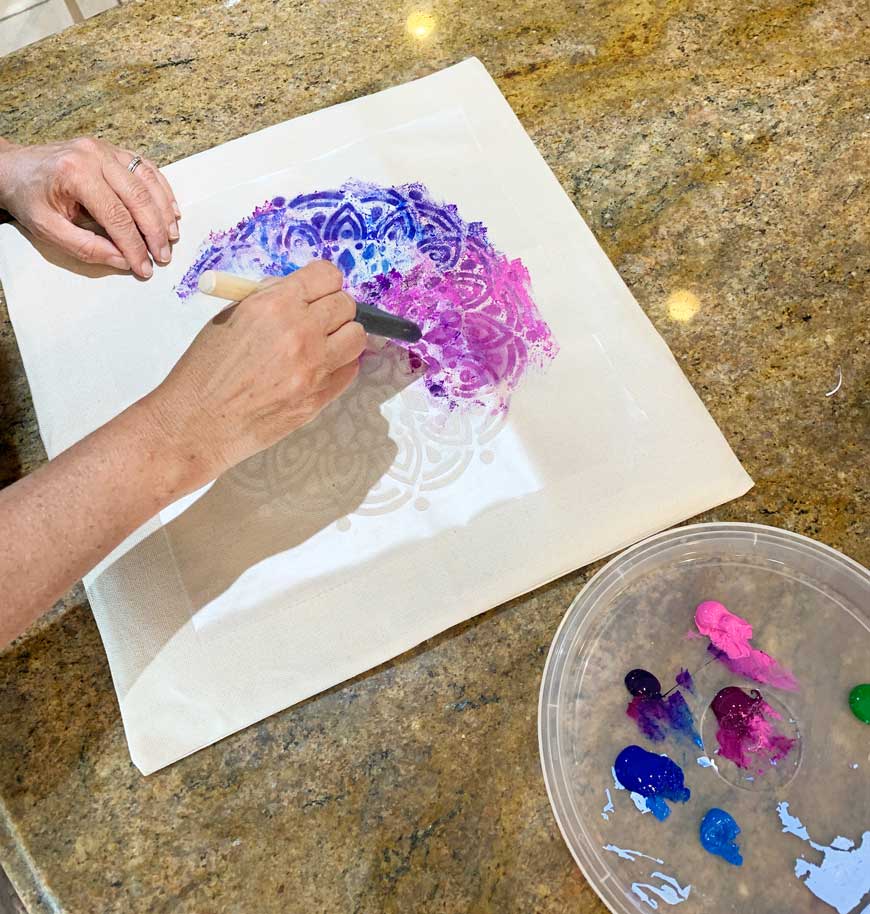
For the stencil paint technique I used multiple paint colors blended together to create a subtle ombre effect that gives the design a relaxed, boho inspired look.
- Download and print your stencil
- Using your Cameo or Cricut machine, use stencil material or contact paper
- Pick your fabric or acrylic colors
- With a sponge or paint brush, blend colors for an ombre look
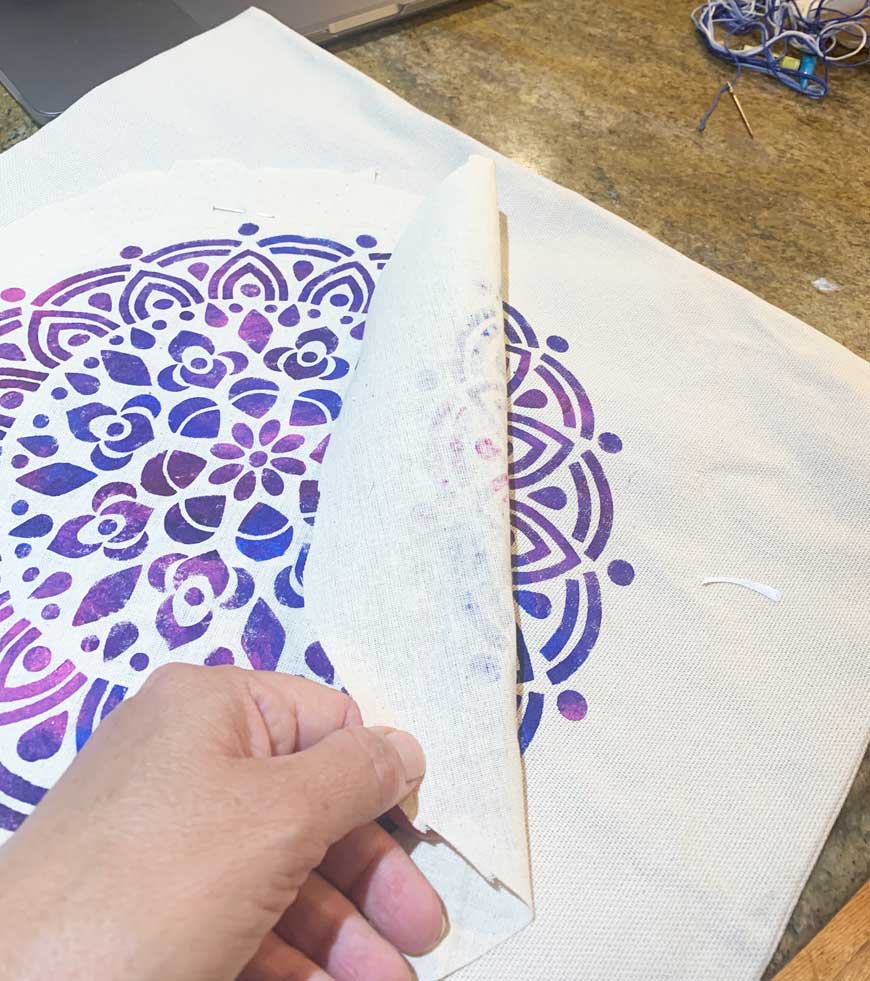
- Peel stencil
- Let the paint dry and set the paint into the fabric w hot iron
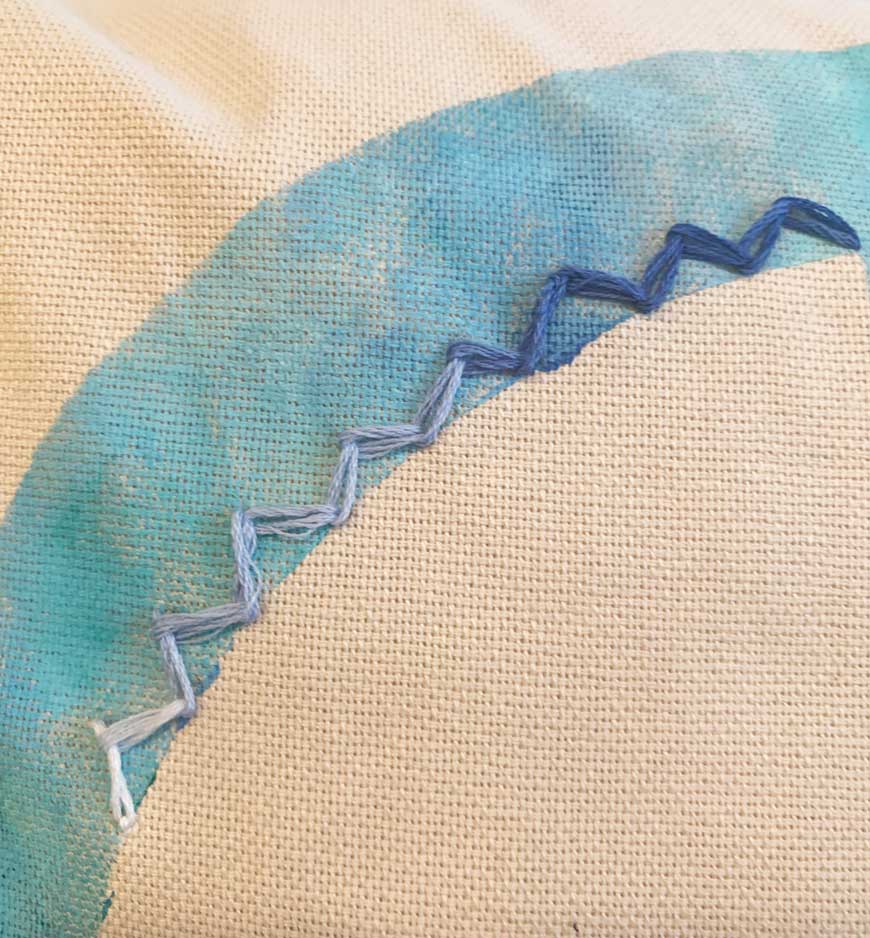
- To embroider around fabric using a chain stitch. See below for my YouTube video for this stitch
Chain stitch Video
I did this on a sweater but it’s the same stitch on my medallion pillow.
Peace Symbol Stencil DIY
For this stencil, I created a simple stencil design. Using a similar technique that I used with the medallion stencil. So I chose like colors and blended them for a tie-dye “effect.” Loved the outcome!

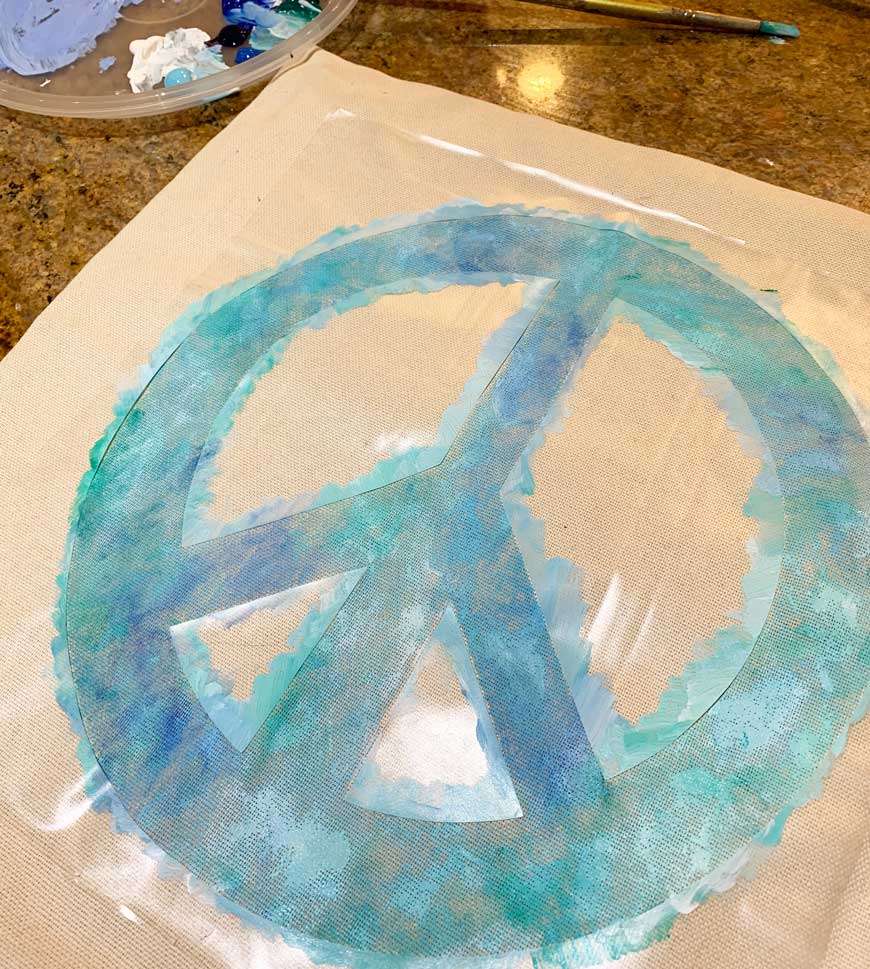
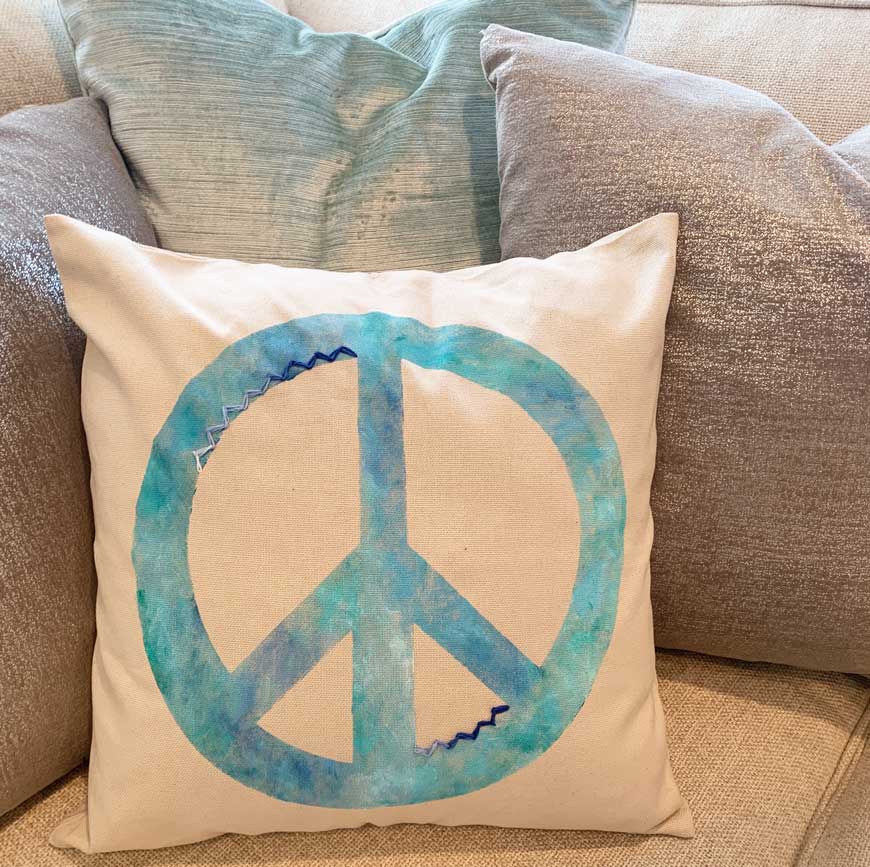
The peace stencil design was created as a more playful and graphic option.
For this project I used a similar technique to the medallion pillow but experimented with color blending to create a tie dye inspired effect. The finished piece has a fun, artistic feel that works beautifully in casual spaces.
This stencil design can easily be used on:
• throw pillows
• tote bags
• wall art
• fabric wall hangings
• furniture accents
It is a simple stencil, but it creates a bold visual statement.
Download- Free Peace Stencil
My designs are created directly on the computer, then I bring it over into my Silhouette software and cut a stencil using contact paper on my Cameo Silhouette Machine. I then lay my stencil on my textile and use a stencil brush and Jacquard fabric paint (this brand comes in many pretty colors!) to fill it it.
How I Create My DIY Stencils
All of my stencil designs begin as digital sketches created on the computer. From there I import the design into my Silhouette Cameo software, where I cut the stencil using contact paper.
Here is the basic process I use for most stencil projects.
- Download and print the stencil design.
- Upload the design to your Cricut or Silhouette cutting machine.
- Cut the stencil using stencil vinyl or contact paper.
- Place the stencil on your fabric, furniture, or project surface.
- Use a stencil brush or sponge to apply paint.
- Carefully remove the stencil and allow the paint to dry.
- Heat set fabric designs with an iron if needed.
This simple process allows you to create professional looking stencil decor projects at home.
I went the extra step on adding an embroidery detail on the pillows you can read that full blog here. These stencils have had multiple use and can also be found on my Etsy Store.
Below are the tools I used for all my home goods DIY projects.
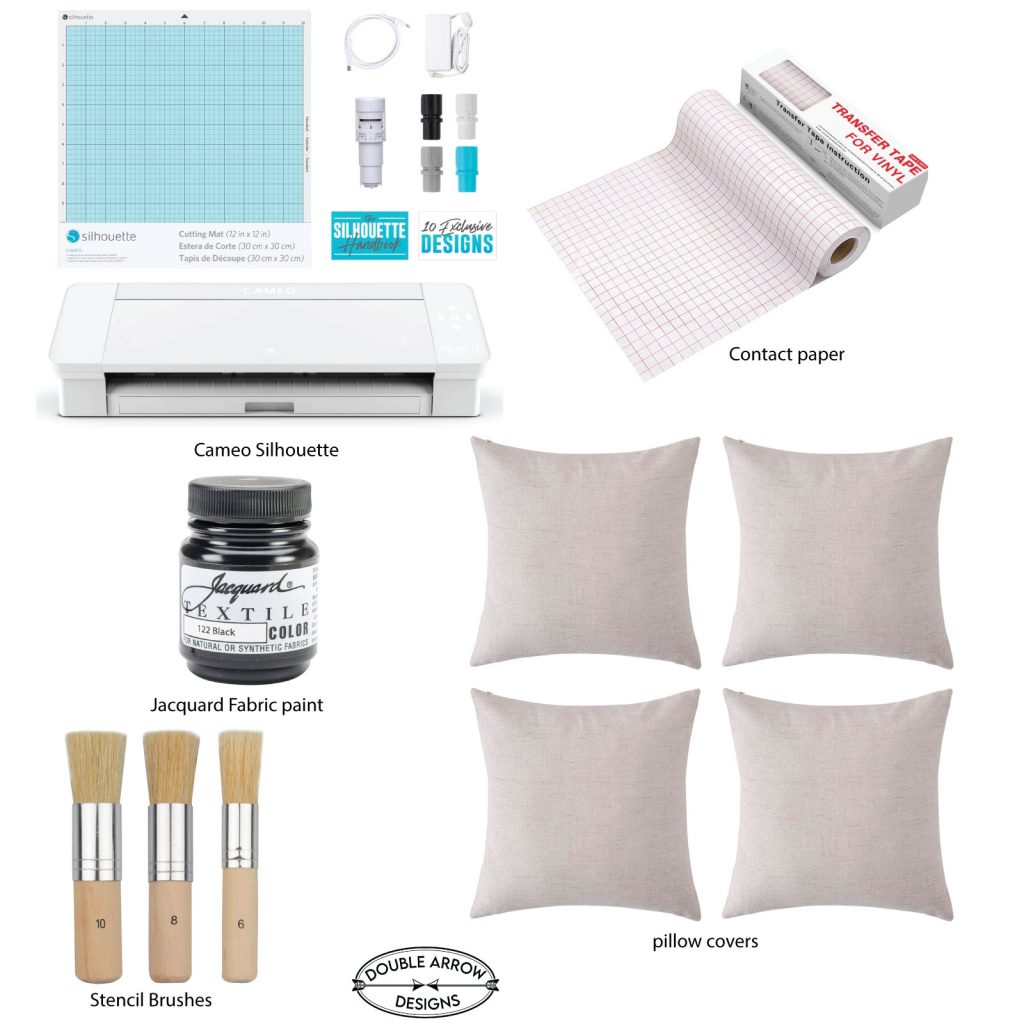
Cameo Silhouette– I have a Cameo, however you can also use a Cricut MAchine
Contact Paper– This is what I use to cut out my stencils and adhere onto my fabric or furniture, you can also use vinyl.
Fabric Paint– For fabric this paint is especially made for fabric, you can also use acrylic paints.
Stencil Brush– these brushes are especially made for stenciling, you apply paint onto the brush and dab onto the fabric. I do not mix with water, and I layer my paint so that it doesnt bled under the stencil.
Pillow Covers– These plain pillow covers are a good starting point for your own stenciled covers.
Related posts you may like
Check out some of these other posts for additional DIY home goods projects that I have created the last year. Hope you like!
Thanks for stopping by!

This post is all about DIY home decor stencils