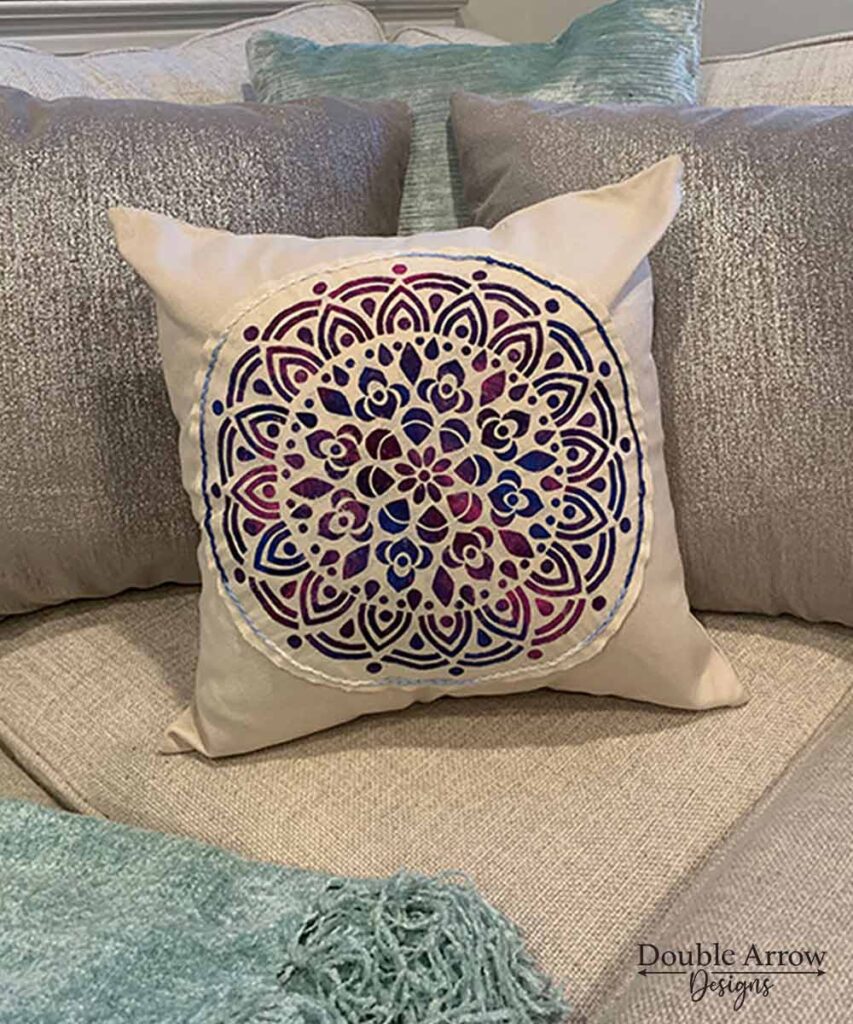
How to use Stencils for Pillows, an Effortless Way to Transform Plain Covers
If you love simple DIY projects that make a big difference, stenciling pillow covers is one of the easiest ways to refresh a space. I created two original pillow stencils for this project, both available in my Etsy shop, and I am also sharing a free downloadable Peace stencil for you to try. Whether you want a fast painted design or a more detailed appliqué look, you will find both methods below.
This post contains affiliate links. If you make a purchase through one of my links, I may earn a small commission at no extra cost to you. As an Amazon Associate I earn from qualifying purchases.
Stencil Directly on the Pillow Cover
If you want the quickest method with crisp, clean edges, stenciling directly onto the pillow cover is the perfect option. This technique works beautifully for beginners because it eliminates extra steps and gives you instant results. When done correctly, the design looks professionally made, even if this is your first time using a stencil on fabric.
Supplies needed for stenciling and embroidering Pillows
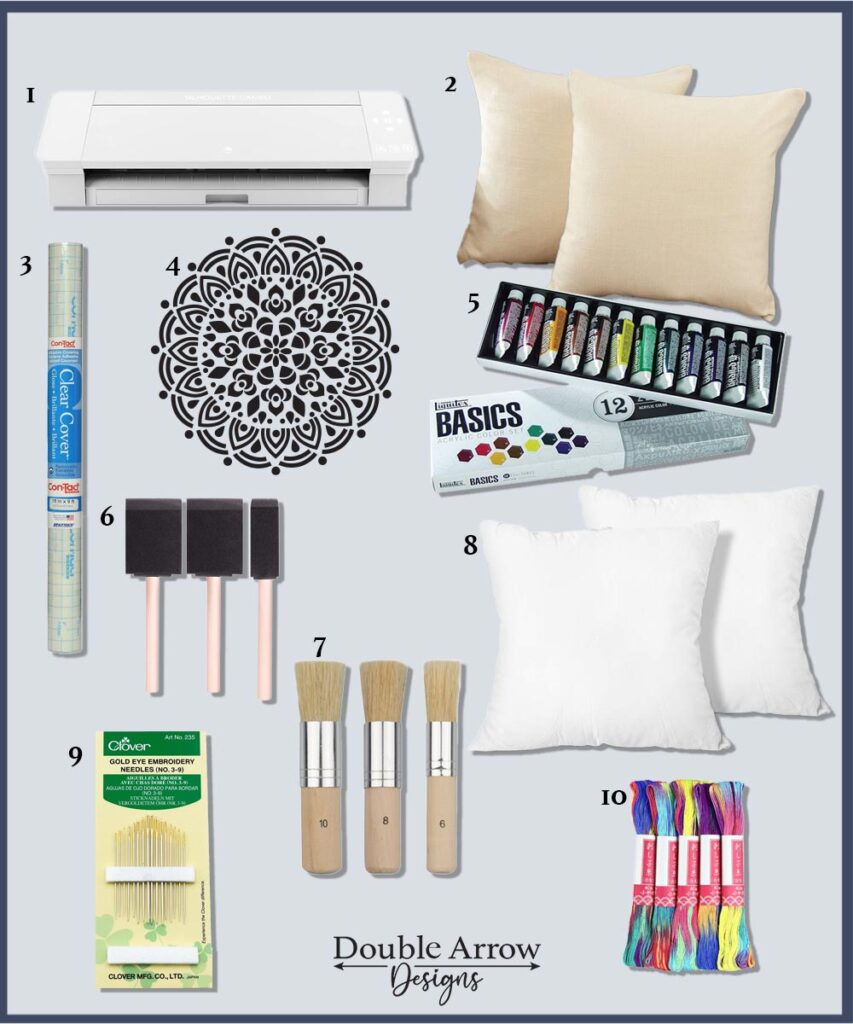
- Cameo silhouette Machine (Love mine!)
- 16×16 Canvas pillow covers
- Contact paper, for all my stencil projects
- My original Medallion design on Etsy
- Liquitex paints. This is a great starter kit that gives you a good range of colors
- Sponge brushes
- Stencil brushes are another option
- 18×18 pillow inserts
- Embroidery needles
- Yokota Sashiko Thread
Cut the Stencil
Use your Silhouette Cameo machine or Cricut to cut your stencil. Contact paper, or vinyl, works very well for this step. The Medallion stencil shown here is available in my Etsy shop. Begin by cutting your stencil using your Silhouette Cameo machine. This gives you precise, sharp lines that transfer beautifully onto fabric. I prefer using contact paper for stenciling projects because it has just the right amount of tackiness. It sticks well enough to prevent bleeding but still peels away easily without stretching the design. Cut your stencil in one smooth pass, then gently weed out the open areas. If you want to recreate the exact design shown here, the Medallion stencil is available in my Etsy shop. Use your Silhouette Cameo machine to cut your stencil. Contact paper works very well for this step. The Medallion stencil shown here is available in my Etsy shop.
Position the Stencil
Lay your pillow cover on a flat surface and place a thick piece of cardboard inside to prevent paint from seeping through. Center the stencil on the pillow cover, adjusting it until the placement feels balanced. Once it is aligned, press the stencil down firmly with your fingers, smoothing out any air bubbles or lifted edges. This step is key because securely sealed edges are what keep your lines crisp and prevent any paint from bleeding underneath the stencil.
Choose Your Colors
One of the most enjoyable parts of this project is selecting your color palette. Liquitex acrylic paints are a favorite of mine because they blend smoothly and offer rich, vibrant pigmentation. You can also use fabric paint, but I personally like the acrylic color choices. Choose a palette that complements your decor or fits the mood you want to create. For my pillow, I chose a blend of blue, purple, and pink, which transition beautifully together and create an ombre effect across the design. You can use as many or as few colors as you like, depending on the look you want.
Prepare the Paint
Pour a small amount of each color onto a palette, a paper plate, or even a plastic lid. You do not need much paint for stenciling. If the paint feels too thick, add a tiny drop of water and mix until the consistency is smooth but not runny. This small adjustment helps the paint spread evenly and prevents it from clumping on your brush. It also helps the paint blend better when working with multiple colors.

Apply the Paint
Use a sponge or stencil brush and begin applying paint by dabbing in a straight up-and-down motion. Avoid brushing side to side because that can push paint under the edges of your stencil and ruin the crisp lines. Work in thin layers and build up the color slowly. When blending two or more shades, place them next to each other and lightly overlap where they meet so they fade naturally. Using colors that are similar in tone, such as blue to purple or purple to pink, keeps the blended areas smooth and prevents any dull or muddy patches.
Remove the Stencil
Once you finish painting, wait a few minutes until the paint becomes tacky but not fully dry. Carefully peel the stencil off in one slow, steady motion. If your design includes small cutouts, use a pair of tweezers to lift those pieces without smudging the paint. After removing the stencil, allow the pillow cover to dry completely. Once dry, place a thin cloth over the design and press it gently with an iron. This step helps set the paint so the design stays vibrant, washable, and long-lasting.
Finishing Touches
When the pillow cover is fully dry and the paint is set, insert your pillow form. Using a slightly larger insert makes a noticeable difference in how the pillow looks once displayed. I recommend an eighteen-by-eighteen insert inside a sixteen-by-sixteen cover because it creates a full, plush, designer finish. Fluff it a bit, place it on your sofa or bed, and enjoy your brand new custom pillow look.
Create an Applique Pillow with a Stencil
Position the Design
This method adds texture and dimension to your pillow. It works especially well if you want something detailed and unique.
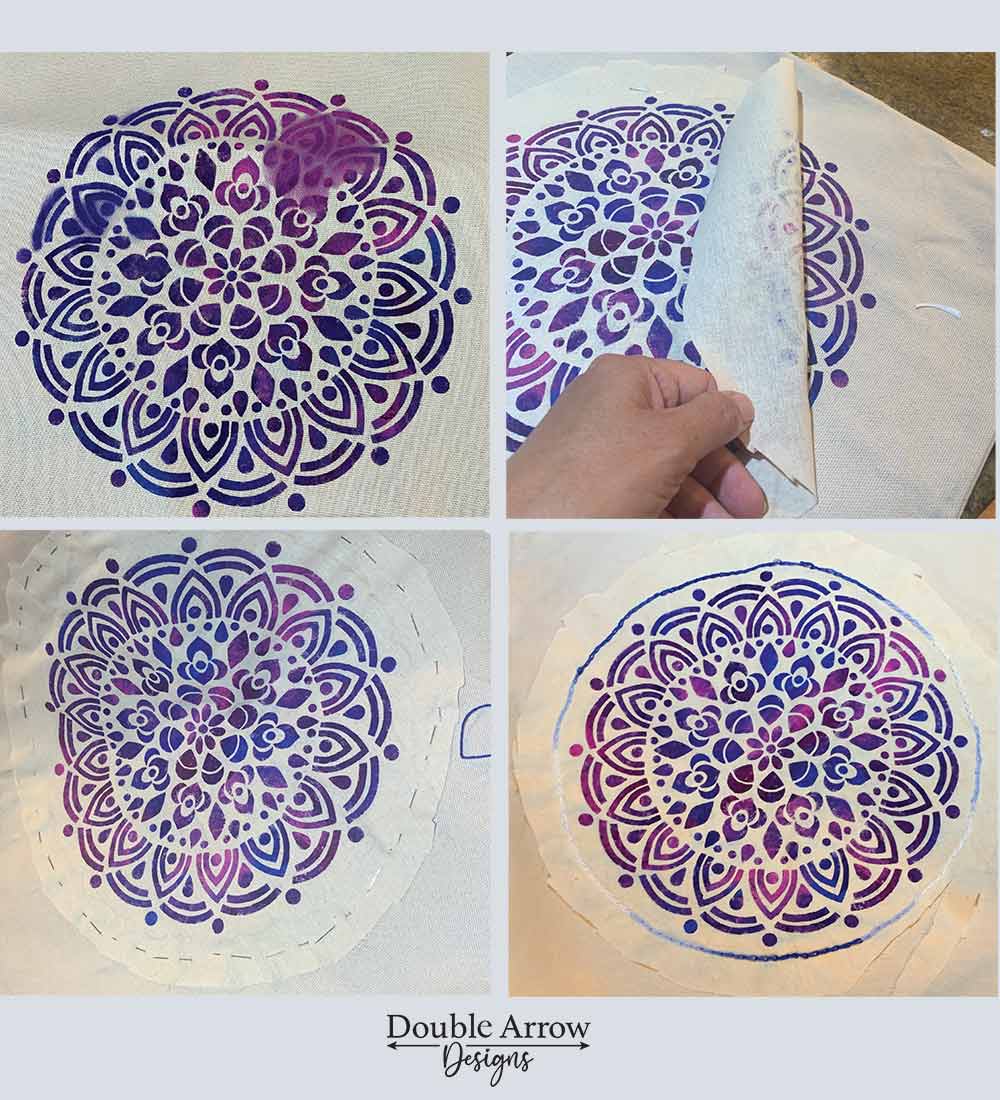
Prepare the Fabric Piece
Choose a scrap piece of fabric that complements your pillow cover. This fabric will hold the stenciled design. I used a similar color to my pillow because my original stencil had smudged, so I decided to re-stencil, cut, and make an applique over my mistake. This piece will be the patch containing your stenciled design. Choose a fabric that matches (to hide the patch, as you did) or contrasts (to make the patch a distinct design element).
Stencil the Fabric
Apply your stencil design directly to the scrap fabric and let it dry. Make sure the paint is fully dry so it doesn’t smudge onto the pillow cover in the next steps.
Place the stenciled fabric on the pillow cover and pin it in place so it does not shift while stitching. Critical Step: Pinning prevents the fabric from moving while you are marking and stitching, ensuring your appliqué is centered and straight.
Mark Your Stitch Line
Use a pencil to lightly outline where you will be sewing. This makes the stitching clean and even. This line is your sewing guide. Stitching along this line will keep your hand or machine stitches clean, even, and accurately placed on the pillow fabric.
Choose Your Stitch Style
I used a simple chain stitch for mine. You can also use decorative stitches, such as a zigzag, which I used on my Peace pillow. Most stitches can be learned in minutes by watching quick tutorials online.
Stitch the Applique
Thread your embroidery needle with embroidery thread ( thicker than sewing thread) and sew along the pencil line to secure the design. The thicker embroidery thread is used for hand stitching to make the decorative stitch (like the chain stitch) stand out. If using a machine zigzag stitch, use regular sewing thread in a coordinating color.
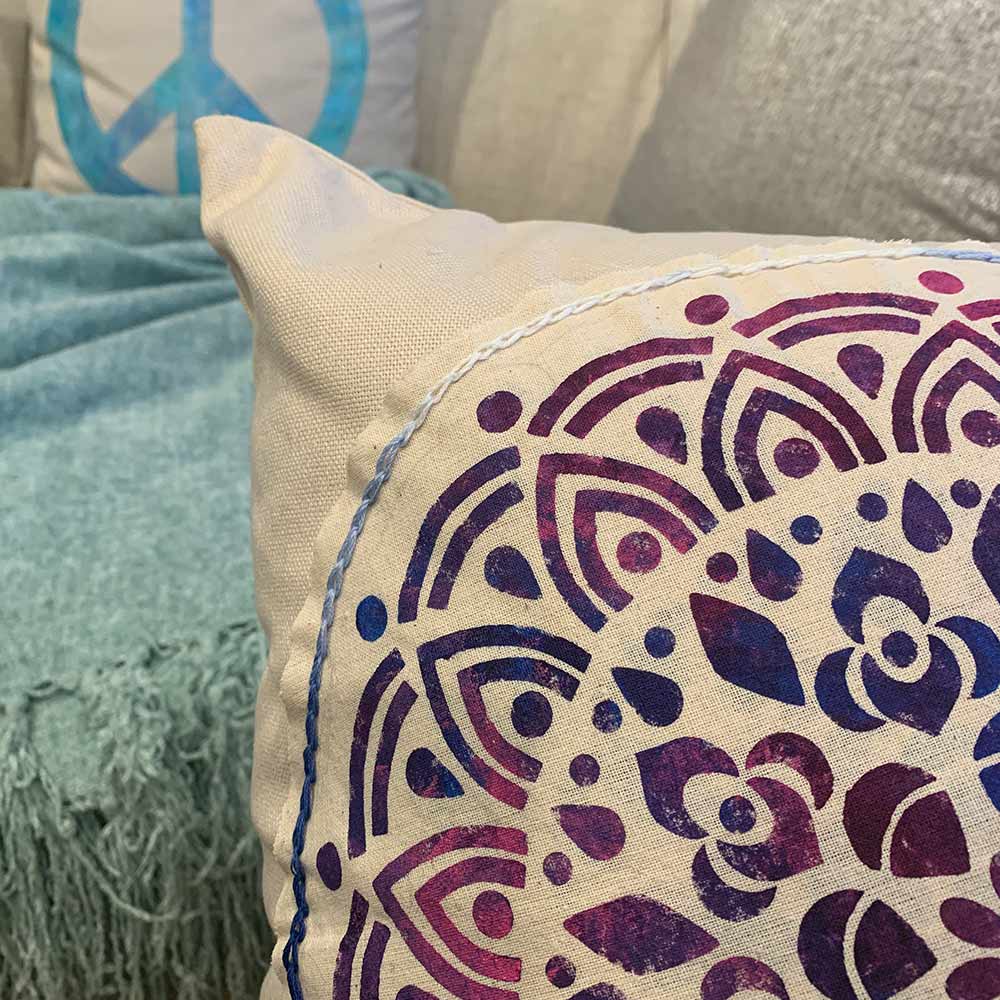
Trim the Edges
Once the applique is stitched, trim around it with sharp fabric scissors, leaving about one-quarter inch around the stitching. Your stitch line secures the piece, and this small raw edge allows the fabric to fray slightly for a soft, rustic look without coming apart.
stenciled fabric with paint
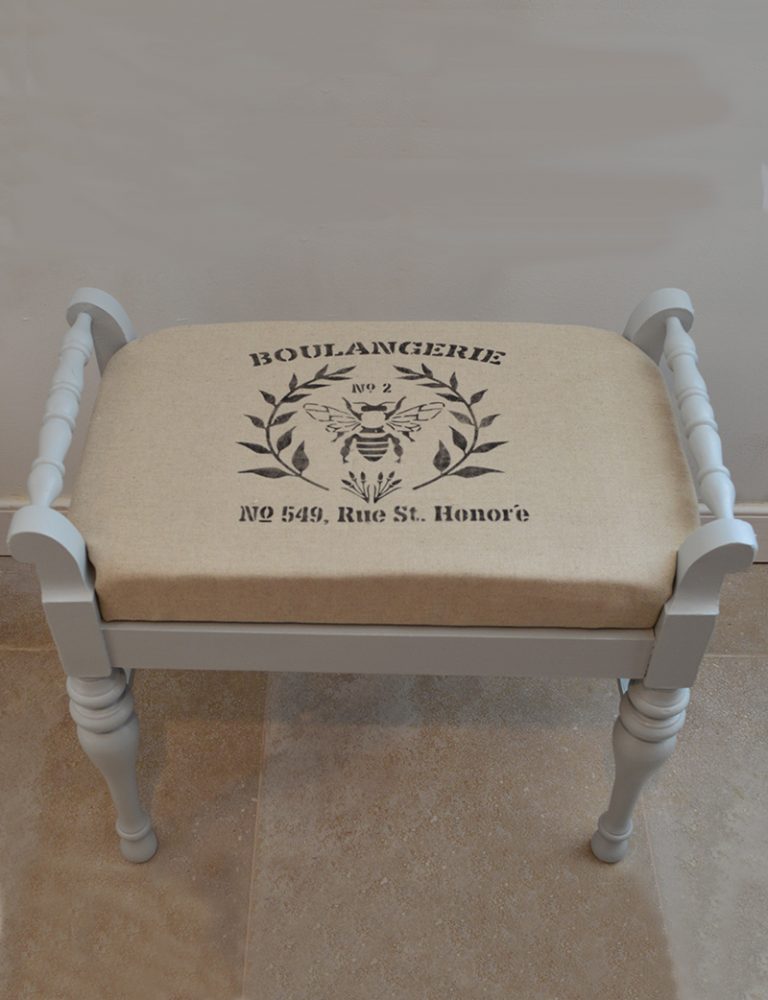
Below is a quick video on the process I used for stenciling fabric for an upholstered bench. The process is the same, just a different project!
Free Download
As a thank you for being here, you can download my Peace stencil for free. I hope it inspires your next project and helps you create something meaningful and beautiful.
If you’re interested in exploring more designs, you can browse my Etsy shop, where I continually add fresh stencils and other digital downloads for easy DIY projects!
You now have everything you need to create a beautiful, custom pillow that reflects your style and creativity. This project is simple, budget-friendly, and incredibly rewarding, and the best part is that you do not need to be an artist to make something stunning. All it takes is a little time and a few supplies to transform a plain pillow cover into a piece of décor that feels truly personal. So gather your materials, pick a stencil that inspires you, and give it a try. Once you complete your first pillow, you will be amazed at what you can create.
Related posts
Take a look at some additional DIY posts that you may want to take on!
- Turn Fall Postage Stamps Into Adorable DIY Polymer Clay Magnets
- How to Turn Wood Dowel Rods into a Show-Stopping Mirror Frame!
- Turn Plain Into WOW: DIY Polymer Clay Light Switch Covers
Thanks for stopping by!

This post is all about stencils for pillows