Patched Ripped Jeans-that you can easily DIY

My blog periodically contains affiliate links meaning that if you make a purchase, I might make a small commission at no extra charge to you. Purchases made through them are greatly appreciated.
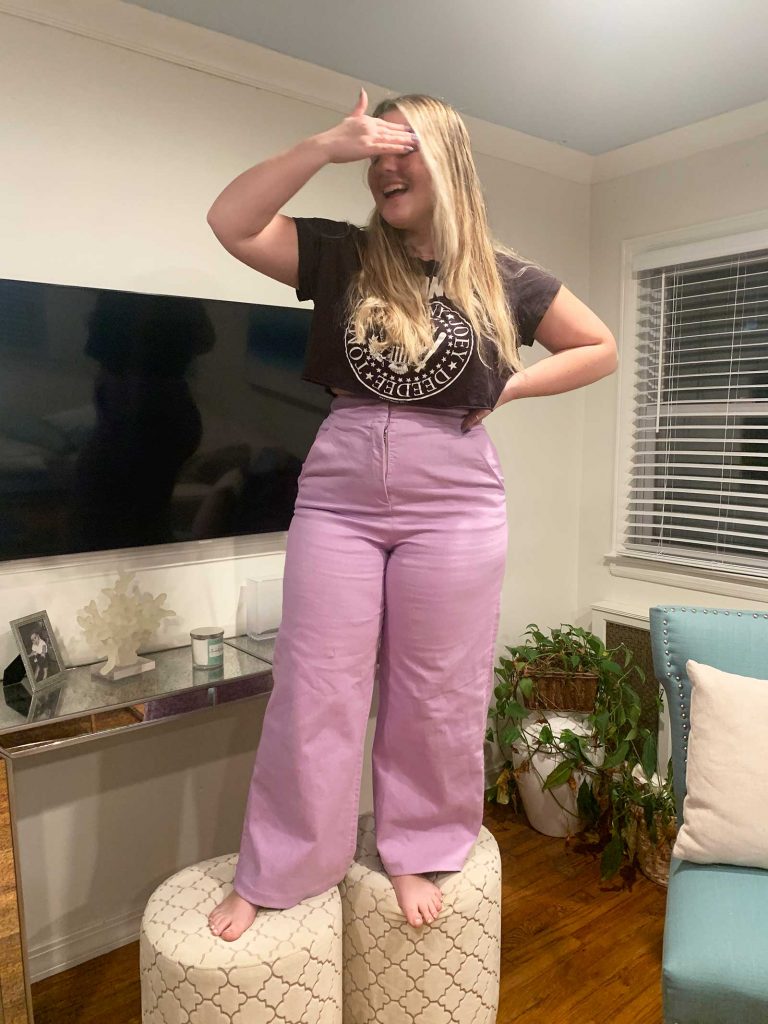
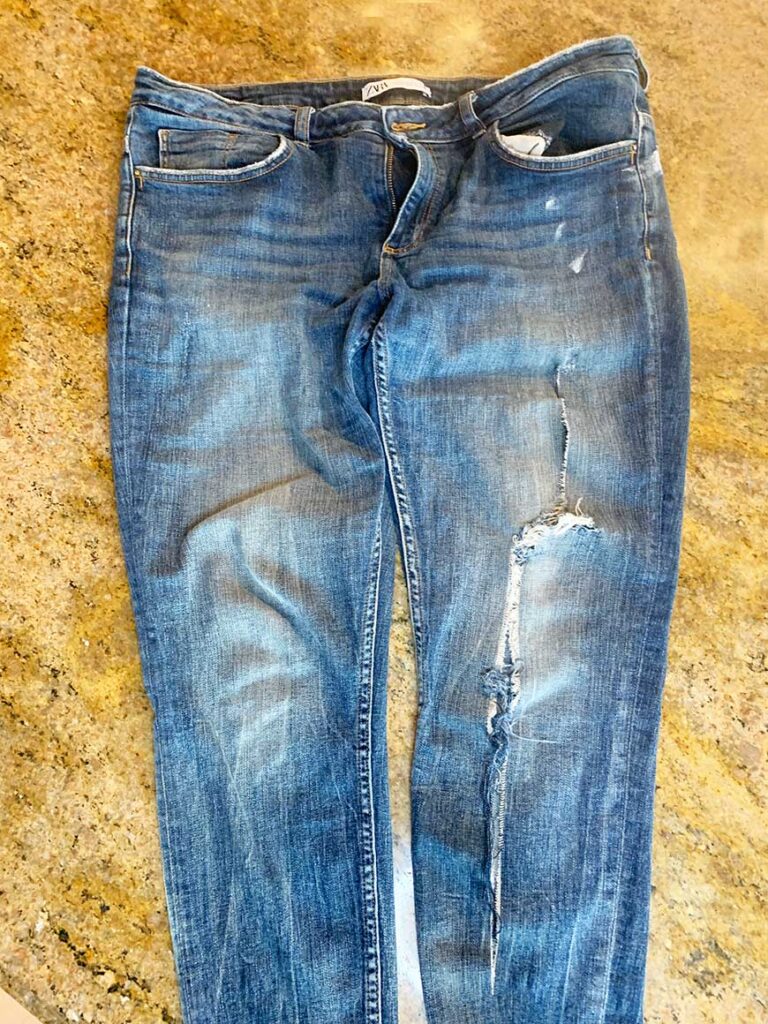
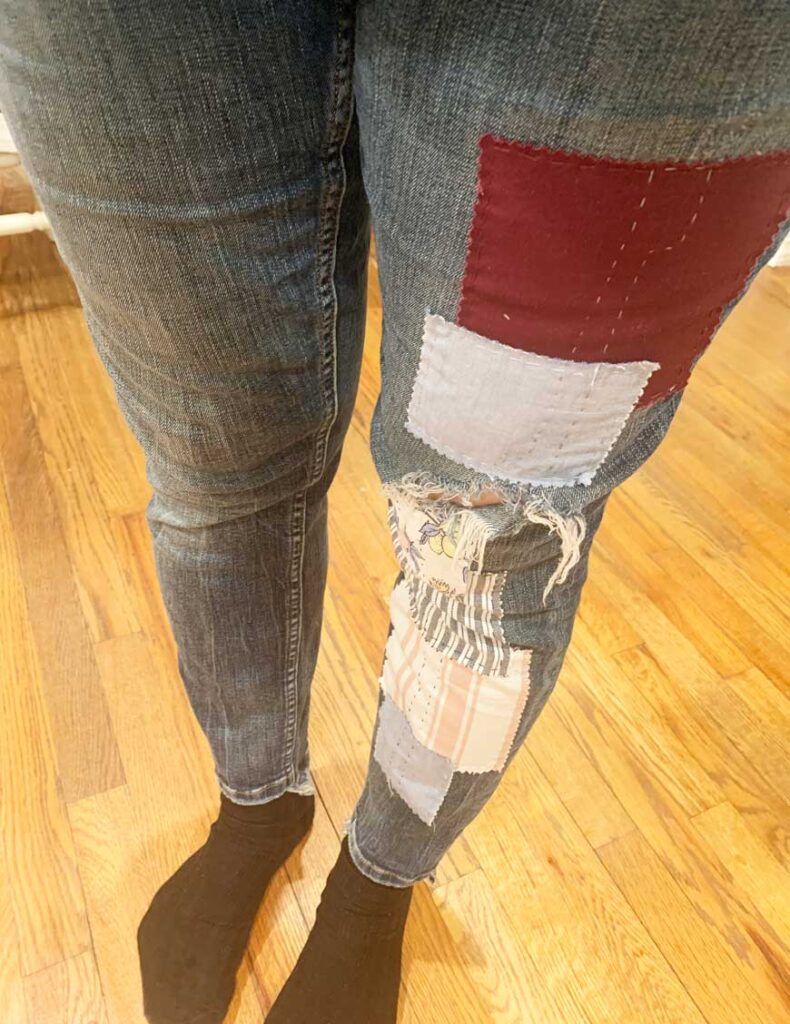
In this post I share how I DIY’d my patched ripped jeans. These jeans started out with a fashionable rip above my left knee. So yes you guessed it, I put my foot through this rip and it grew and grew… Then today it got caught on my kitchen knob and ripped the jeans from upper thigh all the way to the bottom.
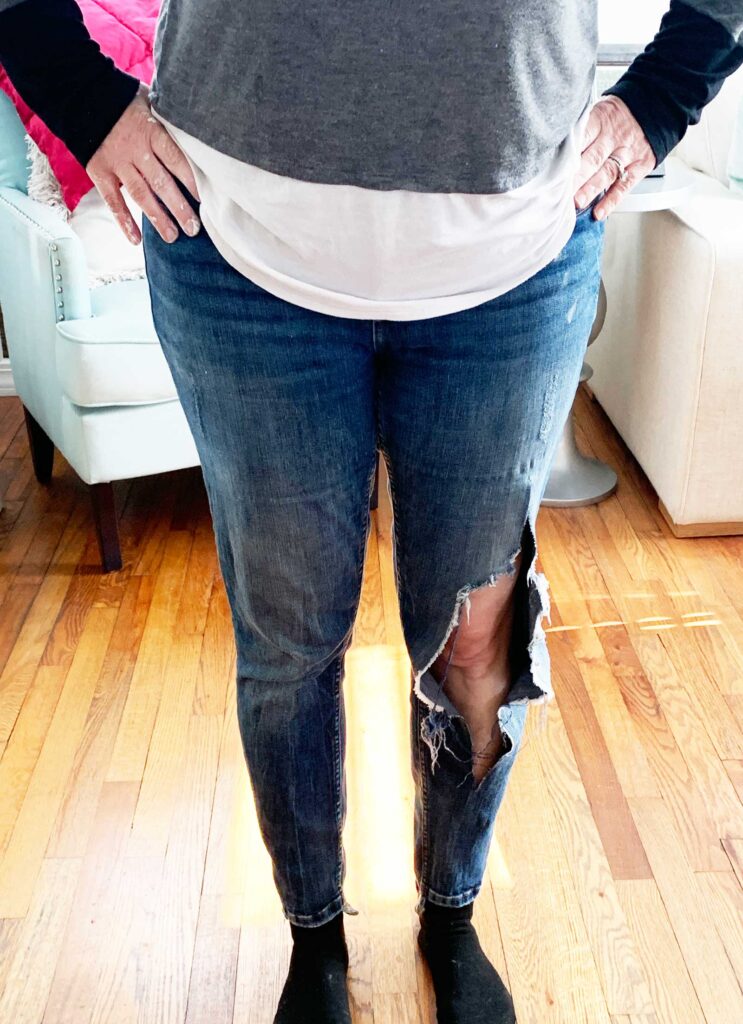
Taylor was making fun of me and said I could cut them into jean shorts! Now I wasn’t going to throw my ripped jeans out. They have become my ripped work jeans and I want to hold onto them. I love the fit and comfort. so luckily for me I have lots of scraps of fabric in my house.
Check out this other method of repairing jeans that I did here. It’s a different look, but a very cool alternative affect.
Steps to patching ripped jeans
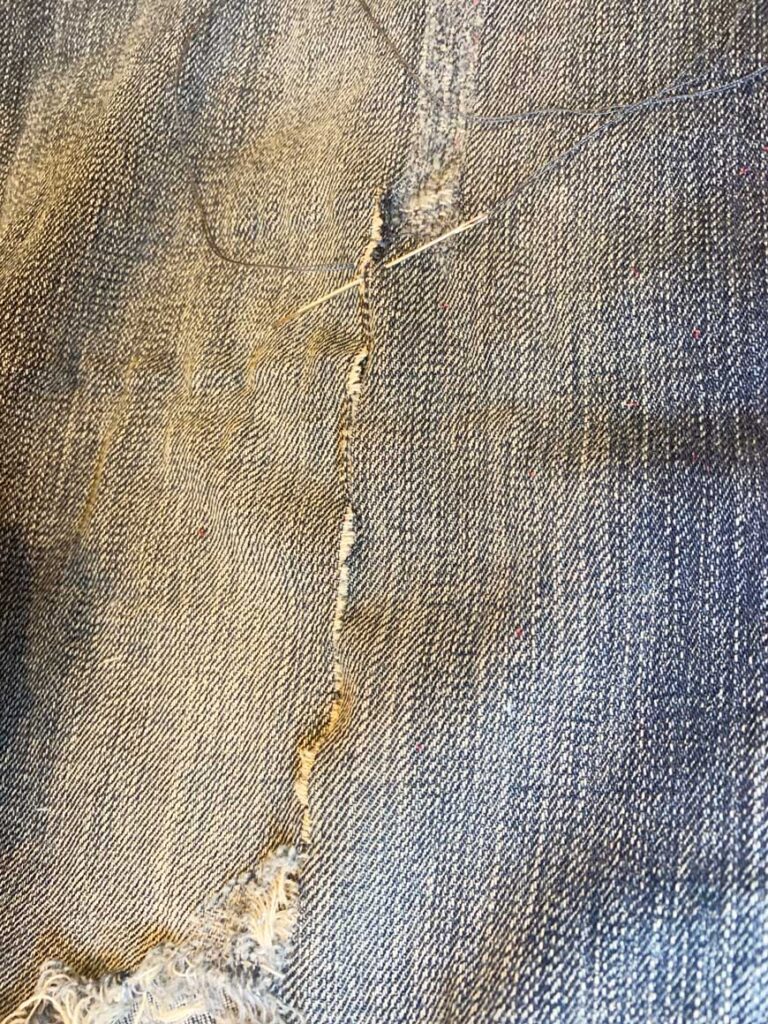
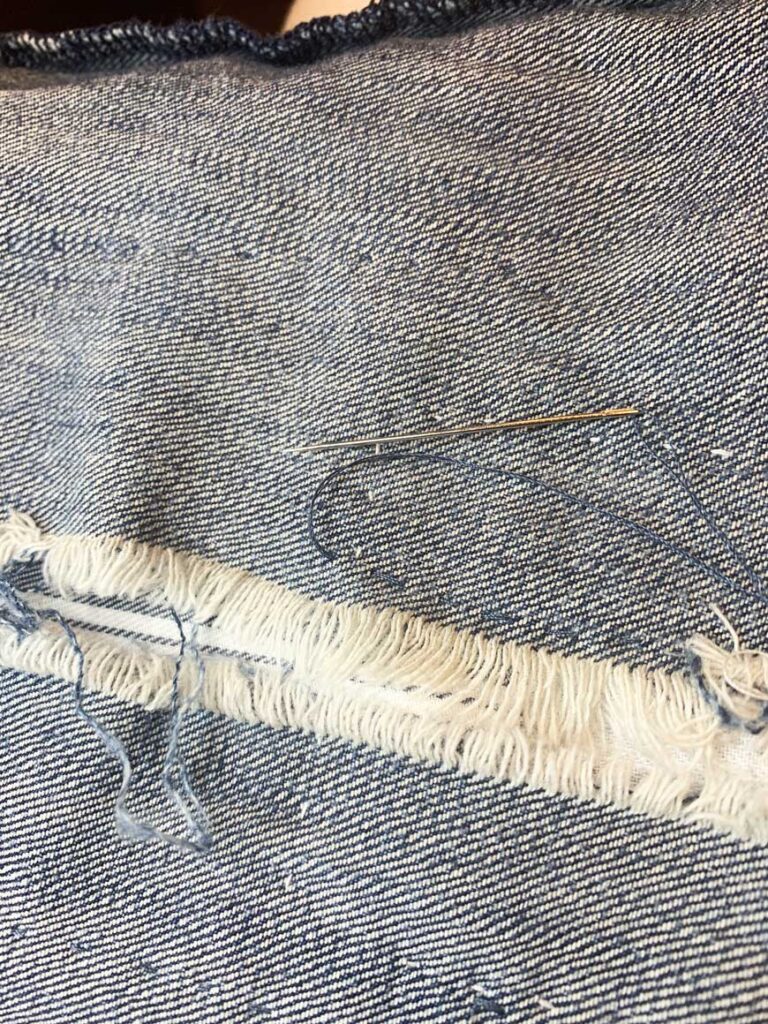
First think is to line up the two sides where your jeans have ripped. In my case it was such an extreme long rip that I decided to just do a loose hand stitch along this rip to keep the shape of the leg. So don’t worry about being precise, this will be covered up and you will not see this.
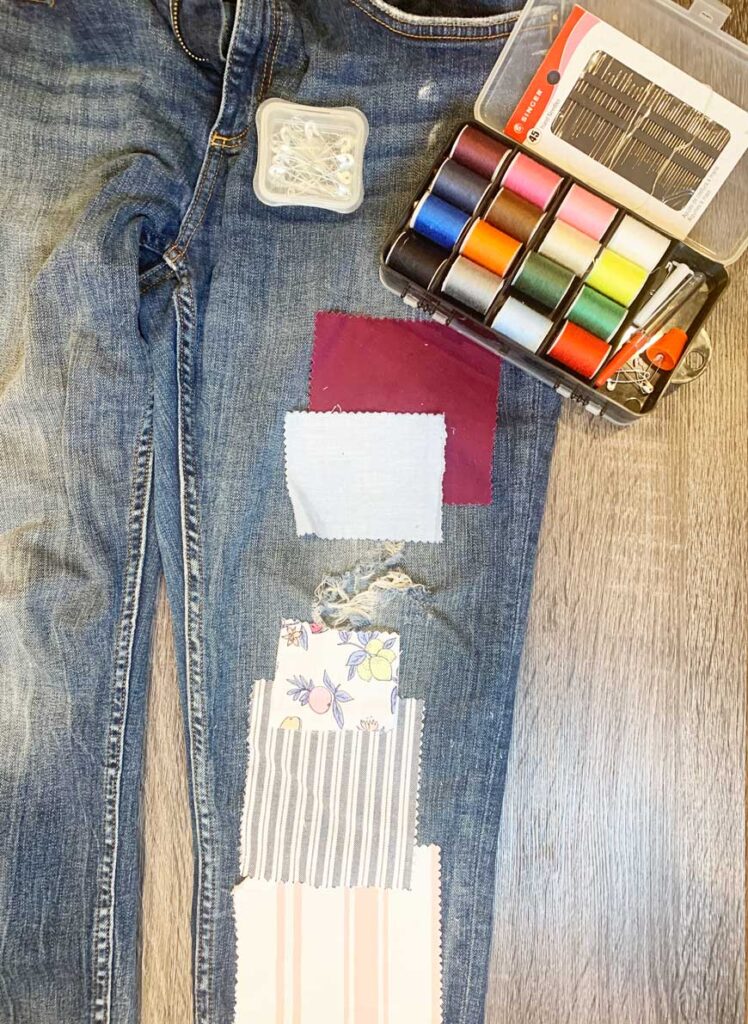
- Choose swatches of fabric you will use, cut to size, or shape (remember you can cut your swatches not only in squares or rectangles but in circles or shapes like flowers orr stars) They are only defined by your imagination!
- Place cut swatches in the layout you would like.
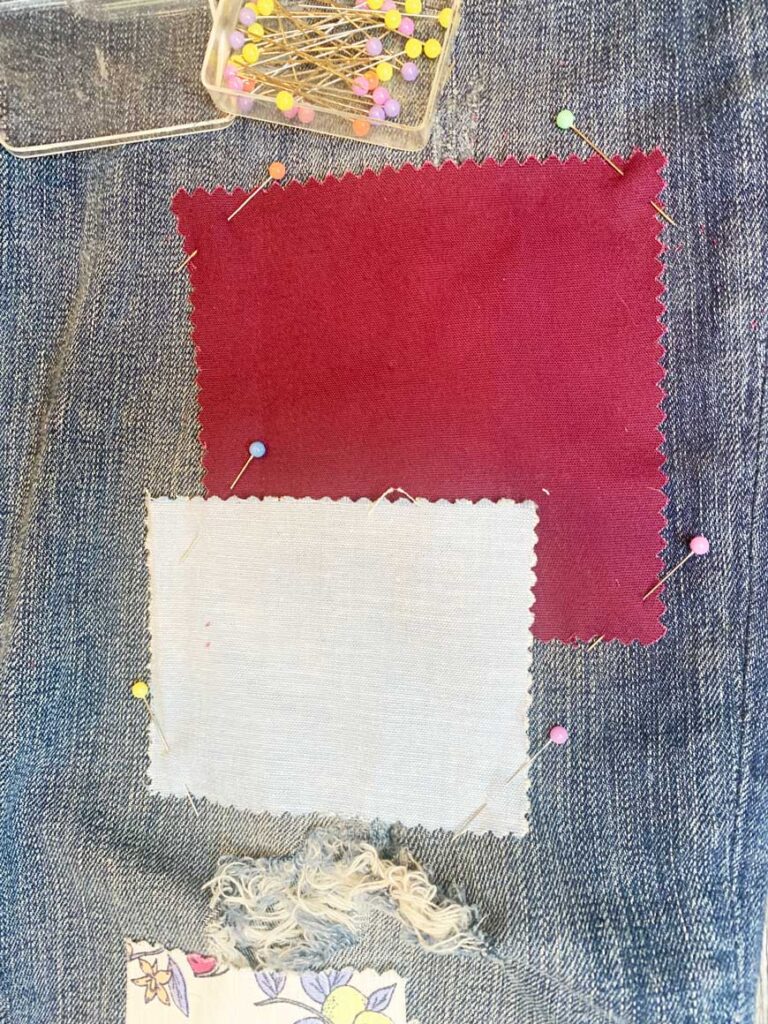
- Pin swatches down on the one layer of jeans (be sure not to pin them to the other side)
- I used a square plastic container slipped into the leg. This prevented me from sewing through both layers. You only want the front or back layer of your jeans sewn so that you can get your legs through when complete.
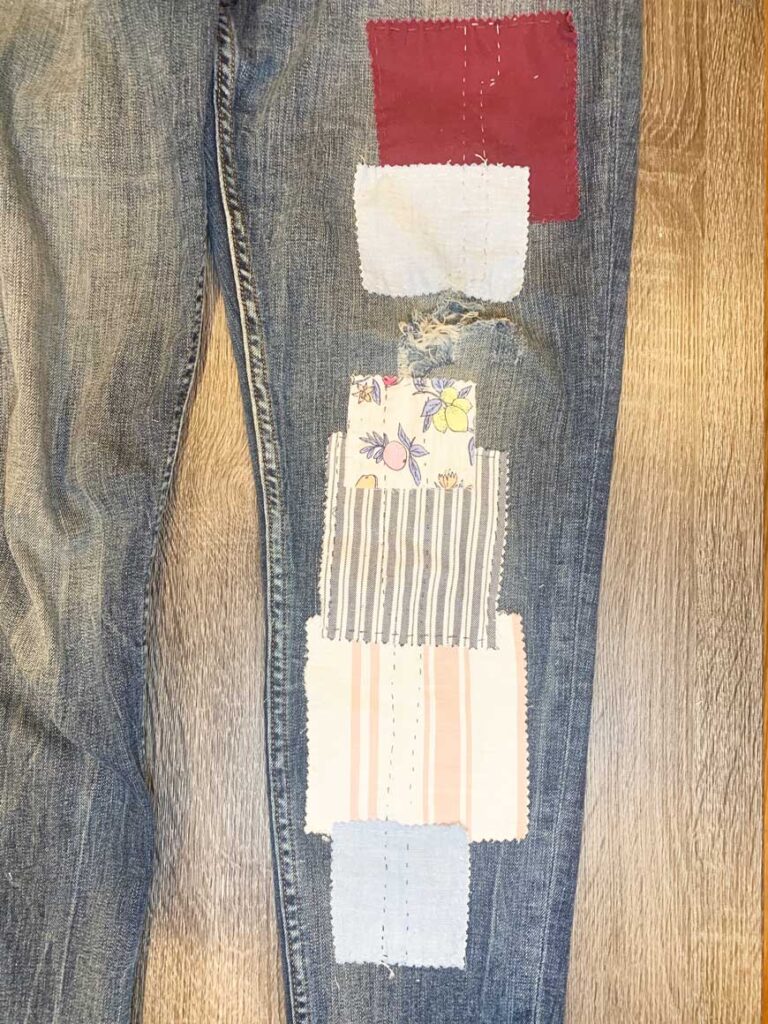
- Pick thread color. I used a simple running stitch along my patches. I left the outer edge loose. Once I wash these patched denim jeans this will fray and add additional character to these patched denim jeans.
- Once all patches are sewn down, turn your denim jeans inside out. Then sew another running stitch on either side of the rip. two things this will do. One, reinforce the ripped edge to be sewn down to your fabric swatch. Two when you turn your pant right side, you will have an additional decorative stitch that looks pretty cool on your patches.
- You are done! So now you have completed your patched ripped jeans that are boutique, one of a kind!

sew a quick stitch at rip 
turn jean inside out, stitch on both sides of tear 
Good resources for your patches:
You can either take a variety of scraps from a few different sources. this is what I did for my patched rip jeans. The second option is to take all your scraps from one resource. So say you have an old pair of jeans that no longer fit. This would be perfect to use as your patches for your ripped jeans. The color will not be the same of the pair you are repairing and can be a fun look with two tone denim.
- plaid shirts
- old sheets
- other jeans
- button downs
- bandanas
If you do not have any of the above you can buy fabric swatch bundles from amazon. Check them out here.
Check out these fun patched denim jeans from Princess Polly below.
Another fun pair of patched denim jeans are from Free people below.
Check out these more colorful patched jeans from Free People
Sewing Kit for patched ripped jeans
No products found.Even if you do not sew, these sewing kits are invaluable to have in your house. The one shown isnt the exact one I have, but has all the same supplies. I love my kit, it was my mom’s who never used it, so I am making sure I put it to good use!
Share with me your DIY patched rip jeans! So many endless options that no two will ever look the same!
How To Fix Ripped Pant Knees
Pant knees usually rip first because they get the most movement and friction. Before sewing, trim loose threads and decide whether you want the repair to disappear or look like an intentional patch.
For a cleaner repair, place the patch behind the hole so the fabric supports the weak area from the inside. For a more decorative look, place the patch on top and use visible stitches to make it part of the design.
If the fabric around the tear is thin, make your patch larger than the hole so the stitches attach to stronger fabric. This keeps the repair from pulling apart again after a few wears or washes.
For another denim repair idea, see how I embroider jeans by hand. If your clothing project is more about fit, my pants hemming tutorial may also help.
Last update on 2026-07-31 / Affiliate links / Images from Amazon Product Advertising API