Old Door Dining Table-From Salvage to Statement
My neighbor acquired these old, solid wood vintage doors. Since he needs to furnish his new Airbnb cabin in Tennessee, he decided that this old door would be a perfect dining table! Come check out the process below as I help him with design details to turn this ordinary door into a one-of-a-kind old door dining table.
Old Door Dining Table
This post contains affiliate links. If you make a purchase through one of my links, I may earn a small commission at no extra cost to you. As an Amazon Associate I earn from qualifying purchases.
These old oak doors were gifted to my neighbor, Brian. We talked about this project because her knew I would envision a design element for this project. Take a look below because this is exactly what I did! We made an
old door dining table that you will see below.

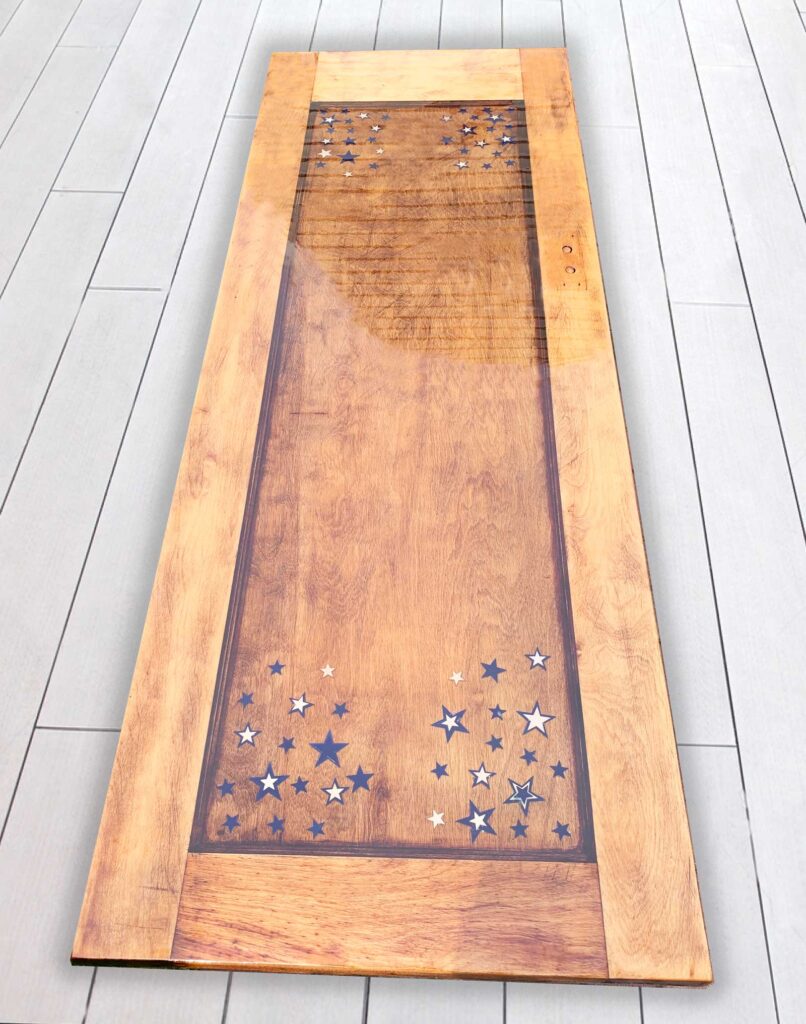
Table made from a door
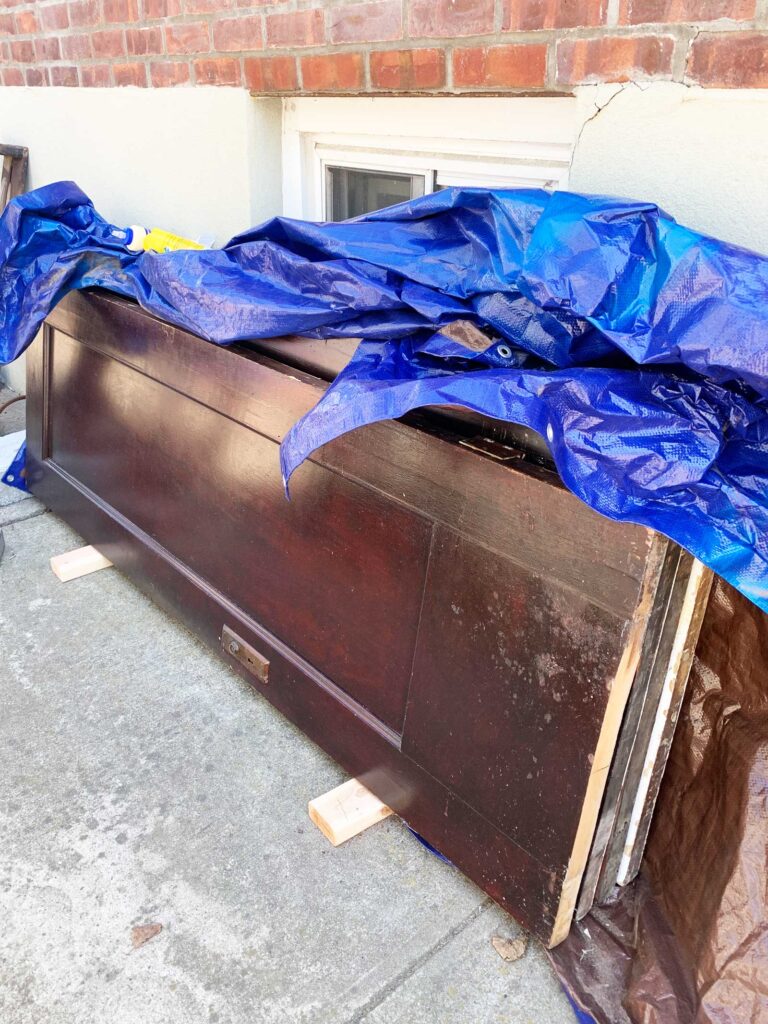
Brian had three of these old oak doors sitting under a tarp, ready to be repurposed. It was covered in an old dark stain and painted brown. Some of the old hardware was still attached to these old doors. The measurement of this door was 84″ by 30″, perfect to repurpose this old door into a dining table!
Stripping the wood on the door
The first thing that he did was to remove the old stain and paint on the old door. He only needed to do this on the side that would be the tabletop, and he left the underside alone.
After removing the hardware on top, he was left with two small holes on the top side. I will come back to that solution later. With a Makita belt sander, he used a 60-grit sandpaper, then moved onto a Craftsman sander using 120-grit. He spent time methodically stripping the door of its old surface. What lay underneath was this beautiful oak wood surface, so perfect for a wood dining table. Because this was an old door, the center had a recessed panel. Which was going to have an epoxy layer filled on so that we could level the surface of this old door table.
No products found.
Door table ideas
The starting point- We had an unfinished door—solid, weathered, and full of potential. It was the kind of piece that already had a story to tell. Now, it was time to transform it into something new: a dining table with meaning and presence.
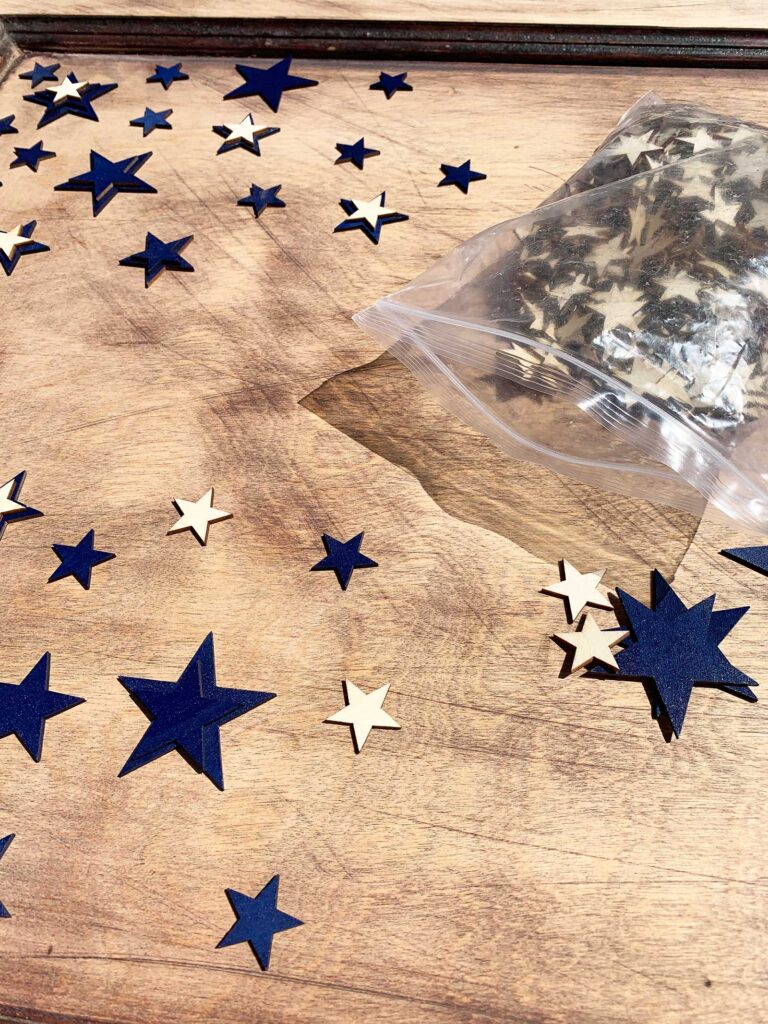
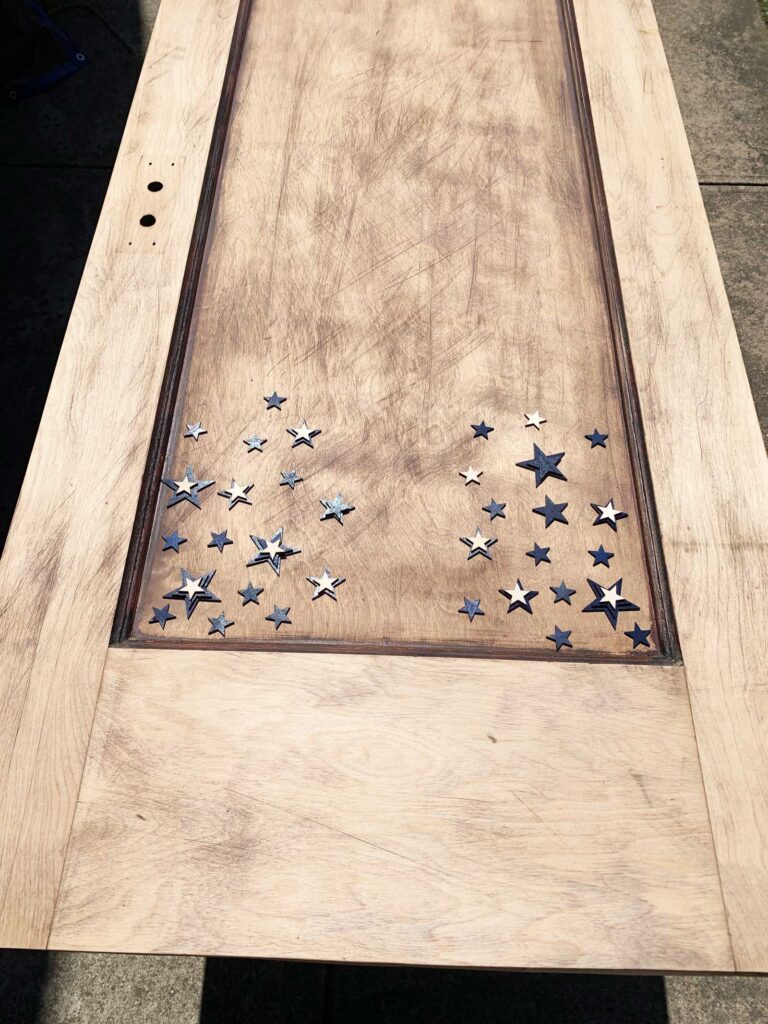
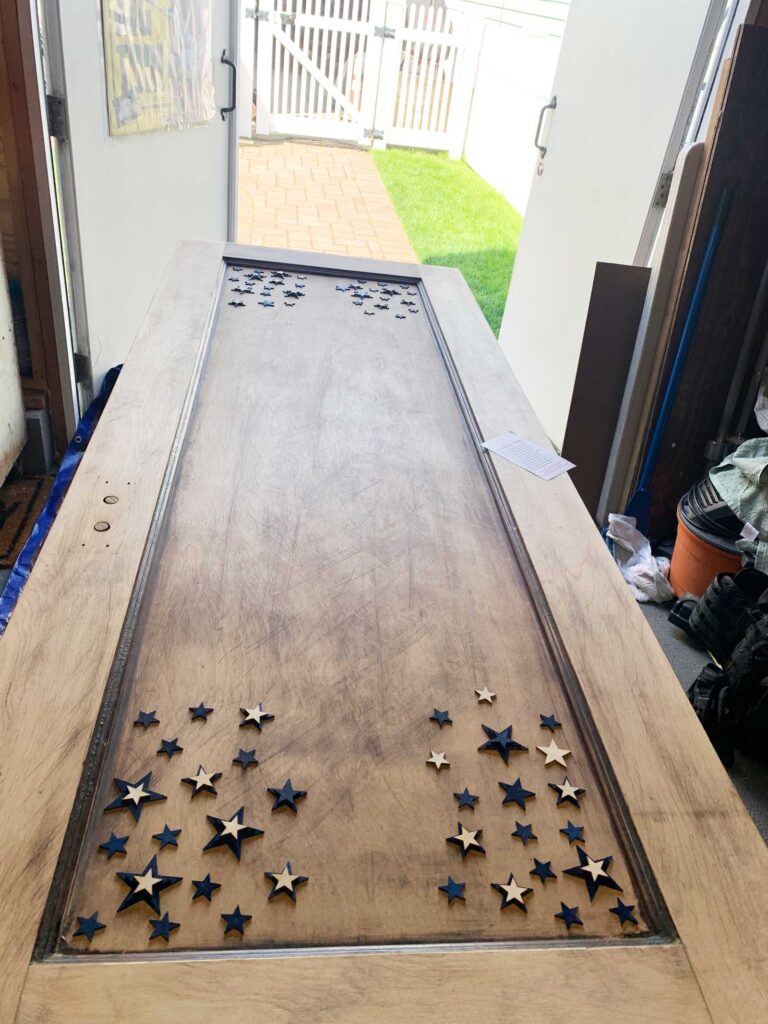
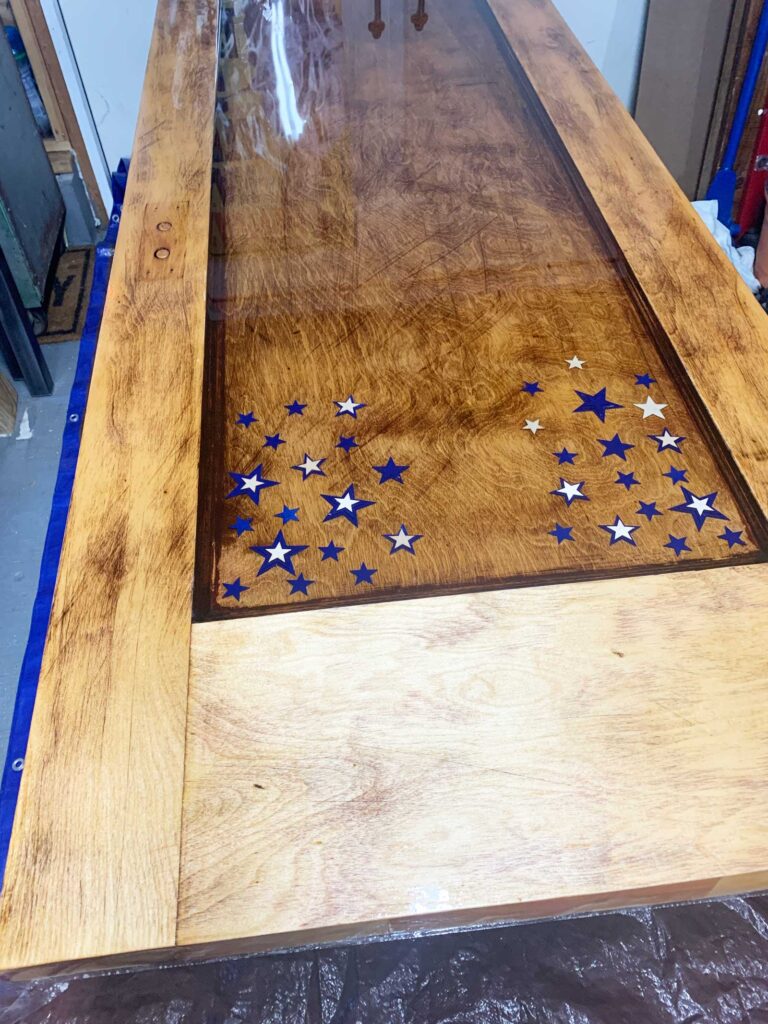
The vision– We decided to use these cool unfinished wooden stars from Amazon that he had from a previous project. They came in 3 sizes. Because we had this cool recessed center panel, I laid them out in each recessed corner to get an idea of a layout. My idea was to pool them in the corners and spread them out. Giving an abstract nod to an American feel without being literal, which will give this a timeless look.
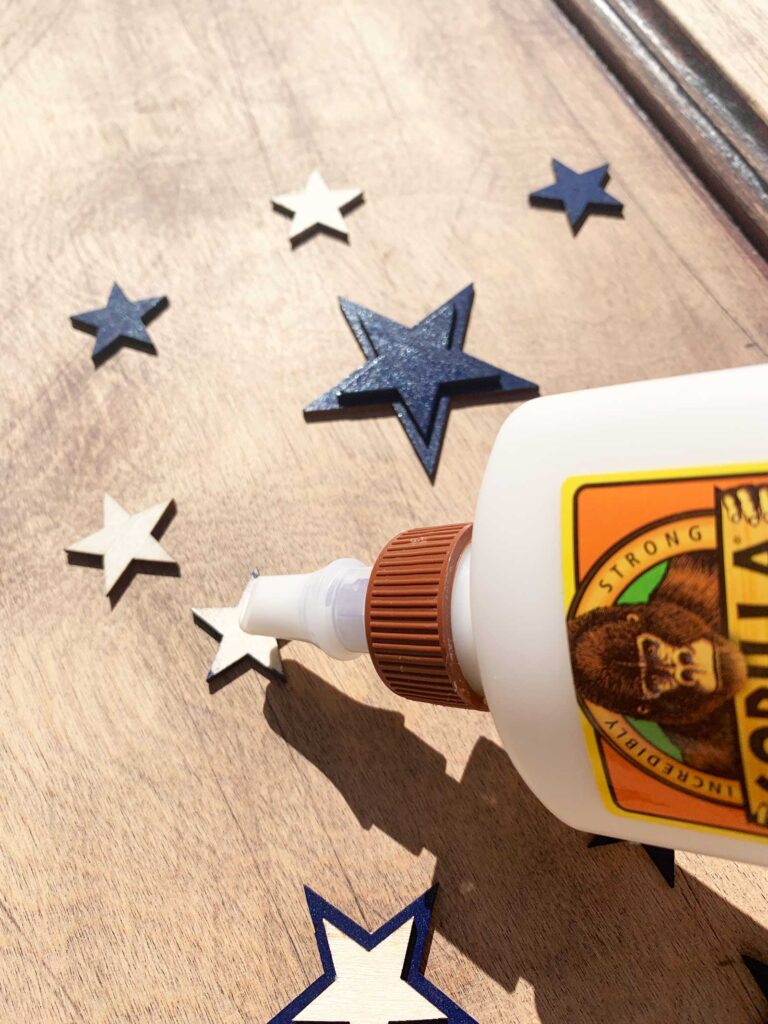
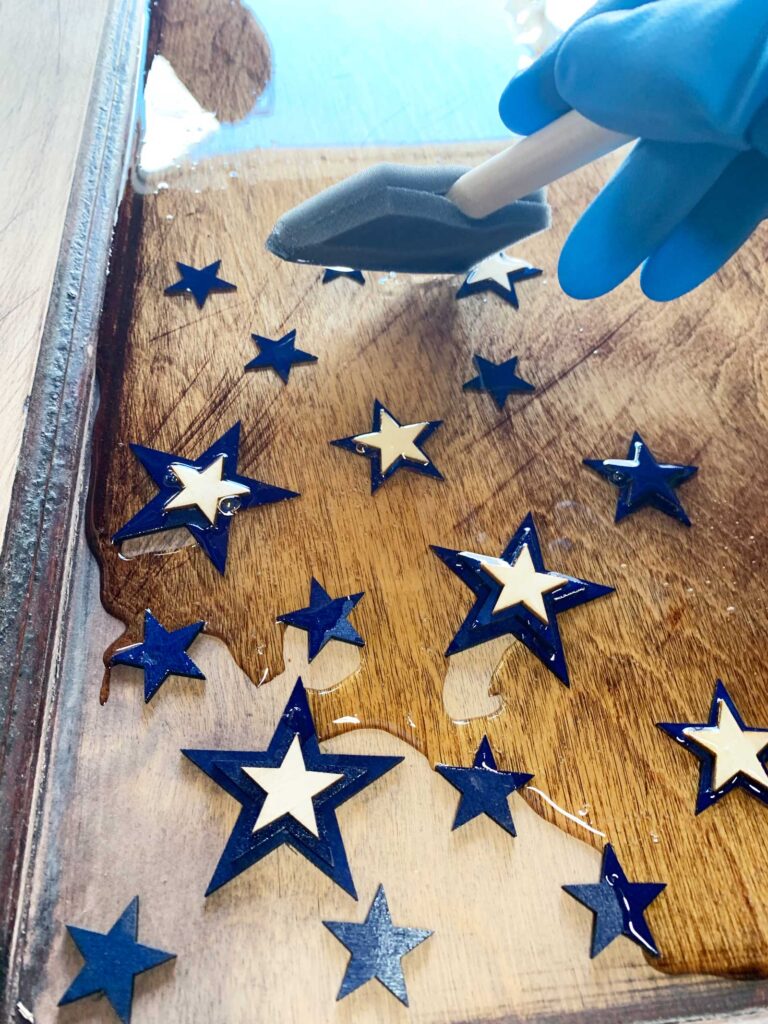
The goal- Because the natural wood against the natural wood wasn’t so interesting, and a contrasting look was in order. We used Rustoleum paint in a gloss navy blue. We spray-painted most of the stars on an old pallet surface and let it dry overnight. The next day, we placed the painted stars in the layout and layered some painted with some unpainted and painted stars to give it some dimension. Using Gorilla wood glue, we used just a dab to secure all the wooden stars down so they wouldn’t move when pouring the epoxy.
The vibe-
Cabin-in-the-woods charm
Americana soul
Raw materials with a story
Warm wood tones and rugged finishes
This project was about blending form and function with character. The door’s imperfections? We saw them as features, not flaws. They’d help anchor the space with a sense of history—perfect for his new Tennessee home.
Tips for Gluing Down Objects Before Pouring Epoxy
When securing objects to be embedded in epoxy, always apply a thin, even layer of Gorilla Glue over the entire surface of the object—not just a dab. Then, press it firmly into place. This ensures full contact with the surface and prevents air from getting trapped underneath.
We learned this the hard way—using just a small amount of glue led to some air bubbles forming during the pour. It didn’t ruin the project, but it did give us a valuable lesson for our next old door dining table build.
No products found.
No products found.
Additional Details Before Pouring the Epoxy
When Brian removed the old hardware from the door, he was left with two noticeable holes. To fix them, he cut wooden dowels to match the diameter, inserted them, and leveled them flush with the surface. (You can spot them in the photo on the left.) He chose to leave the original metal hardware on the underside of the table, which added to the old-world charm and honored the story behind the door.
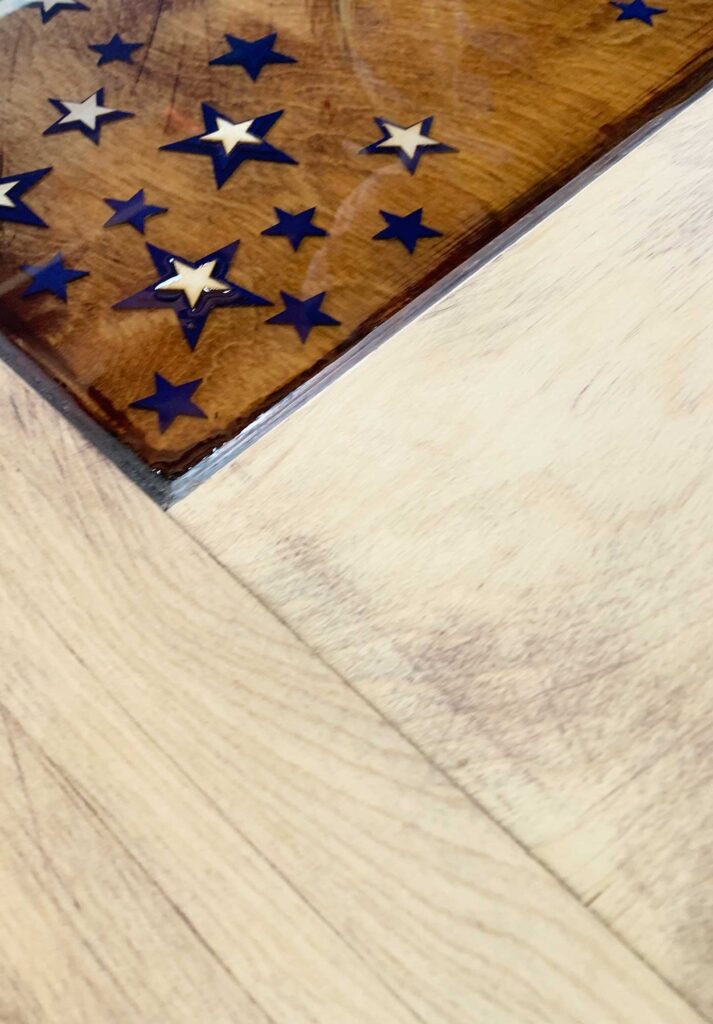
Once the door was stripped of its paint and stain, we were left with a light, natural wood tone. You can use a water-based stain before pouring epoxy if you want to customize the color—but keep in mind that epoxy naturally darkens wood. That’s exactly why we decided to skip staining altogether.
The result? Absolutely stunning. The epoxy brought out the richness in the wood and enhanced the grain in a way no stain ever could. It gave the table a depth and character that was both refined and rustic—perfect for our old door dining table project.
Resources on learning to work with epoxy on a door table top
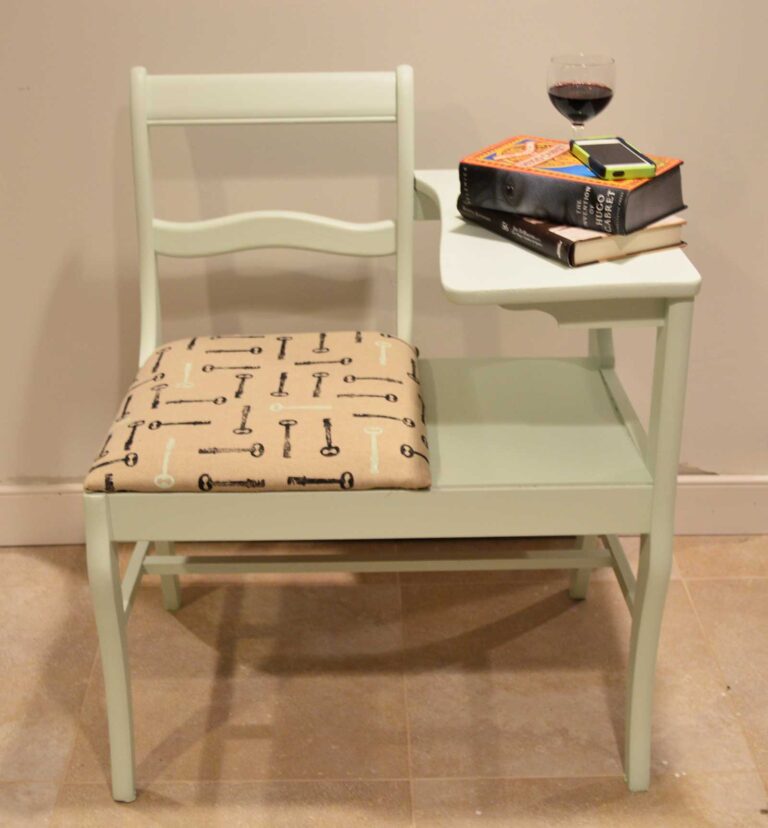
Since neither of us had worked with epoxy before, we did a little research to educate ourselves on the overall process. I love YouTube because you have a video at your fingertips. You can see my own YouTube video when I videoed the process of my Telephone Chair-DIY. However, below is the video we watched to educate ourselves on this process. It was so helpful!
Best practices for working with epoxy
Before starting your epoxy project, a little prep work goes a long way. Here are our top tips to help you get a clean, smooth, professional-looking finish—especially when working on a statement piece like an old door dining table.
Prep the Workspace
- Protect Your Floor: Lay a tarp underneath your project to catch epoxy drips and make cleanup easier.
- Ensure a Level Surface: Use a leveling ruler to make sure your surface is completely level—otherwise, the epoxy will pool unevenly.
- Tape the Underside Edges: Apply clear packing tape to the bottom edges of your table. This catches any epoxy runoff and makes it easy to peel away for clean, sharp edges.
- Clean the Surface: Wipe away all dust and debris before pouring. Epoxy will magnify the wood grain—but also any specks or floating particles.
During the Pour
- Read the Instructions: Follow the exact ratio for your two-part epoxy. Accurate mixing is crucial for a proper cure.
- Work in the Right Temperature: Keep the room temperature in the mid-70s (°F). Warmer temps help the epoxy flow and cure evenly.
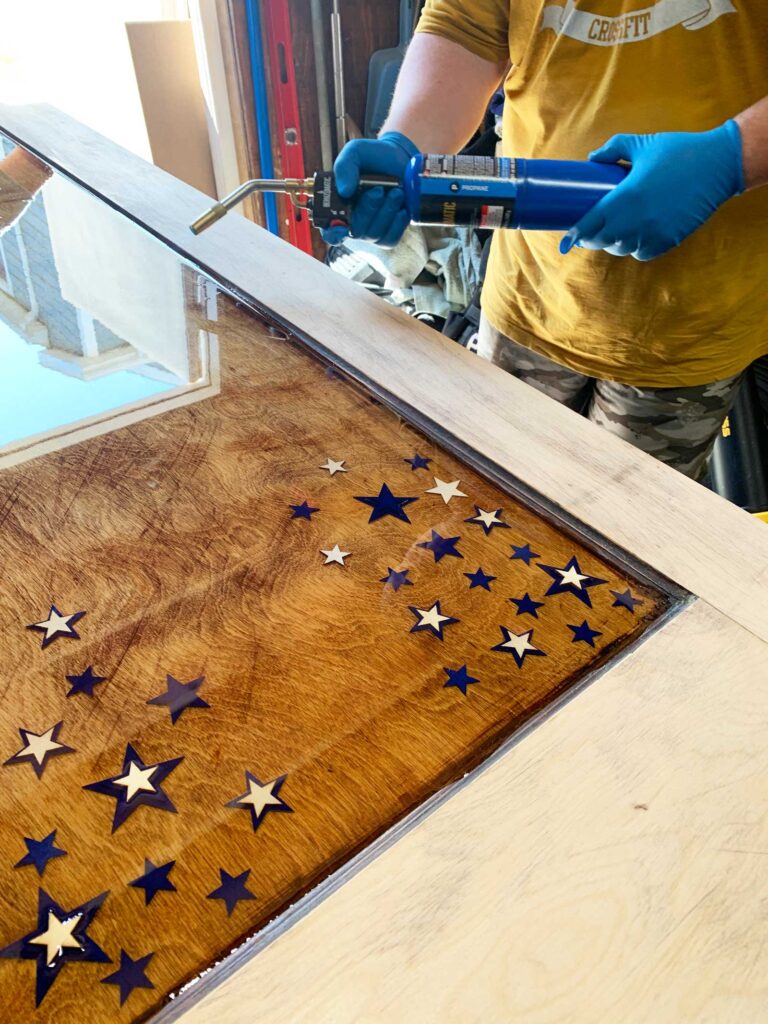
- Use a Blow Torch: After each layered pour, run a blow torch gently over the surface. This pops air bubbles and gives you that glass-like finish.
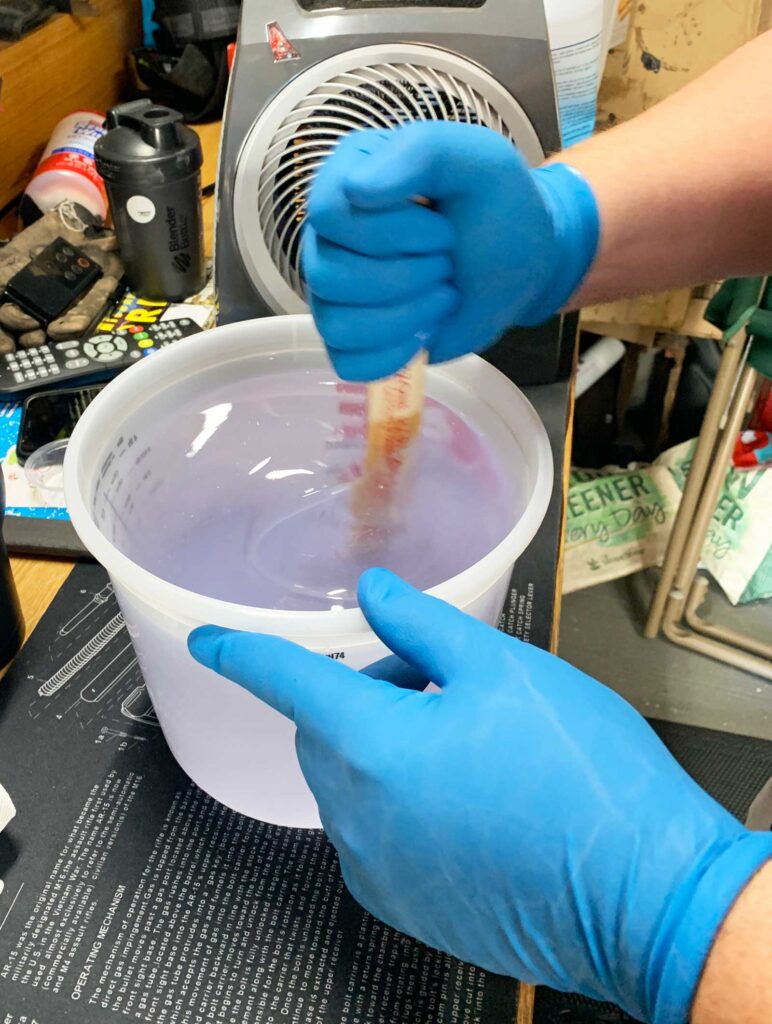
- Wear Gloves: Epoxy is strong stuff. Protect your hands with rubber gloves to avoid skin irritation and messy cleanup.
Cleaning Up
- Clean Your Mixing Bucket:
- Wipe out as much excess epoxy as possible.
- Use rubbing alcohol to break down the remaining epoxy. If you’re out, mineral spirits work as a backup.
- Wash with soap and water, then dry thoroughly so the bucket is ready for reuse.
How much epoxy will you need for an old door table top?
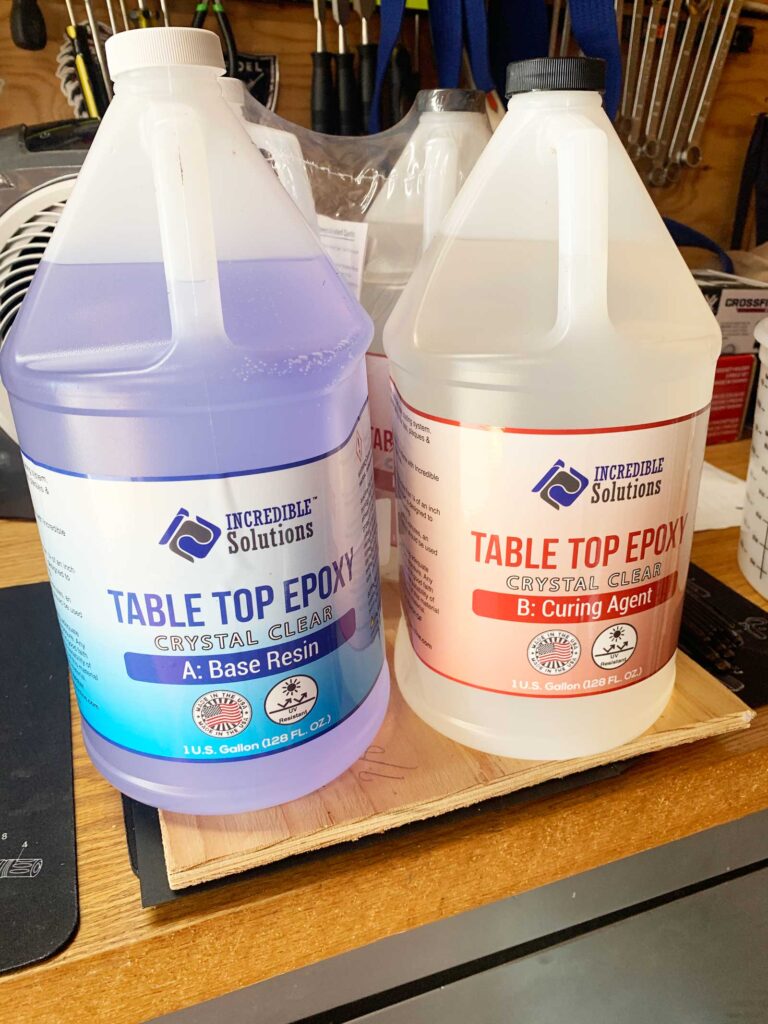
Good question! We used an epoxy calculator, which gave us the ability to enter the measurements of our surface. This table used 4 gallons of epoxy. You want to do this beforehand for two reasons.
- Each pour shouldn’t be more than 1/4″ thick. We waited about 4 hours so that the surface was tacky, then poured the next layer. The tackiness enables the next pour to bond to the layer underneath. You do not want to run out of epoxy because of this.
- If you decide not to pour the next layer within this time frame, wait a day or two. You will need to lightly sand the cured surface before you pour the next layer. Since it is fully dry, the light sand will give the dried surface some tooth for the next layer to bond to. This adds a step, which can be avoided if you have enough epoxy to begin with.
Pro tip! Make sure that you measure, legs, the table top, and any supporting braces together. Tables are a unified height, and if it is too tall, a standard height chair will not work well.
Finishing touches to an old door-turned-dining room table
When the epoxy was fully cured (instructions say about 7 days), we were ready to put the legs on. Brian bought these bench table Legs, a set of 2 Furniture Legs 30″ high from Amazon.
A brace was added underneath to fill in the gap of the recessed panel. Brian had to make sure that this was not too thick in order for the table to be the correct height for standard chairs.
Table Leg Options
Brian chose a pair of sleek metal legs, giving the piece a clean, industrial edge. It was the perfect contrast to the rustic charm of the reclaimed wood door.
If you’re exploring options, here are a few fun and stylish alternatives to consider:
- Hairpin Legs: These minimalist legs are a trendy choice—not just for dining tables, but also coffee tables, side tables, and desks. They pair beautifully with wood for a modern, mixed-media look.
- U-Shaped or Box Frame Legs: These offer a bold, contemporary vibe and provide solid stability for heavier tabletops.
- Crossed or X-Frame Legs: Great for a farmhouse or industrial feel, adding both function and visual interest.
- Adjustable Metal Legs: Perfect if you’re unsure of the final height or want flexibility for future use.
Pro Tip: Always measure your tabletop height before ordering legs. Standard dining table height is around 30 inches, but depending on your door thickness or chair height, you may need to adjust.
Mixing materials—like warm wood and cool metal—adds character and style, making your table a true conversation piece.
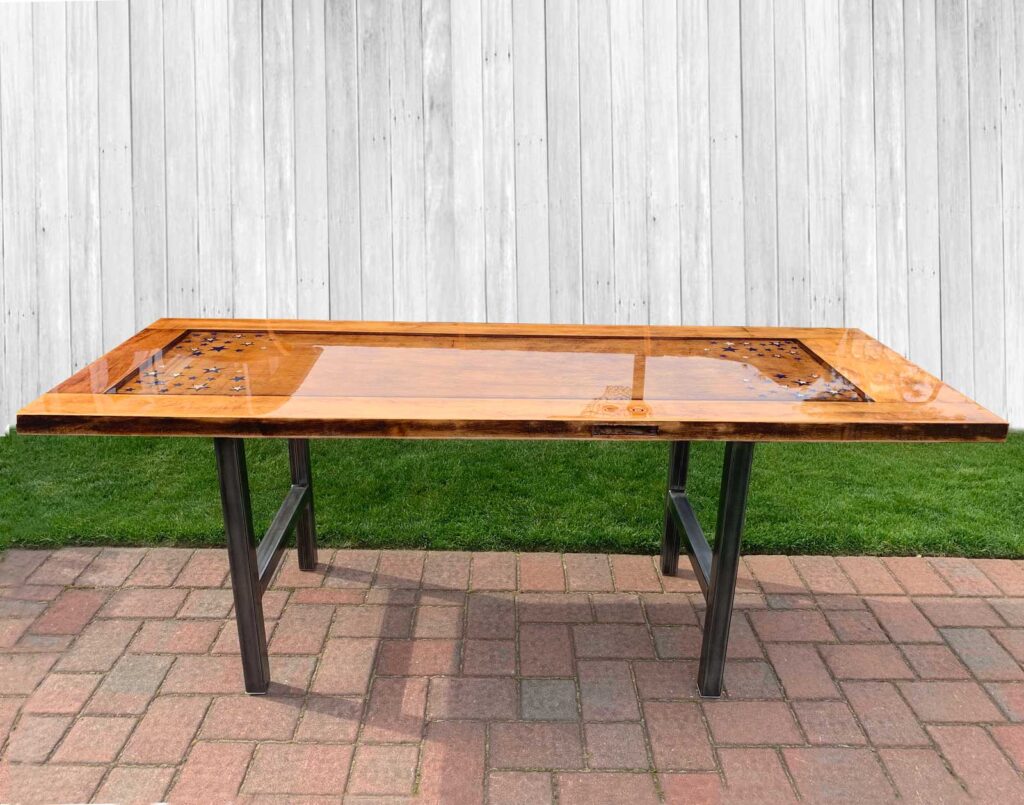
Completed the old door into a dining table
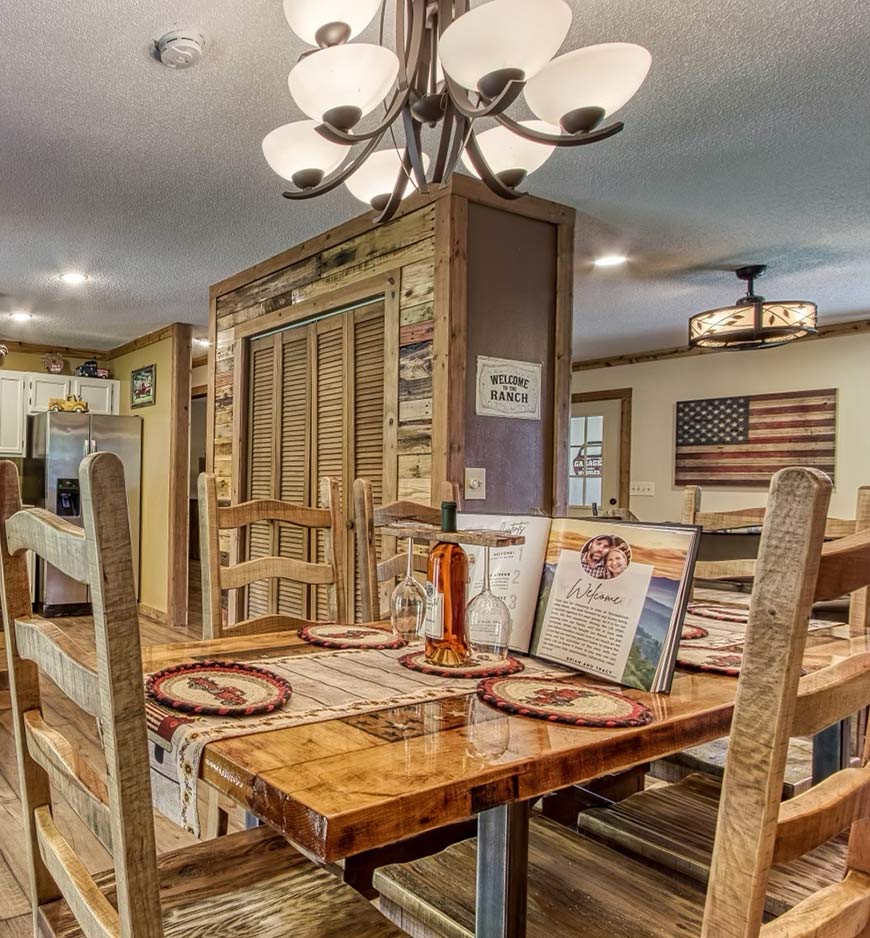
Wow! That’s all I can say! For my first time ever working with epoxy, I think it came out great. This table turned out to be a perfect epoxy table for the Stoneybrook Valley Ranch.
Key Takeaways from This Project
Here’s what we learned (and what you should keep in mind) when working on an old door dining table project:
- Prep Your Surface Thoroughly: Ensure the door is completely clean and free of dust or debris before starting. Anything left behind will be magnified by the epoxy.
- Be Patient with Epoxy Layers: Don’t rush the process. Pour one layer at a time and allow it to fully cure according to the instructions on your epoxy container before adding the next.
- Clean Your Buckets Between Batches: Leftover epoxy can ruin your next mix. Use rubbing alcohol to break it down, then wash thoroughly for reuse.
- Mind the Temperature: A warm environment (around 70–75°F) helps the epoxy mix and cure properly.
In the end, this old door transformed into a stunning dining table. The recessed stars look like they’re floating beneath the glossy surface, giving the table a true Americana vibe—perfect for its new cabin-style home.
Overview of supplies for the old door turned dining table
Below are the supplies and tools we used for our old door dining table makeover. This will depend on your project.
- Makita Belt Sander-heavy-duty sanding
- Craftsman Sander-lighter sanding
- sandpaper used with sanders
- wood stars– Assorted sizes
- Gorilla Wood glue-adhere stars
- epoxy-calculate!
- foam brushes-spreading epoxy
- plastic mixing buckets-mix 2-part epoxy
- Tarp-protect your floors
- Blow torch to take bubbles out of epoxy
- Leveling the ruler-level surface
- Rubbing Alcohol-cleaning
- Or Mineral spirits– cleaning
- Clear Packing tape– for edges
- Paper towels– or clean rags
- Plastic gloves– protect hands
- Rustoleum Spray paint– gloss navy blue- we used this on our stars
Supplies used
Please note: The instructions provided for our epoxy dining table are based on my personal experience as a first-time epoxy user. Keep in mind that results may vary depending on your project, but I hope my journey has inspired you to create your own stunning epoxy dining table from an old door.
I’d love to see your projects! Feel free to share them below—there are so many creative possibilities, and no two projects are ever the same. For more inspiration, check out the Double Arrow Designs furniture DIY projects for additional ideas and designs I’ve worked on.
Don’t forget to join my mailing list to stay updated on all my ongoing projects and future DIY adventures!
RELATED POSTS
Check out some of these additional projects that I have worked on if the above one interests you!
- How to make a Wood Slat accent Wall-Easy DIY
- Sewing Machine Cabinet Repurposed
- How To Repurpose A Sewing Machine Base
Thanks for stopping by!

This post is all about an Old Door Dining Table
Last update on 2026-07-26 / Affiliate links / Images from Amazon Product Advertising API