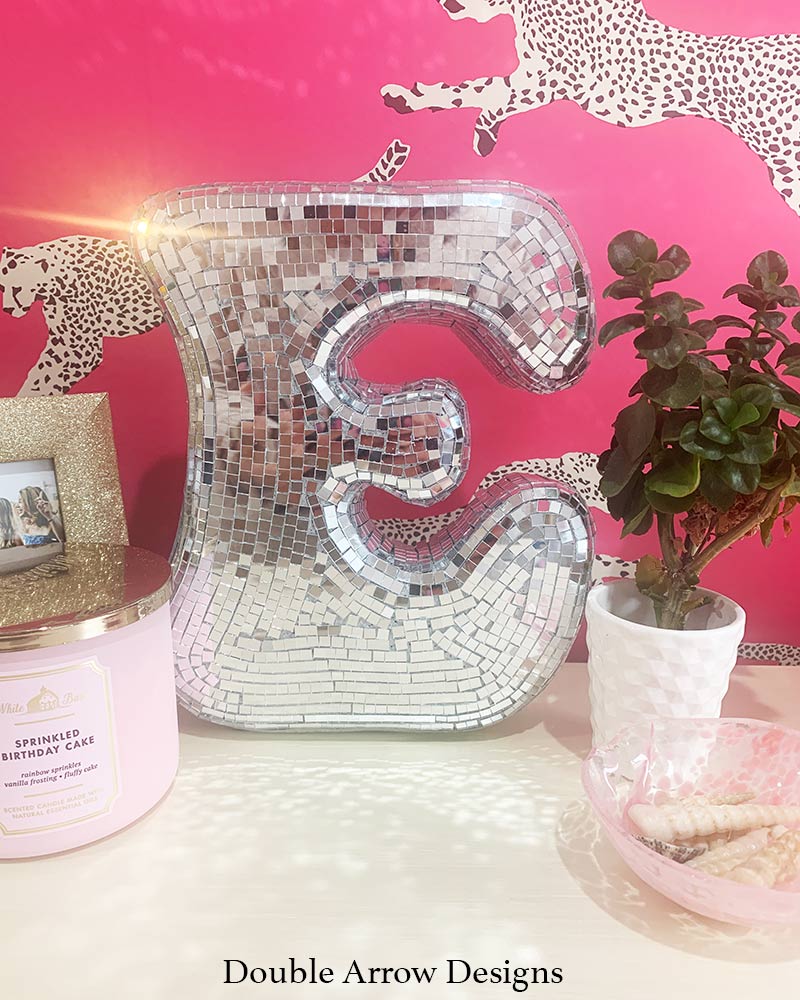
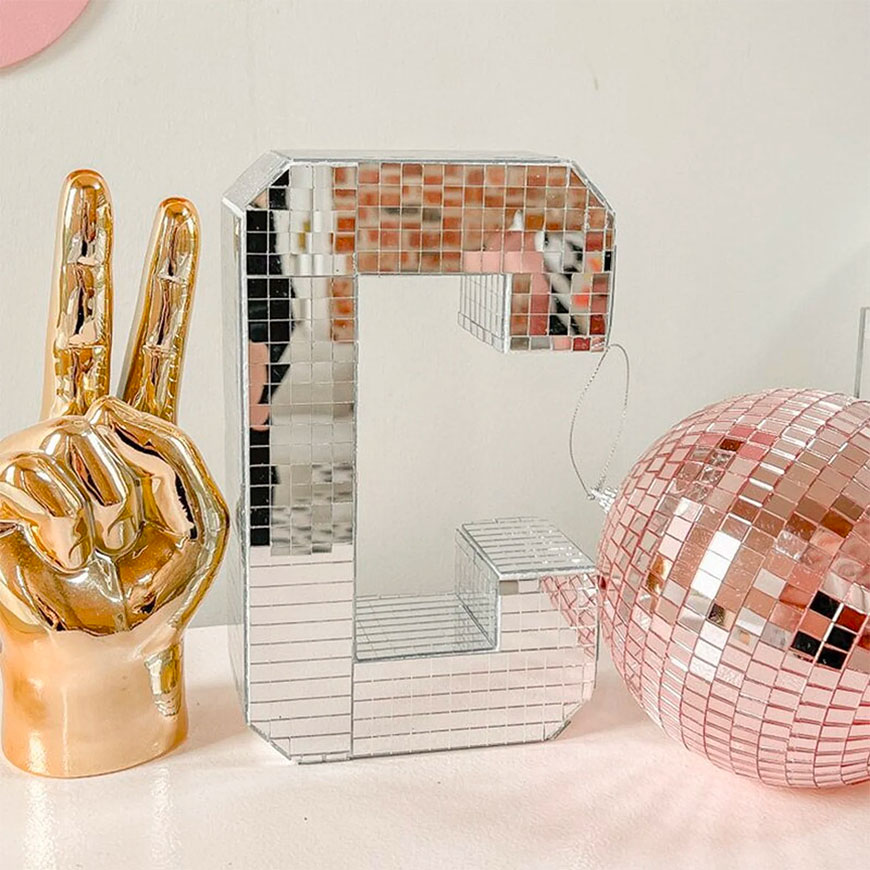
Disco Letters That Will Make Your Room Dazzle
I made a disco ball Mirror over the summer for my daughter, Emma’s, college apartment. I had leftover styrofoam and tiled mirrors, and decided that disco letters would be a fun project. This added to the disco ball decor trend. So, I got started on a mirrored letter in E for Emma.
My blog periodically contains affiliate links meaning that if you make a purchase, I might make a small commission at no extra charge to you. Purchases made through them are greatly appreciated.
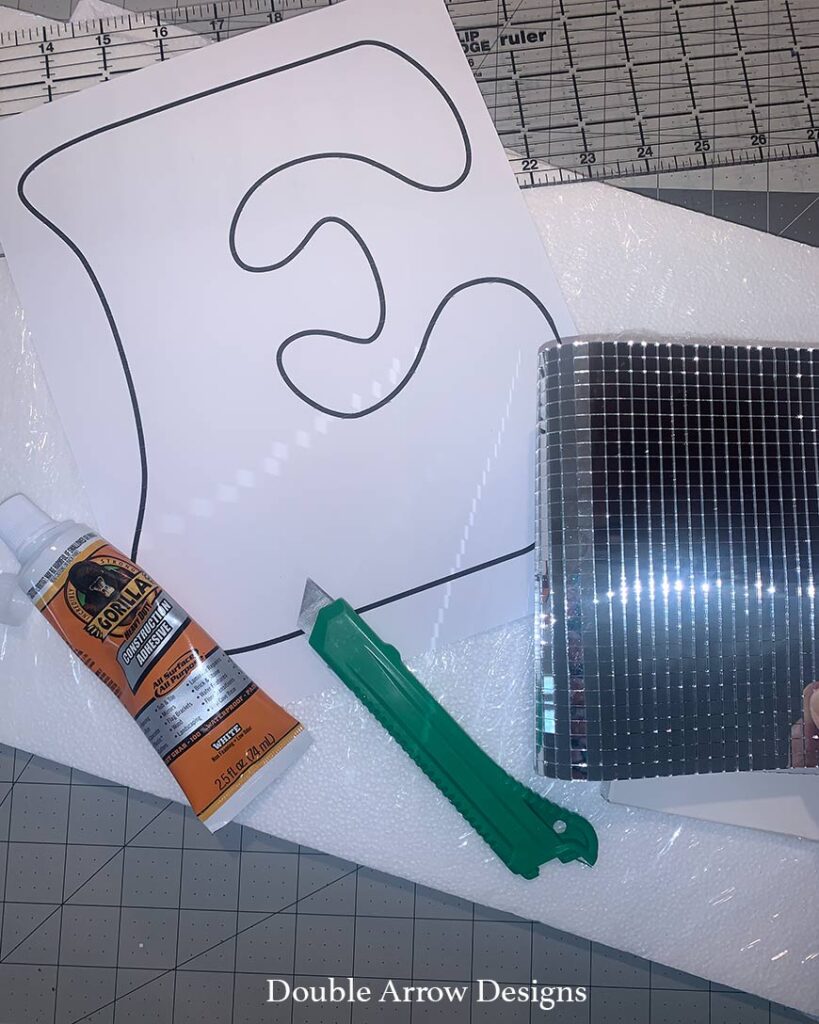
Supplies for Disco Letters
Below are the supplies I used to make this fun disco letter.
- Styrofoam– This specific one is 1″ thick. I used 4 1/2″ sheets. So this may be even better and stack two for a 2″ thick letter.
- Utility knife & blades
- Utility knife blades
- letter stencil- I made a free PDF of the exact font for all letters I used for this project. Check out below!
- Self-healing mat– I use this for all my projects
- Clear acrylic ruler– use the mat for aligning straight lines easily.
- Gorilla glue– If you plan on gluing multiple styrofoam sheets together.
- Mirror tiles– Here are the tiles I used for all my disco projects!
- Foam cutter– I haven’t used this, but this may be the next tool I purchase!
- Xacto knife and blade– I used this to cut my mirrored tiles. However, you can use your utility knife. Just depends on your preference.
That’s it! Super simple. Just follow the steps below to create your own mirrored disco letters. Make an initial or if you are super creative, spell out a name or word in disco letters.
Where to buy styrofoam letters
If you want to skip the step of making our own styrofoam letters, you can purchase ready-made styrofoam letters below. However right below is a free download for the exact font I used for my disco letter project:
- Amazon – They come in multiple sizes so make sure that you choose the size that works for you.
Free font download
Like the font I used? I created all 26 letters using the font and sizing to the size that I used. The size is approximately 8″x9″ but varies depending on the letter. Just download and print the specific page with the letter or letters you want.
Steps in creating disco letters
First, download the fonts I have in this post. Then print out the letter or letters you want, and then follow the steps below:
- Cut the styrofoam into the desired sizes. If you are using my letters, then cut letter-size blocks.
- Stack and glue the styrofoam sheets together. I used 4, but this was very thick. In hindsight, I would have gone with only 3 layers.
- Use double-stick tape and tape your letter down
- Use a sheetrock blade (be careful and wear a glove.) I couldn’t use the handle with this because I needed the full length of the blade to cut into the styrofoam.
- Change blades often- styrofoam dulls blades quickly, so in order to keep a smooth surface for your styrofoam, make sure you are using a sharp blade.
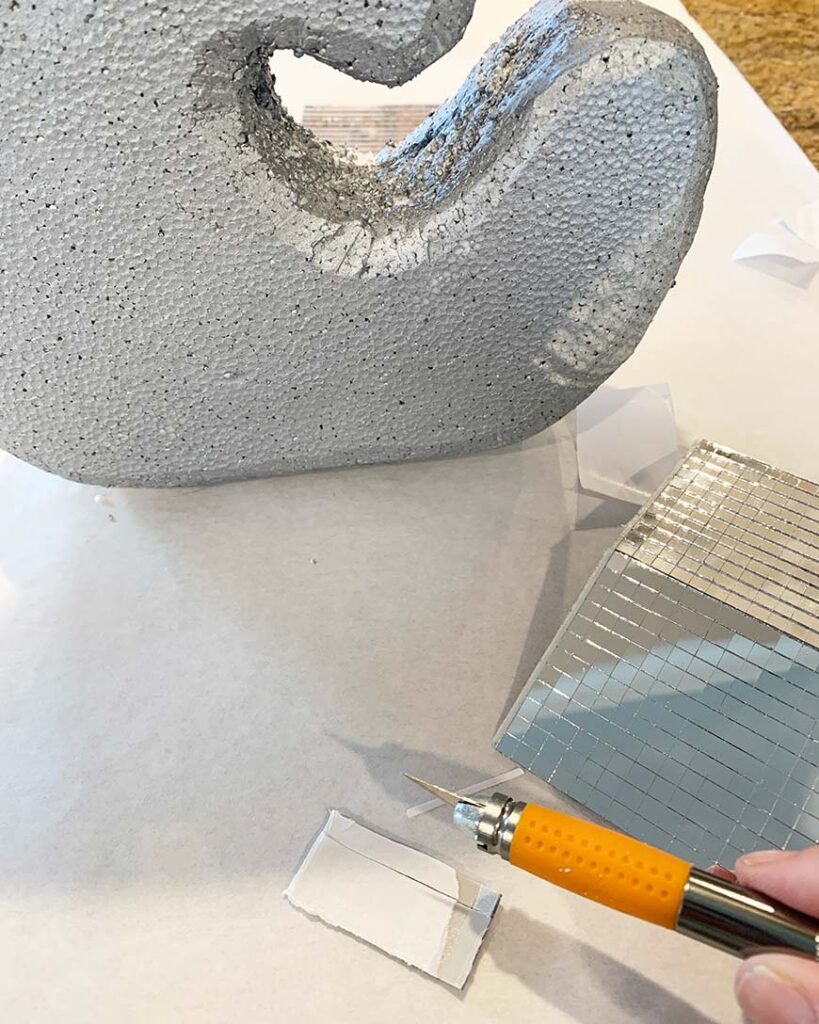
- Now that the letter is cut out, I used the side of the blade to bevel the front of the letter to give it more of a sculpted shape.
- I used metallic paint to cover the surface- I didn’t use this when I did my disco mirror however the silver metallic paint will hide any spaces between the mirror tiles to give it a more seamless look.
- Apply your mirror tiles to the surface in rows until all is covered.
There you have it! Your disco letter!
How to use mirror tiles
These mirrored tiles come in 2 packs per box. They have an adhesive backing protected by paper. When using these mirrored tiles, look at your object and decide how to proceed first. In both of my disco mirror projects, I started from the back and worked my way to the face.
- Fold and score how many rows you want. Then use an Xacto blade to cut through the paper backing of the mirrored tiles
- Peel the paper, then adhere it to the surface.
- On flat surfaces, such as the sides of this letter, I started with 6 rows all around, then switched to fewer rows as I came to a curved or beveled surface.
- On a curved surface, use one row at a time and curve the row of tiles to easily shape the tiles as needed.
- Paint your background silver or grey so that if there is any space on your surface, it will not be readily detected.
Supplies from Amazon

Styrofoam comes in all sizes. Decide the letter you want and the thickness to use the correct size and depth.
No products found.I used a utility knife at first to help cut the general shape. However, since my letter was 2″ think I needed to just use the utility blade to help cut through the thickness of the styrofoam. Wear a glove if you are using the blade on its own so you don’t cut your finger as I did! Blades dull quickly on styrofoam so you will have to use a new blade when the styrofoam doesn’t have a sharp edge anymore.
No products found.This self-healing mat is a staple for many of my DIY projects. It protects all your surfaces and can be used over and over!
No products found.This clear, large ruler works well with the self-healing mat and can align your straight edges quickly.
No products found.If you need to glue the styrofoam sheets together, this Gorilla glue is ideal. Use when gluing sheets together.
No products found.These are the mirrored tiles that I used for both my disco mirror and my disco letters. I used 1 box for the letter.
Where can I buy Disco letters?
Not everyone wants to DIY, so below check out some Etsy sellers who make these disco letters and sell them. This way you can have the look of these fun letters without having to make them. Check out below for some Etsy retailers that make them.
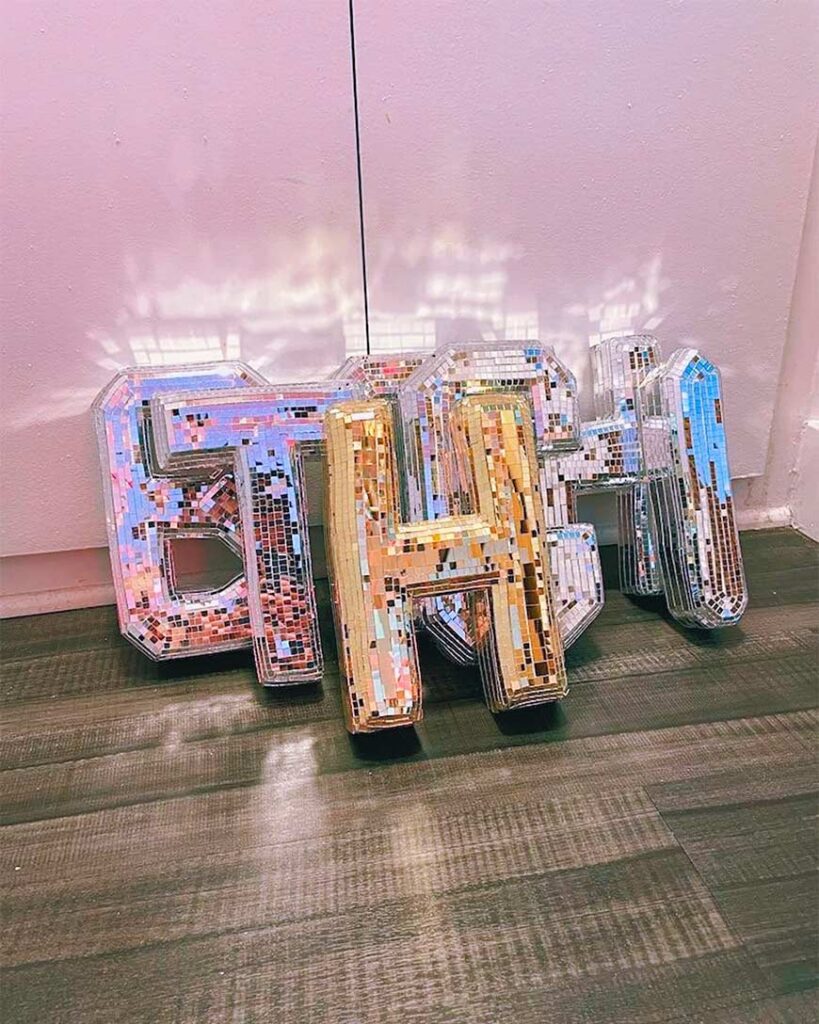
Here is another seller who used larger tiles for the letters and also does numbers.
Related posts
Like this project? Then check out some related projects that you can do as well!
Thank you for stopping by!

This post is all about disco letters.
Last update on 2026-07-04 / Affiliate links / Images from Amazon Product Advertising API