Craft Room Storage for Small Spaces: Smart Organization Ideas
I have a space under my basement stairs that has become my craft room storage space. Small spaces can feel cramped and cluttered, but with the right approach, you can turn even a tiny nook into a creative haven. I will give you some tips on how I transformed this space to house all my craft tools and materials, along with ideas to organize, personalize, and maximize storage in a small craft room.
Below is the full transformation from a craft space into a bona fide craft closet. We accomplished this in one day. (a very long one!) After we had prepped and painted the craft space, we took a step back and discussed the optimum use of the space and how we could utilize this in the best way.
Creating a functional and beautiful craft room in a small space isn’t about how much square footage you have; it’s about how you use it. The most inspiring creative spaces are often the ones that make the most of every inch, where organization meets personality and everything has a thoughtful purpose. When you take time to plan your layout, maximize vertical areas, and personalize your containers, even a corner, closet, or tiny nook can become a thriving creative hub that feels completely your own.
This post contains affiliate links. If you make a purchase through one of my links, I may earn a small commission at no extra cost to you. As an Amazon Associate I earn from qualifying purchases.
Define Your Needs & Space
Assess how much space you have: corner, closet, nook, or guest‐room corner. Identify your craft activities and supplies (“What do you use most?”) so you can design storage around your workflow. Gather the craft supplies and tools you use the most, and then figure out what organizing materials you need. Establish zones: work surface, storage surfaces, and frequently used vs. long-term items.
The wall in this craft space was unfinished, so the first steps to organize a craft space were to sand, prime, and paint! I had a lot of these supplies handy from my furniture redos. I used my Zinsser Bulls Eye 1-2-3 Primer and Benjamin Moore Swiss Coffee. Because this craft space is small, the light neutral color was important and worked really well. When the door is folded back, the craft closet blends easily into the entire workspace, making it very cohesive.
Maximize Every Inch (Especially Vertical & Nooks)
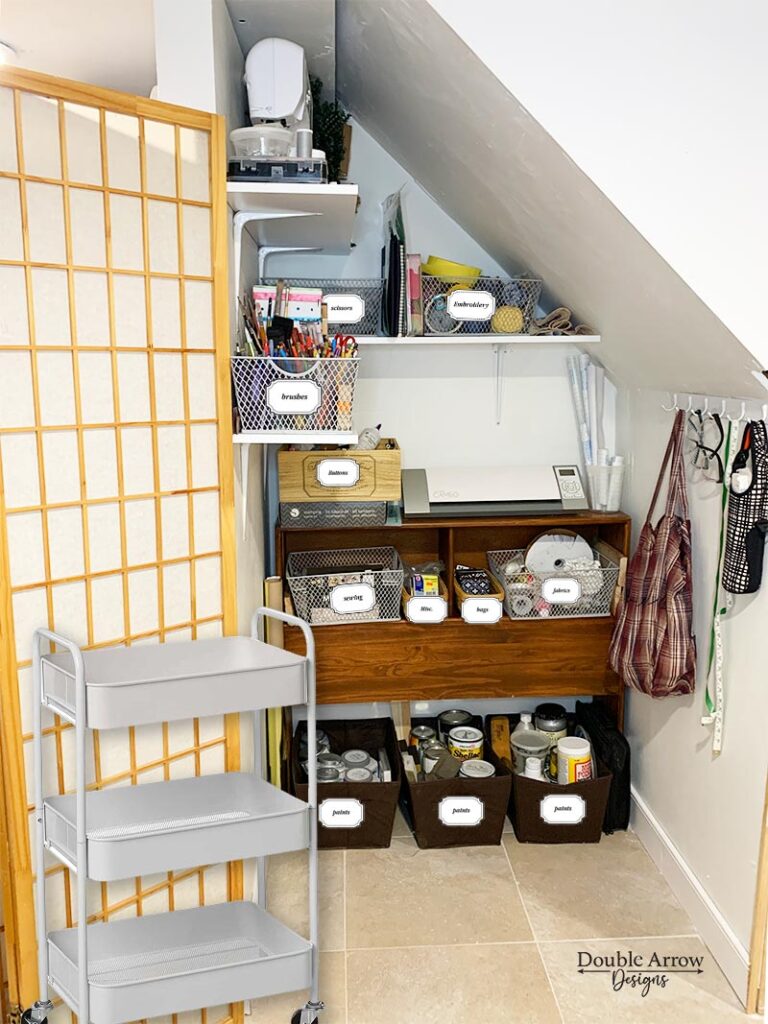
Use wall space: pegboards, hooks, mounted containers. Use door backs and the “invisible” surfaces: behind doors, under desks. Stackable units, cubbies, and narrow shelving for height. Consider furniture with dual purpose: e.g., a storage bench or table with drawers. Below was my space. I removed everything to paint the walls a creamy Swiss coffee to keep the space light and airy.


Tip: take photos, draw a simple floor plan, and note vertical space. I use this space for all my craft items for storage and to know where everything is in well-organized bins that are labeled.
Smart Storage Units & Containers
- Baskets, bins, and drawers: I used a variety of both
- cube organizers, stackable plastic drawers.
- Rolling carts/mobiles: for small spaces, you may need movable storage.
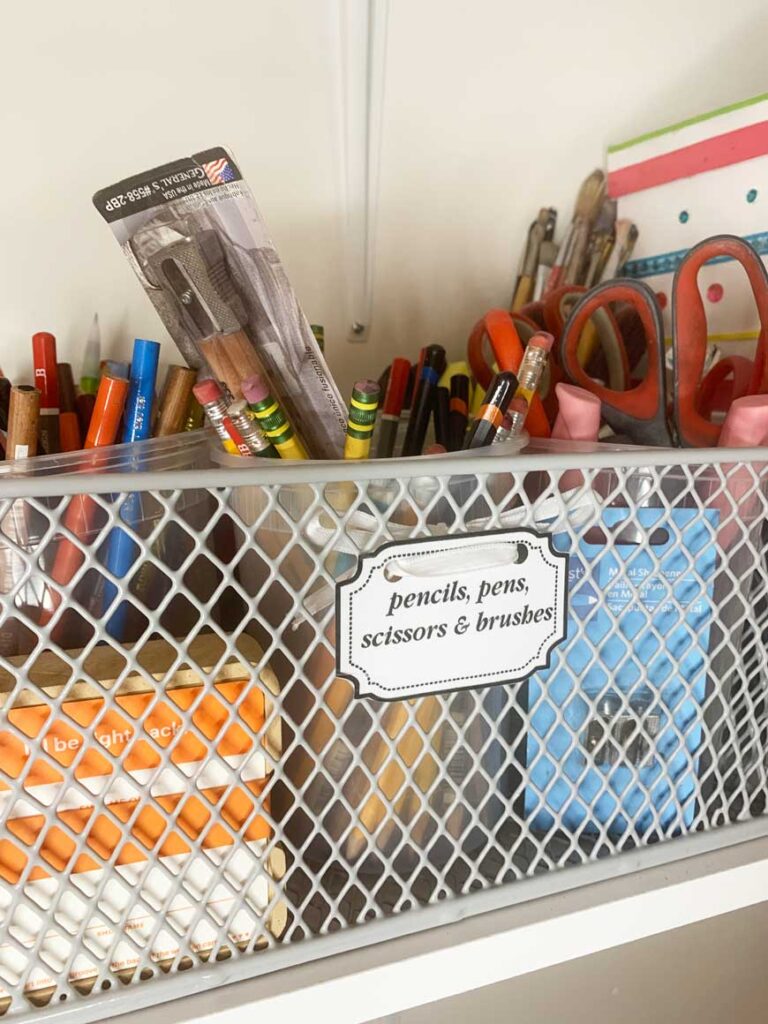
- Use of jars, tins, and upcycled boxes (especially for small items). These work well for pens, paintbrushes, scisoors
- Label everything, check out my craft room labels for this!!
- Tip: keep everyday items within arm’s reach, and lesser‐used behind/above.


Customize & Personalize Your Space
- Color‐coding, thematic bins, decorative labels (your printable craft labels fit here!).
- Mix function + style: make storage visually appealing so you want to use it.
- Add touches that reflect your “athletic, feminine, shabby chic, cottage core” mash‐up style: e.g., satin ribbon tags, craft paper baskets, pastel containers, rustic wood crates.
- Storage becomes part of your design aesthetic, not just utility. You want this space to be your own and reflect your look.
Organize by Workflow & Category
- Sort by category (paint, paper, sewing, vinyl, etc.) so you know where everything is.
- Keep frequently used supplies accessible; rotate or store away occasional items.
- Designate project “in progress” stations vs storage for completed/shelved supplies.
- Maintain a “home” for everything so you avoid accumulating clutter.
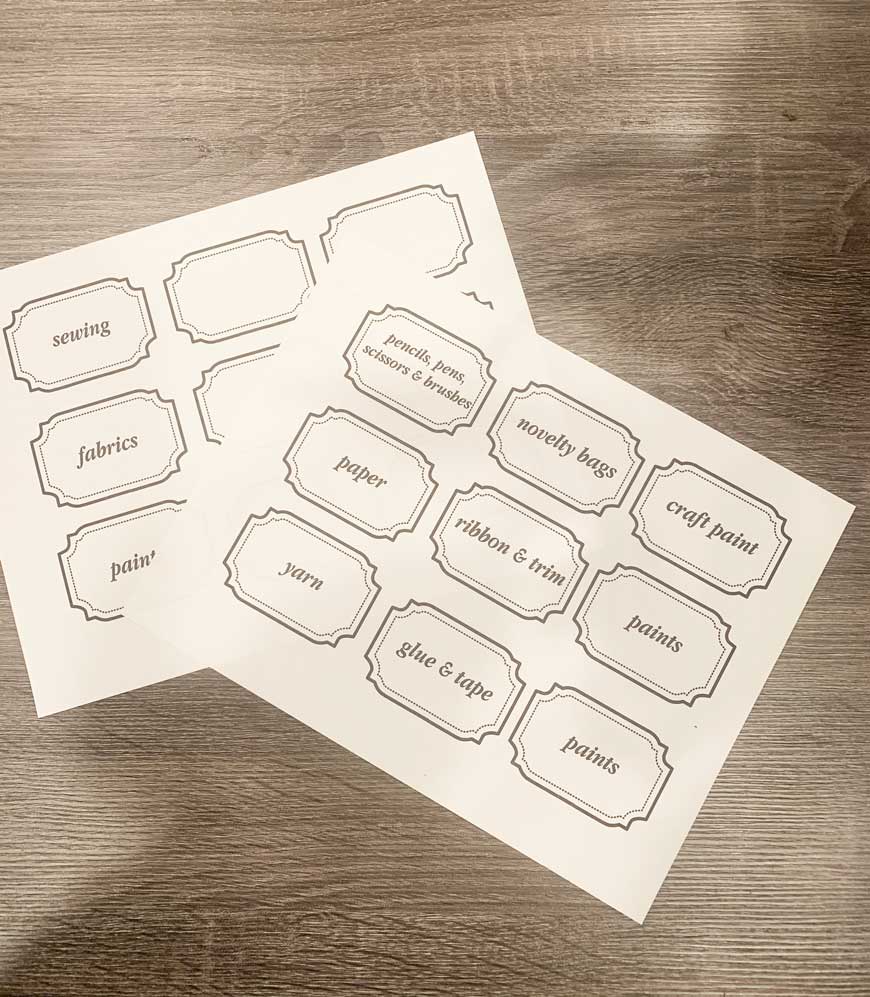
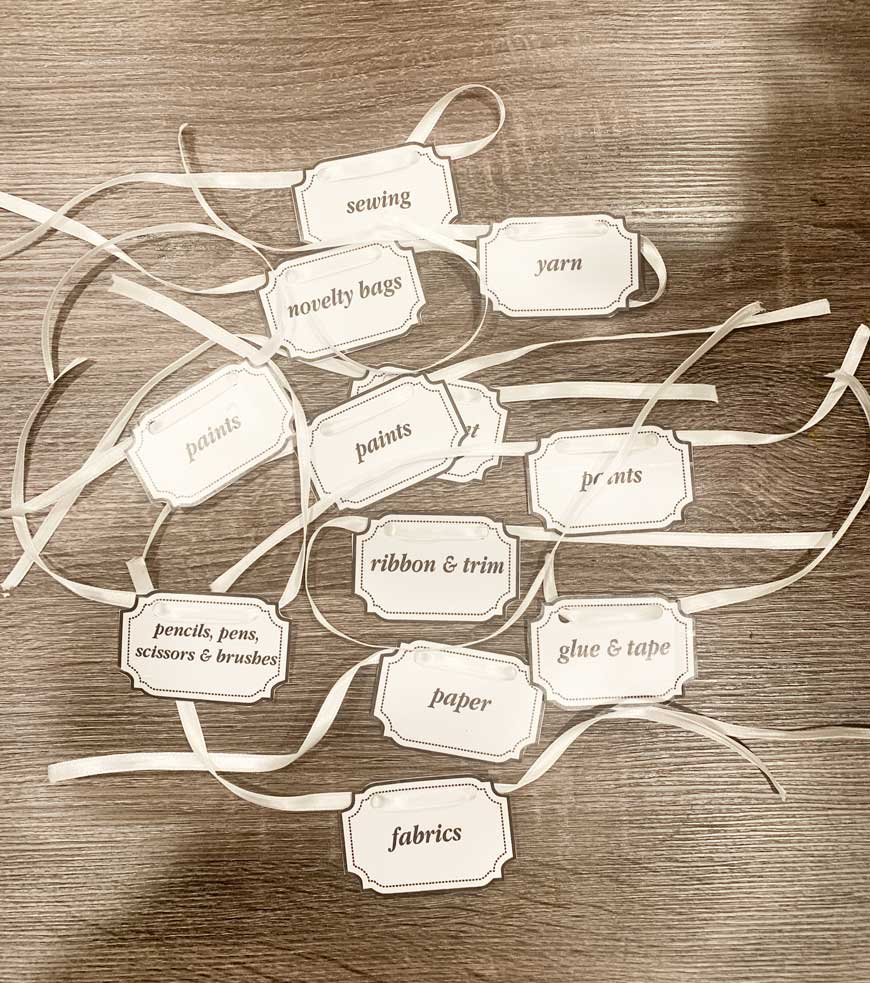
Craft basket labels
Once I printed these out, I “laminated” them by adhering contact paper on the back and then on the front. This will help to keep them from tearing or getting beaten up when taking the baskets on and off the shelves. I cut each one out, added two hole punches, then threaded 1/4″ white satin ribbon through the front and tied them in a bow at the back.
You can purchase these labels on my Etsy store and also use a 20% discount code SAVE20 as one of my readers.
Baskets for Craft Supplies
To fit everything into this small craft space. I needed to make sure I had some containers. I found these Collapsible bins that would work well in housing my paints. Then I found these sturdy grey metal ones that fit well in this craft closet.
No products found.
No products found.
Shelving & hooks
In this limited space, utilizing the wall space is key. By adding a few shelves with brackets, I have created more vertical storage to optimize this small storage craft space. I stored my seasonal items as well as my sewing machine on this highest shelf since these items are not used as much as everything else. We staggered three shelves. A wider one that sat above, my free-standing shelf unit (this was actually my son’s old headboard from his captain’s bed when he was a kid. I loved that I was able to repurpose this into a shelf unit for this craft space, and it actually fit perfectly! On the other side, I added a metal bar of hooks to hang additional items that would not fit well in any of my craft bins.
No products found.
No products found.
Lighting
In my craft area, since it’s under the stairs and no electricity here, I decided to purchase these rechargeable lights and put them at the highest point of the ceiling in this space. They are motion-sensored and rechargeable and can be put on a dimmer.
No products found.
Closet “door”
This odd shape did not lend itself well to a door, so I used a folding screen that I had, and not only did it work perfectly as the “door,” but we also use this as a good neutral background when we need to do staging when photographing our painted pieces. I love a double-functioning piece, total score. Now that this craft space is so well organized, I can keep the folded screen halfway, and it all looks very finished.
Additional items for my craft closet
Since creating this space 4 years ago, I have decided to revamp using some additional craft storage items to help me organize further and continue to make this a sleek and inviting area to use.
Bulletin Board
This bulletin board serves a few purposes. Because I have been using this to display some of my printables, I thought it would be a good idea to add tacks to the walls and hang it, so I could get it off the floor. When I need it, I can easily remove from the wall and use it for photos as well. Then replace it again onto the wall so it’s out of the way. Again, I love a multi-functional piece!
- Bulletin Board– Perfect size for all your current papers.
- Gold ball tacks– These are my current favorites!
- Whiteboard– Write down all your projects here
- Dry-erase pens. These come in vibrant colors, with an eraser on the end of each and a magnet to attach to your board
No products found.
No products found.
No products found.
No products found.
Check out our craft Closet makeover video below!
This took just the day to paint and hang all the hooks, and add the baskets, then we organized all the craft supplies. Now I can start a project in minutes and not have to look around for what I need. It’s all in one place!
Workspace around my organized craft space
Now that this is complete, I can fold back the panels, roll out my cart, and utilize the workspace in front. Since this is in my basement, my floors are tile, which helps with clean up. Also, my laundry room is around the corner, which houses not only a laundry sink, which is perfect for washing all my brushes. Also, a metal rack that houses the larger cans of paint and tools needed for a certain project.
Maintenance & Growth
- Set a schedule for “reset” (monthly or quarterly) to clear out what you no longer use.
- Control incoming supplies: define “one in, one out” or limit bin sizes.
- Use your printable craft labels to update and refresh as your stash evolves.
- Encourage readers: small space doesn’t mean small creativity—just smarter storage
Turning a Small Space into Your Dream Craft Room
Small-space craft rooms work best when every piece serves a function. A desk doubles as a worktable and storage unit. Baskets slide neatly under shelves to hide supplies. Pegboards turn bare walls into instant supply stations. These small but intentional choices create a sense of calm and order, allowing you to focus on what really matters—creating. When your craft room is organized, it not only saves you time but also inspires creativity. There’s something incredibly satisfying about reaching for a labeled basket, finding exactly what you need, and diving straight into a project without hunting through clutter.
Organization is more than storage—it’s a mindset. It’s about designing your space to fit the way you work. Maybe you’re a paper crafter who needs bins for cardstock, washi tape, and stamps, or a fabric lover with spools of thread and remnants galore. By grouping supplies by category and labeling everything clearly, you’ll streamline your creative process. You’ll also reduce stress, waste less, and rediscover supplies you forgot you even had.
Another key to thriving in a small craft room is flexibility. As your hobbies evolve, your storage should too. Modular shelving, rolling carts, and stackable containers let you reconfigure your setup anytime you take on a new project or pick up a new medium. If you keep your labeling system up to date, refreshing your space becomes effortless. A quick relabel, a tidy-up session, and your creative space feels brand new again.
Whether you’re working with a full craft room or a cozy corner, small-space craft storage is about creativity meeting intention. Every drawer, every ribbon, every labeled bin tells a story of your craft journey—and when it’s all beautifully organized, that story shines.
Related Posts
I love to take an area and transform it into a useful space. Check out my posts below for some additional areas that I created for exactly this purpose!
- Small Entryway DIY Makeover: That Will Make a Big Impact
- 9 Peel And Stick Wallpaper Ideas That Will Give Your Space a Wow Factor
- Small Space, Big Impact: How to Make a Wood Slat Accent Wall
Thanks for stopping by!

This post is all about Craft Room storage
Last update on 2026-07-28 / Affiliate links / Images from Amazon Product Advertising API