Table of Contents
Patchwork Jeans DIY
My blog periodically contains affiliate links meaning that if you make a purchase, I might make a small commission at no extra charge to you. Purchases made through them are greatly appreciated.
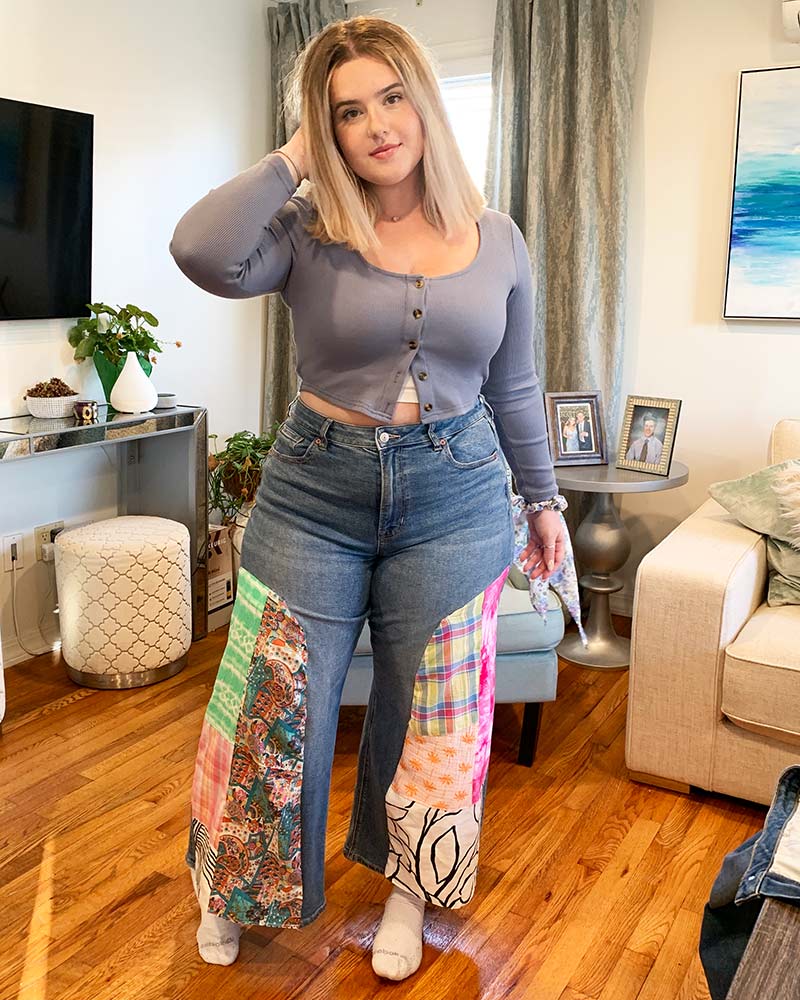
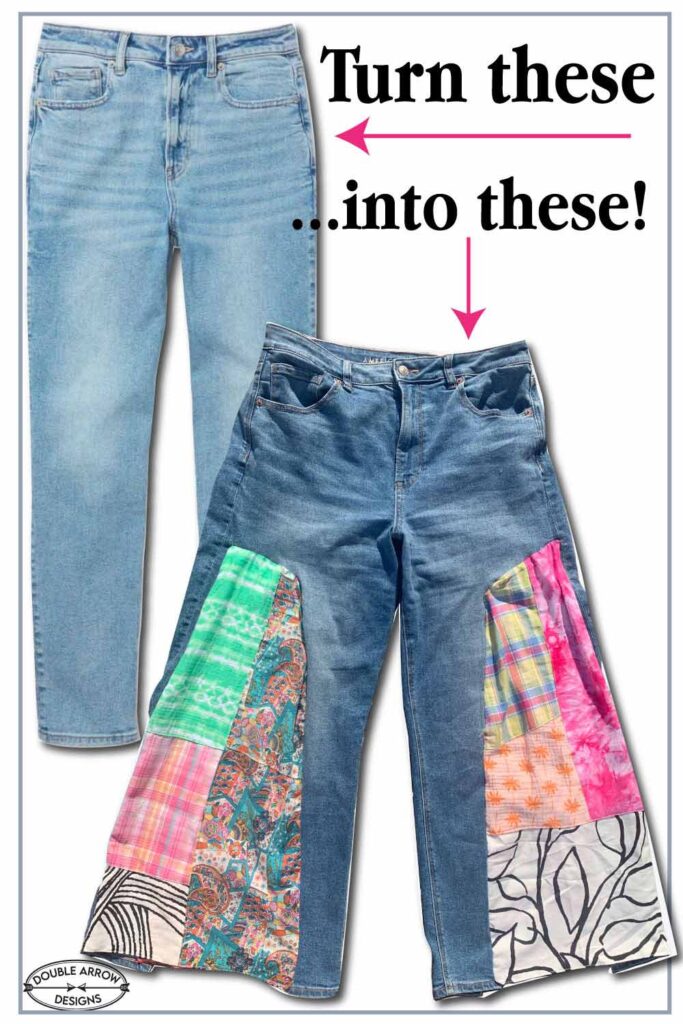
Wow! check out how I take a regular pair of straight leg jeans and turn them into a Patchwork Jeans DIY project. So easy to transform these straight silhouette into an updated wide leg silhouette. Upcycle jeans to an updated wide leg jean look. Great way to upcycle denim into a fresh, super cool look!
Original jeans for our Patchwork Jeans DIY project
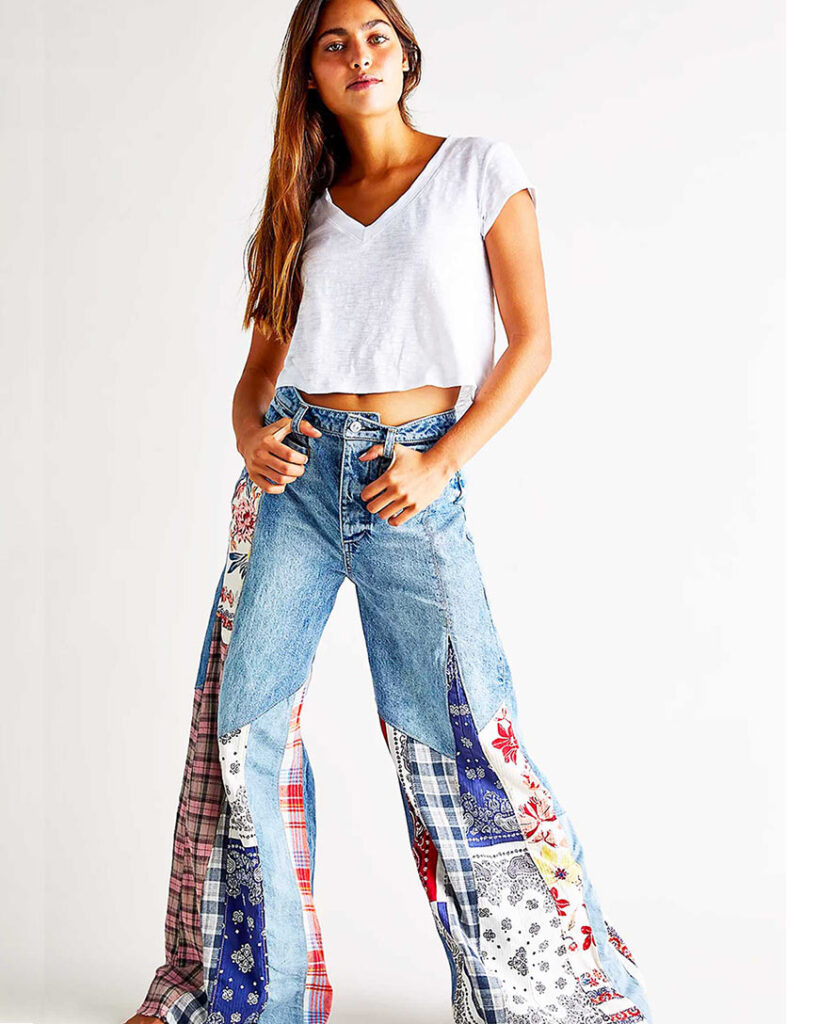
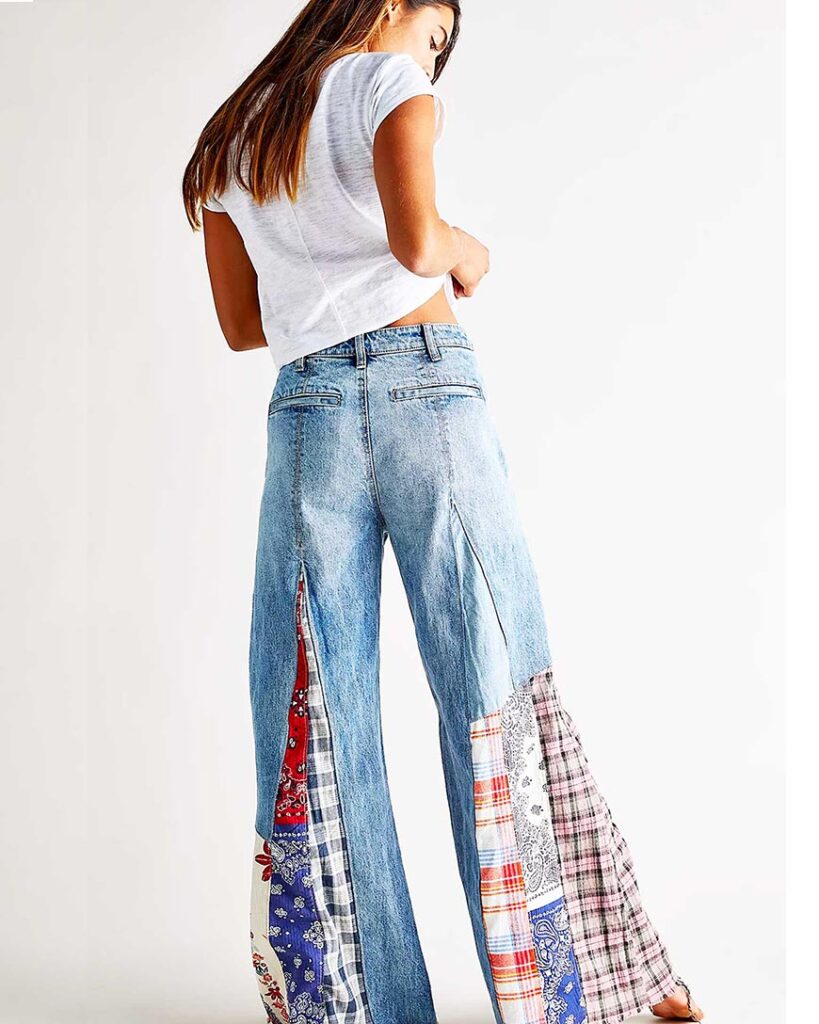
Free People patchwork jean as our inspiration
Emma and I fell in love with these wide leg patchwork jeans from Free People. However the price tag was a little much for us! So we decided to take a pair if Emma’s old straight leg jeans and repurpose them into these fabulous one of a kind Patchwork Jeans DIY pair ! Follow our process for these fabulous DIY wide leg patchwork jean makeover!
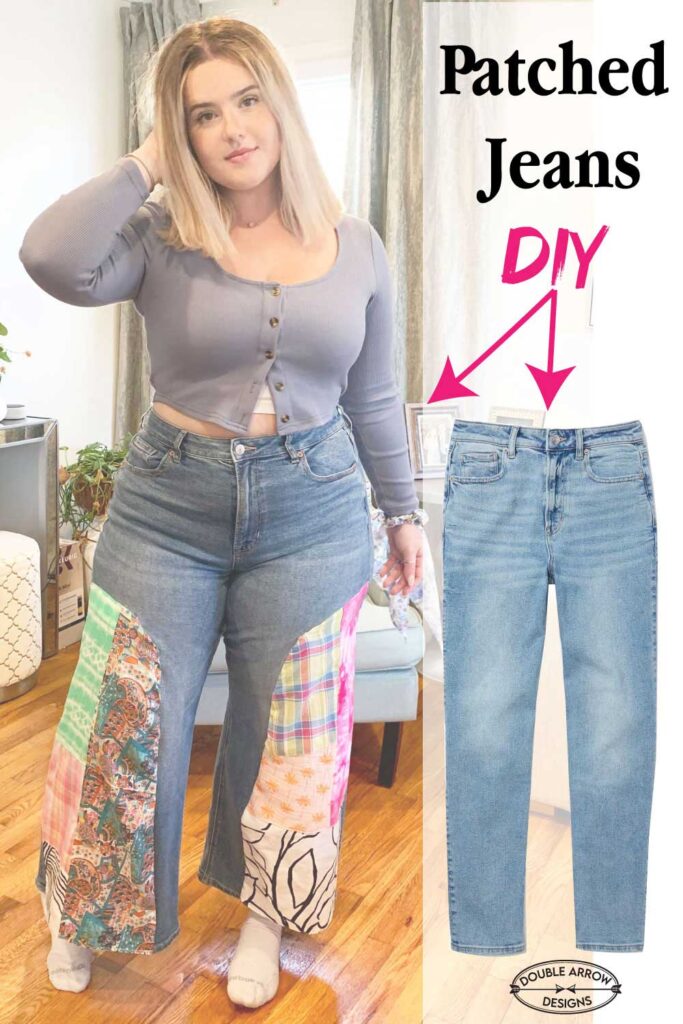
Our take on the wide leg patchwork jean for women
We took these straight leg jeans that she had from American Eagle Outfitters and first thing we did was pick out fabrics that would work well together. We cut the jeans in front and the back in order to open up the leg opening. By pinning the fabric pieces into place we could start seeing how they would look. the original total leg opening on these jeans were 15″ our plan is to double this opening to be over 30″.
How to make patchwork pants
TIP WHEN MEASURING LEG OPENING: When measuring a garment, best practice is to lay flat. With a tape measure you measure at hem from side to side. In this case the front measured 7.5″. You double this measurement to determine the full circumference of the leg opening which is 15″
What you will need for Wide leg Patchwork Jeans DIY
- Old pair of jeans– Any jeans will work for this great upcycled denim project.
- fabric scraps- Can use old men’s shirts, or bandana for a pair of bandana patchwork jeans.
- Rotary cutter– Use with a ruler for a straight cut for your fabric pieces.
- Cutting Matte– Self healing mat works great with a rotary & plastic ruler for precision cuts.
- Straight pins– Use to hold your patchwork piece in place on your jeans before sewing.
- Sewing machine– You do not have to be an expert sewer for this project which really just uses straight stitching.
- Tape measure– Important to measure out your opening to make sure your patchwork piece fits correctly.
- Thread
- Ruler– This specific ruler with lip works great with the self healing mat and rotary cutter.
See below for all the supplies used in making these fun DIY patchwork jeans. Transform a pair of jeans so easily, and affordable. Since they will be one of a kind these jeans will have a boutique look without the heavy price tag.
Choosing fabrics
Because I am in the Apparel industry, I have a large selection of scrap fabrics to choose from. I keep a basket of these fabric scraps for projects like this However, if you do not have this lying around your house there are a few options:
- Use Shirting fabric from old plaid or patterned shirts
- Old pillow cases that may have a pattern or texture
- Local fabric store, Usually they have sale bins that you can buy small quantities for cheap.
- Local thrift store and buy a few woven shirts or pants with interesting patterns or prints.
- Quilting squares – you can order them on Amazon and they come in a bundle of mix and patchable prints
- Bandanas -I used a variety of plaids and prints, but bandanas would make for a pair of colorful patchwork jeans.
There are so many choices! You can also use another pair of jeans with another wash color for some patches. What I love about this project is that no two pairs of these DIY patchwork jeans will ever be the same. They are one of a kind!
Pro tip: Use woven fabrics! do not use knits. A quick lesson in this: woven fabric is weaved. Think of sheets, shirts, etc. Knit fabric is yarns that are knitted, such as Tee shirts, etc. Because the jeans are woven, adding like fabrics will keep the shape of the jeans.
Steps for Wide leg Patchwork Jeans for DIY
First step for these DIY patchwork jeans, was to take my rotary cutter and large ruler and slice through the center of both front and back, stopping a few inches below the back pockets. This opened up my pant leg in order to make them a wide leg. For these specific jeans and size I measured 24″ from back bottom hem. Your measurement may differ depending on length and size of your jeans.
I tackled the back pant panels first. After opening the leg, I spread the bottom hem out and created a triangle shape, (this shape is called a gusset) making the back leg opening 15.5″ which is almost double the original measurement.
Easy Directions for Patchwork Jeans
I illustrated the steps I used to upcycle these pair of jeans. I know I love a visual sometimes to see what I am doing! Easy step by step instructions with notes. The instructions are layed out of how I constructed the jeans in the back with the patchwork panel, then instructions on how I did the front,sewing in my patchwork panel into a different shape. Hope these are helpful!
You can also do the gussets like I did on the back, in the front as well and this will give it a more flared patchwork jean look. Or split the side of the jean on either the outside, or the inside of the jean for a whole different look. You can modify the directions below and use them anyway you like.So many options to create.
See below for some photos that illustrate my process, check out below for actual illustrated directions for more in depth information on how to create and construct these patchwork jeans.
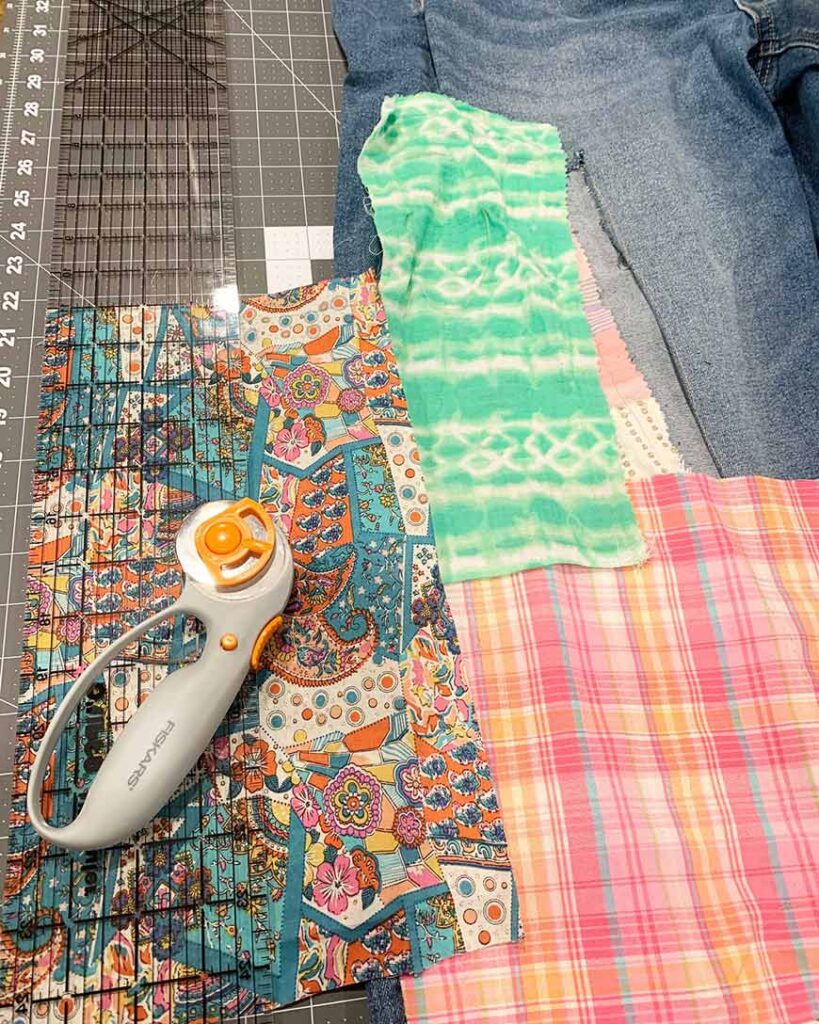
pick fabrics 
split leg at center 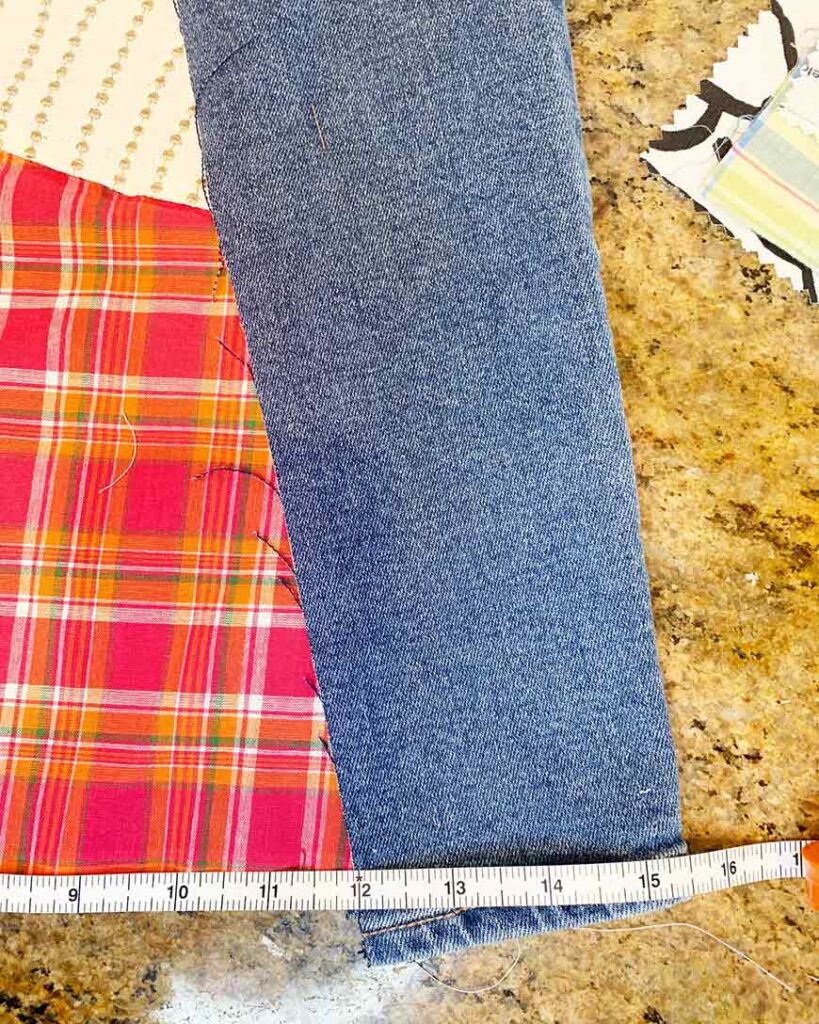
pin fabric to determine leg opening measurement 
hem bottom swatch by folding 1/4″ then folding again1/4″ the pressing and topstitching 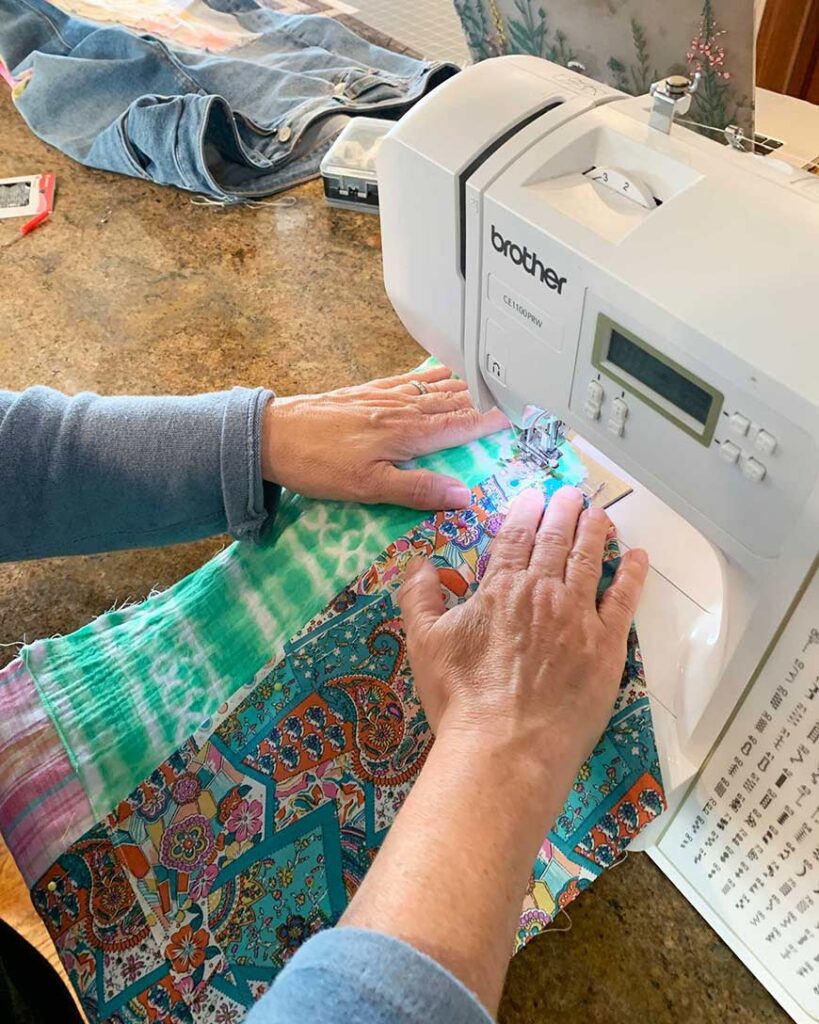
me sewing my fabric swatches!
Patchwork fabrics together
After choosing all my coordinating prints, I pressed the raw edges of my pieces under about 1/4″ then with my sewing machine I topstitched each piece down. Creating a patchwork panel. I made two different panels for each back piece, and two patchwork panels for the front. I could have made a pattern, and measured and pieced all the pieces perfectly together, but I didnt for two reasons: One, this would have been more time consuming, two, I loved the organic way my patchwork panels came together, results are definitely not the most conventional, but it got the job done!
Hemming your patchwork panel
In order for the pant to have a clean finish hem, I pressed 1/4″ of fabric down, then folded again 1/4″ and ran this through my sewing machine. If you do not hem the bottom of your panel, the woven material will fray and the threads will continue to unravel, because there is nothing to stop this. If you want a raw edge then, topstitch a 1/4″ or 1/2″ above bottom panel. Your fabric will fray, however the toptitch will prevent any more threads to unravel because the stitch line will create a barrier.
For all four panels I placed the edge of the patchwork panel right above the jeans topstitched hem. I did this because the thickness of the denim hem, I was afraid I would break my sewing needle, and it gave it a cool detail to the hem of the now wide leg jeans, giving some dimension and made it easier to line up and sew
Sewing in the back panels to these upcycled jeans
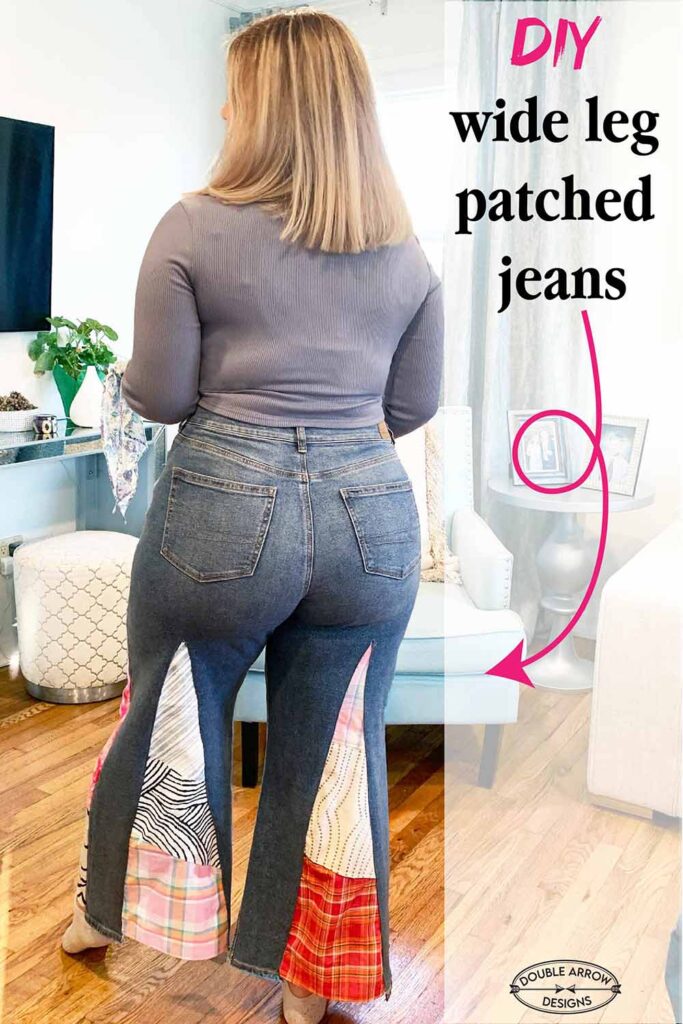
Since the back panels were being done first, I didn’t turn my jeans inside out. I was able to manipulate these panels easily on my sewing machine because the front panel was cut which allowed me to sew on the correct side of the back panels. I did this so that the edges of the jeans on these gussets would have a topstitch. So the first step was to fold 1/4″ of the raw denim edge under and press with my iron 1/4″, leaving me with a folded clean edge.
Matched my patchwork panel to the folded edge of the jeans and pinned in place. Then with my sewing machine I topstitched from hem up to the top point of my jean, did a backstitch to reinforce. Then I Did this same process on the other side from hem to top of the triangle. Again, doing a backstitch with my sewing machine to reinforce the stitches at top, so that it wouldn’t unravel.
Sewing Front panels for patchwork jeans
Now that the back has been sewed up, I will need to turn the pants inside out in order to sew the patchwork panels into the front panels of the jeans.
We decided on a different shape for the front panels, so that we could mimic the free people jeans a little better. Since we had already cut through the front and the back of the legs of these jeans, we took it a step further for the front. With my large ruler, I sliced off more of the front panel towards the outer side seam and left about an inch from the side seam.
Turning the legs inside out, I pinned my panels in place, then with my sewing machine, sewed the two inner panels together. At this point I made Emma try them on to make sure the fit was right. We were happy with the fit, and I continued on to the other leg.
Supplies for Patchwork Jeans DIY
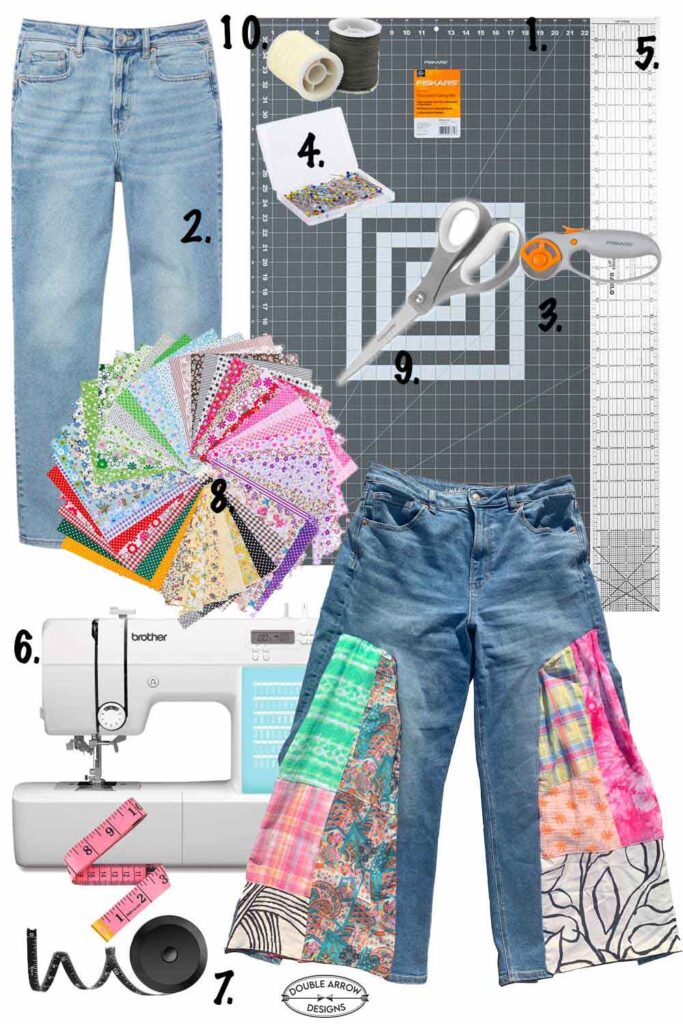
|| 1 || 2 || 3 || 4 || 5 || 6 || 7 || 8 || 9 || 10 ||
- Fiskars Self Healing Rotary Cutting Mat, 24×36 Inch,Grey– Perfect for cutting on.
- AE Stretch Mom Straight Jean– Or use an old pair, that need a refresh!
- Fiskars Classic (45mm) Comfort Loop Rotary Cutter, 1, steel and orange-Love my rotary cutter so easy, and you don’t have to struggle with a scissor.
- Sewing Pins– A must when positioning your panels before sewing so that they stay in place. Remove as you sew.
- O’Lipfa 66636 Ruler with Lip Edge, 4 x 36-Inch– Easy to see through and position on your garment. Works great as a straight edge with your rotary cutter.
- Brother CP60X Computerized Sewing Machine-similar to what I have, So many stitch options, I used a basic stitch for this project.
- Tape Measure– Useful when determining your measurements for a leg opening, and panel size.
- Fabric Patchwork swatches– or use what you have in your closet!
- Fiskars 01-004761J Softgrip Scissors– You need this right next to you for cutting your panels, and loose threads.
- Sewing thread– Can’t forget this!
All of the above (minus the fabric swatches for patchwork) were all the supplies I used for my patchwork jean DIY project. Everything is available through Amazon.
Related DIY Jean Posts
Take a look at my other posts, where I have done a variety of DIY patchwork, patches and embroidery on jeans. There are so many possibilities that I am going to have to dedicate a whole category on this soon! Transforming what is already in our closets, and making a one of a kind fashion statement is so amazing! Check out below.
- How To Fix Ripped Pant Knees – That Look Amazing!
- Patched Ripped Jeans-that you can easily DIY
- How To Embroider Jeans By Hand
Wide leg jeans
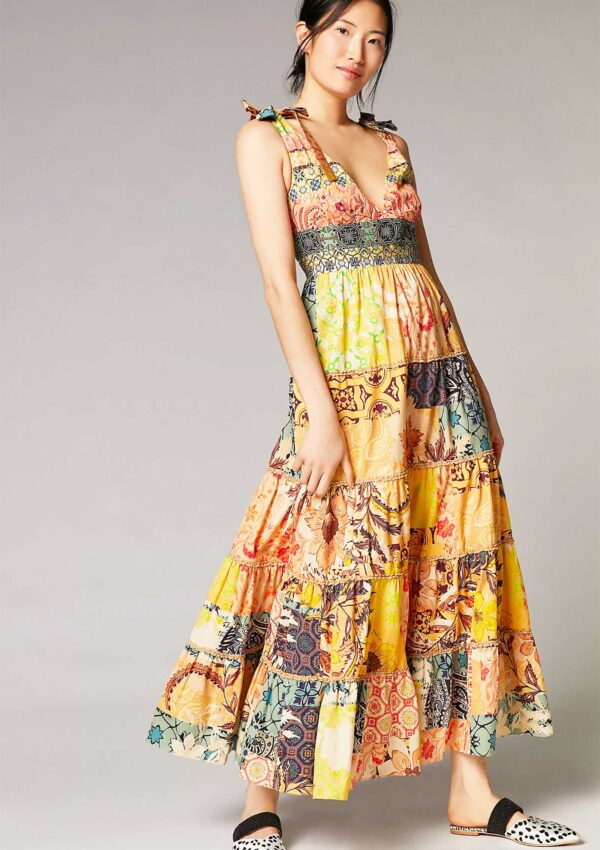
For the person who doesn’t want to spend time on creating these, you can also buy the look, check out my past post 7 Wide Leg Jeans that you will love , or check out below for some additional patchwork wide leg jean styles that may be perfect!
Share in the comments, your Patchwork Jeans DIY project, or related pant DIY project. I always love to see what others are doing. Hope that this post was inspiring. I know I am now inspired to go create some more DIY projects, so subscribe below if you haven’t already and follow along as I am adding new posts every week. Don’t miss out!
My blog periodically contains affiliate links meaning that if you make a purchase, I might make a small commission at no extra charge to you. Purchases made through them are greatly appreciated.







Leave a Reply